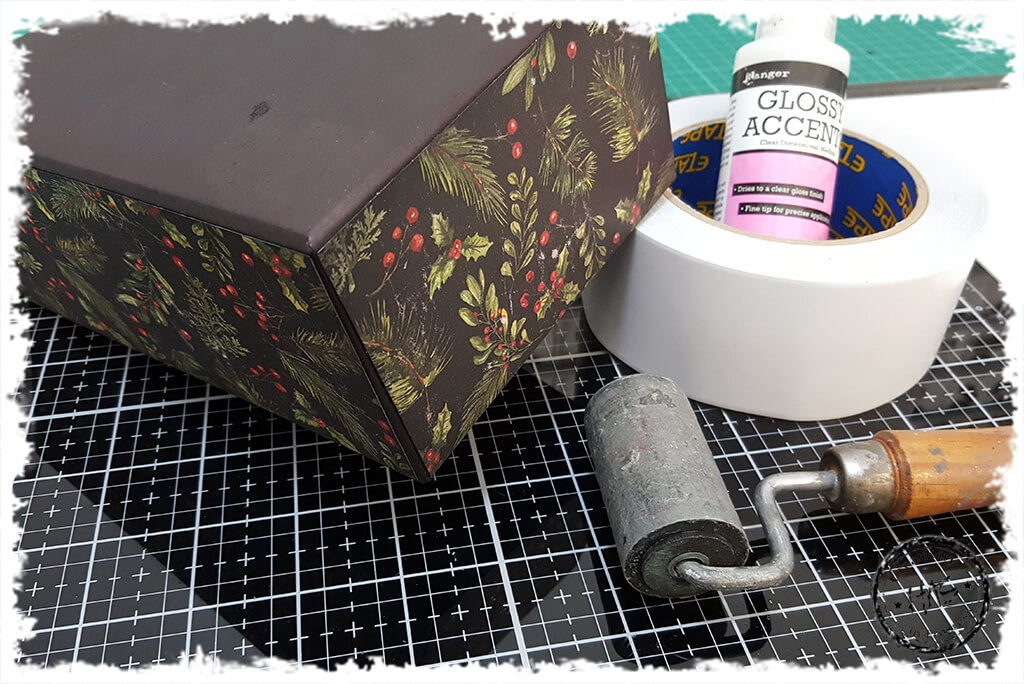
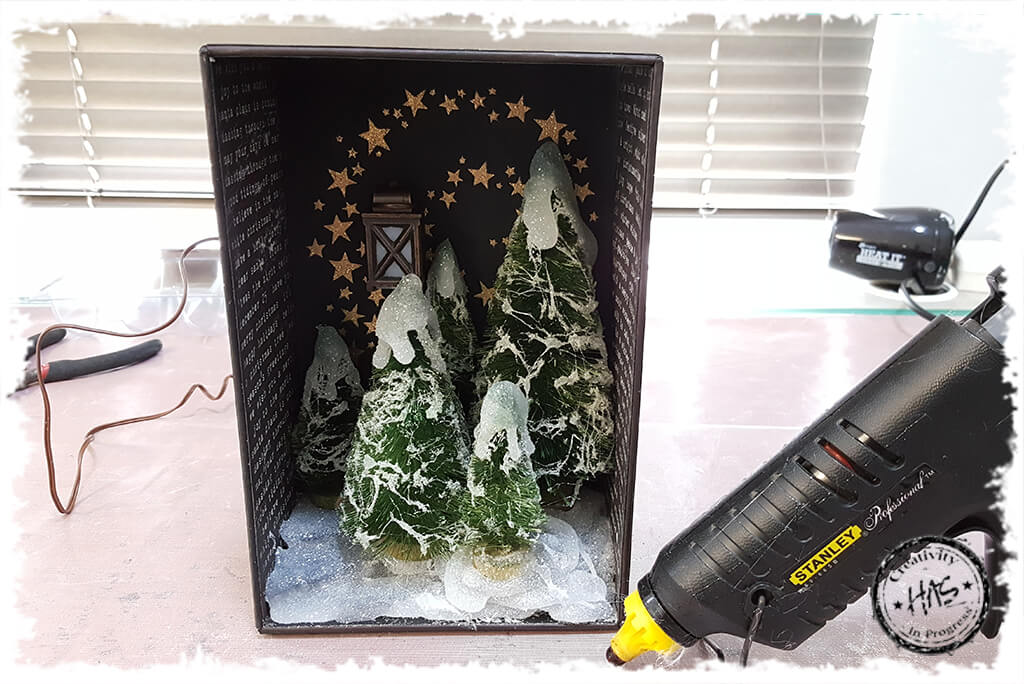
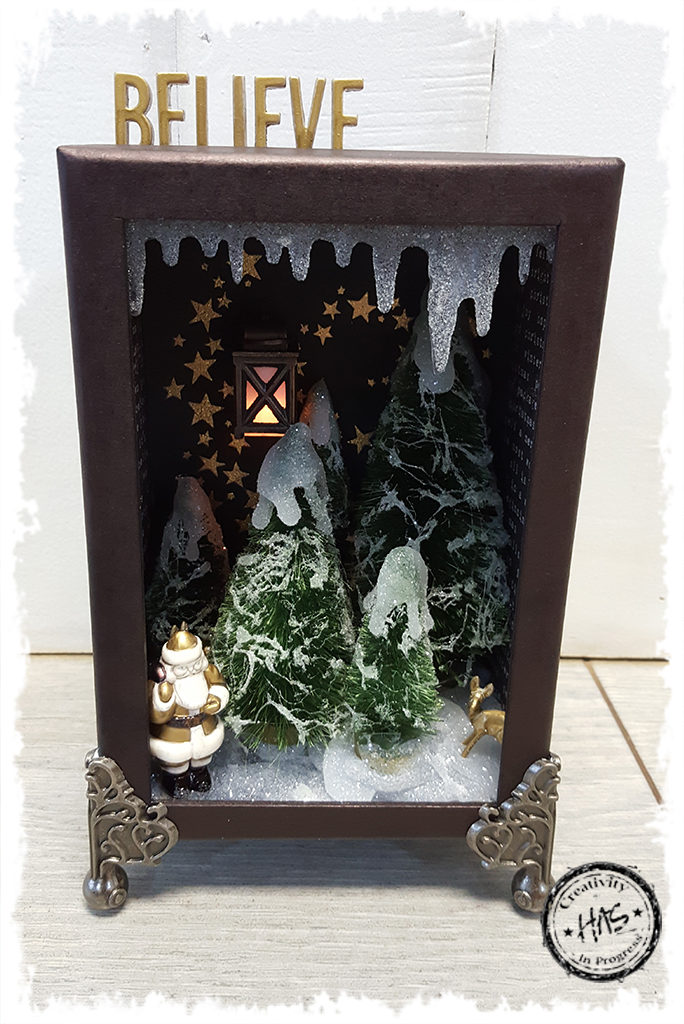
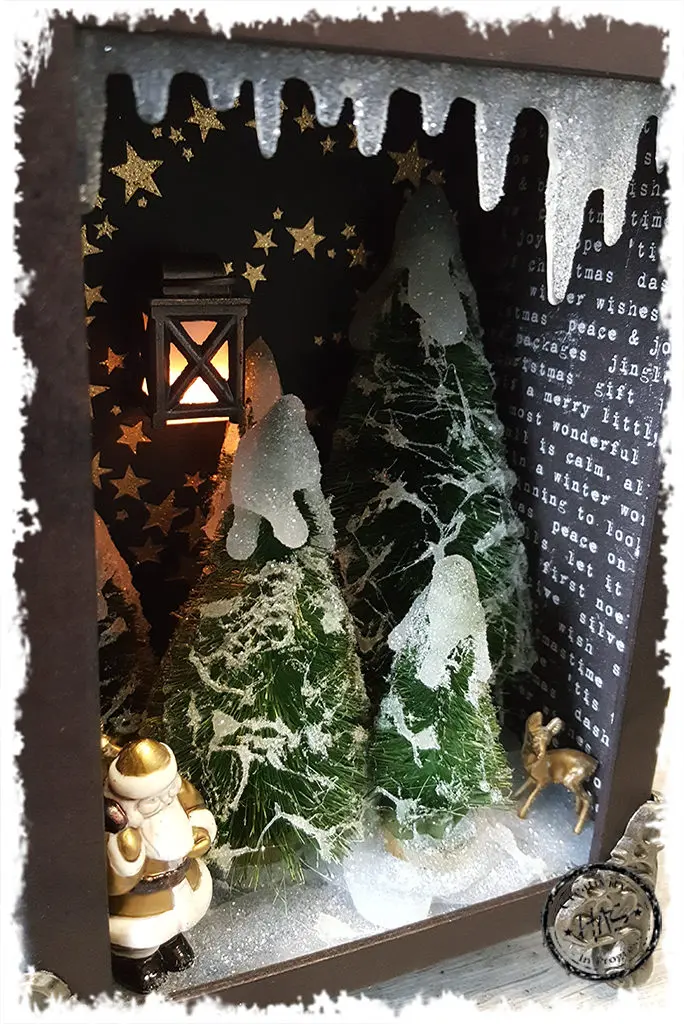
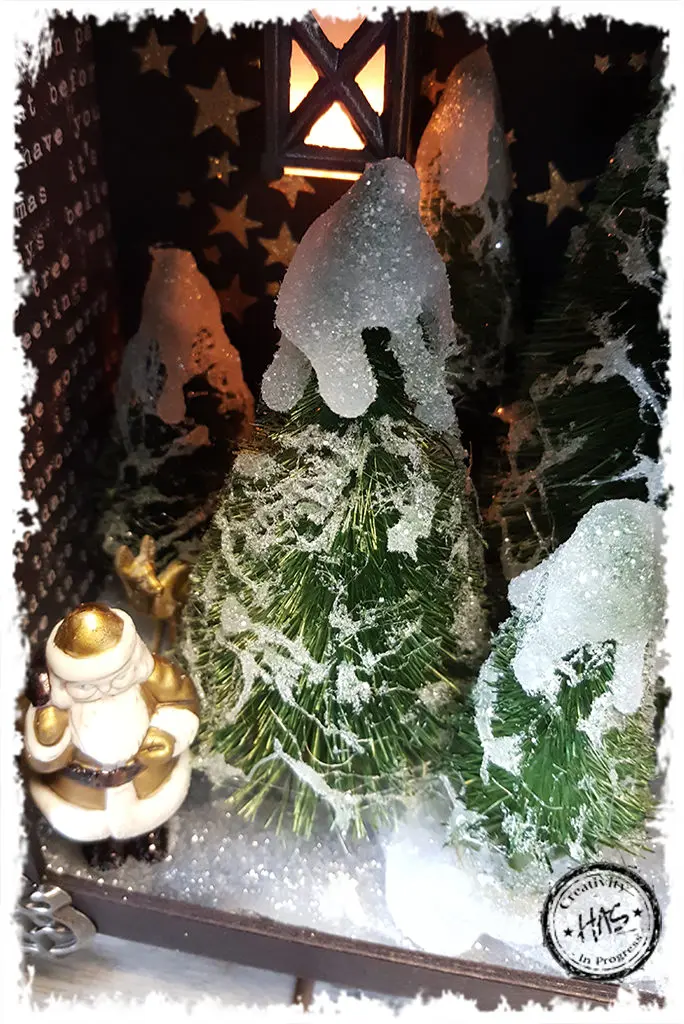
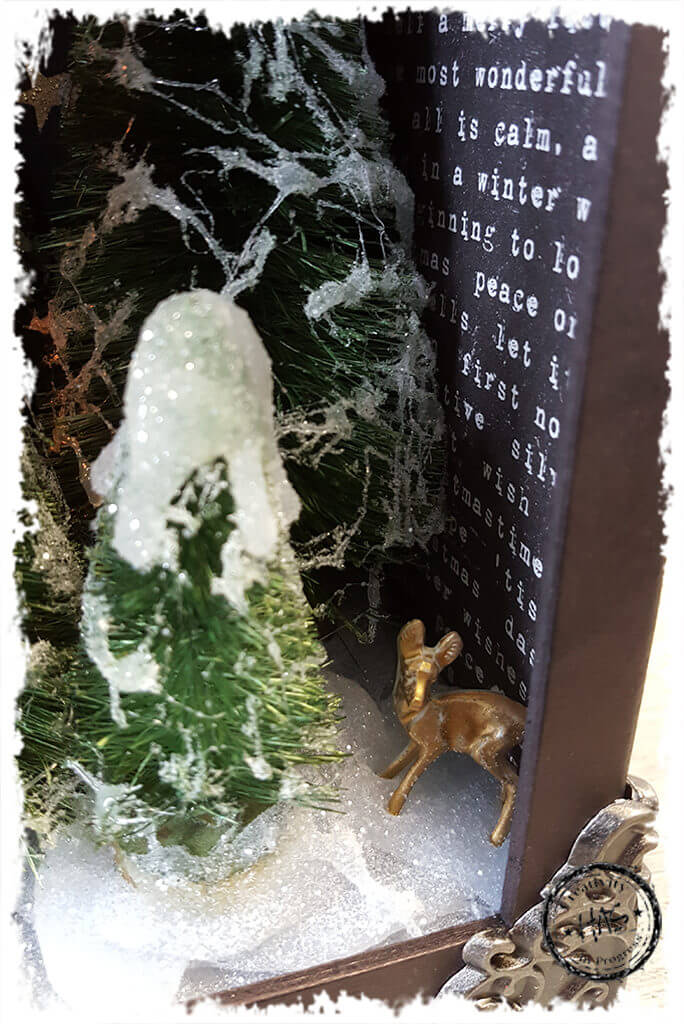
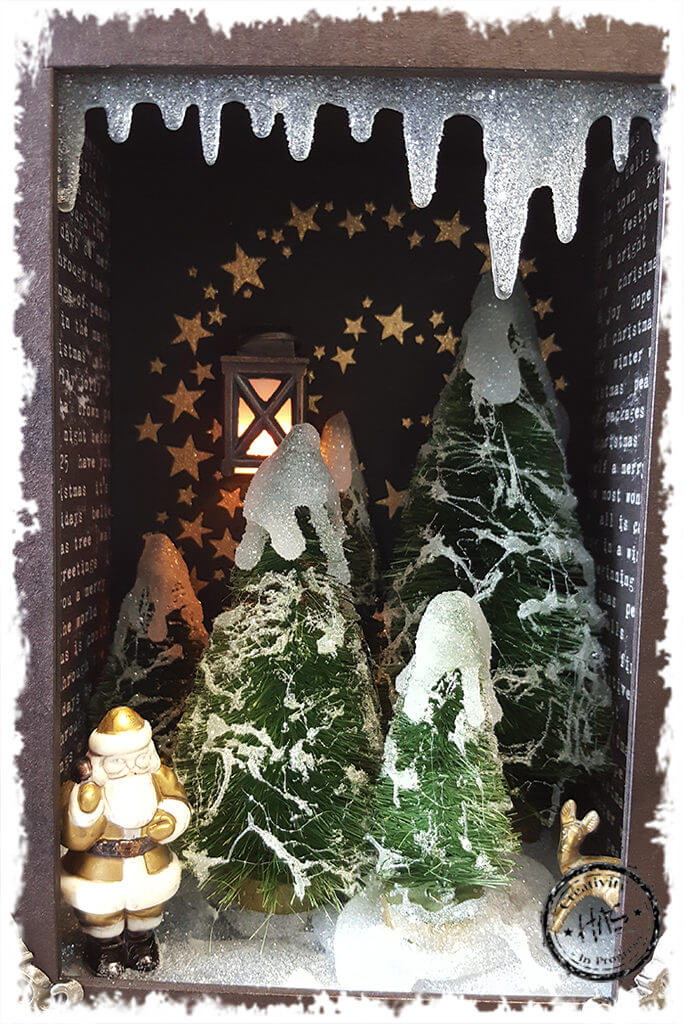
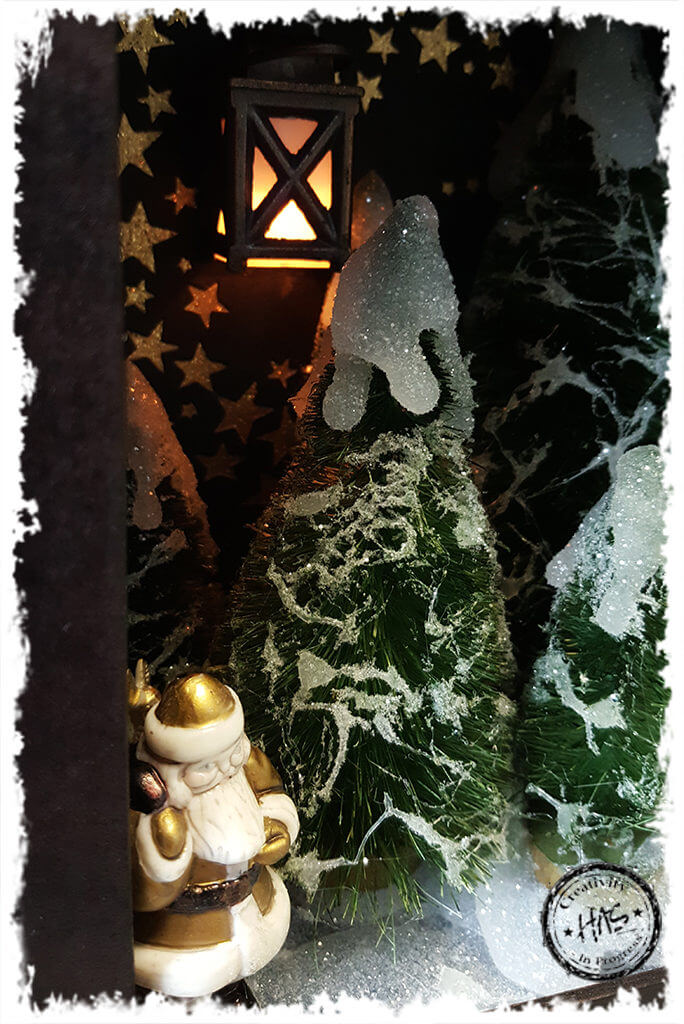
I love adding to my Christmas decor collection with hand made projects like this one. And of course, anything that lights up is a firm favourite of mine!
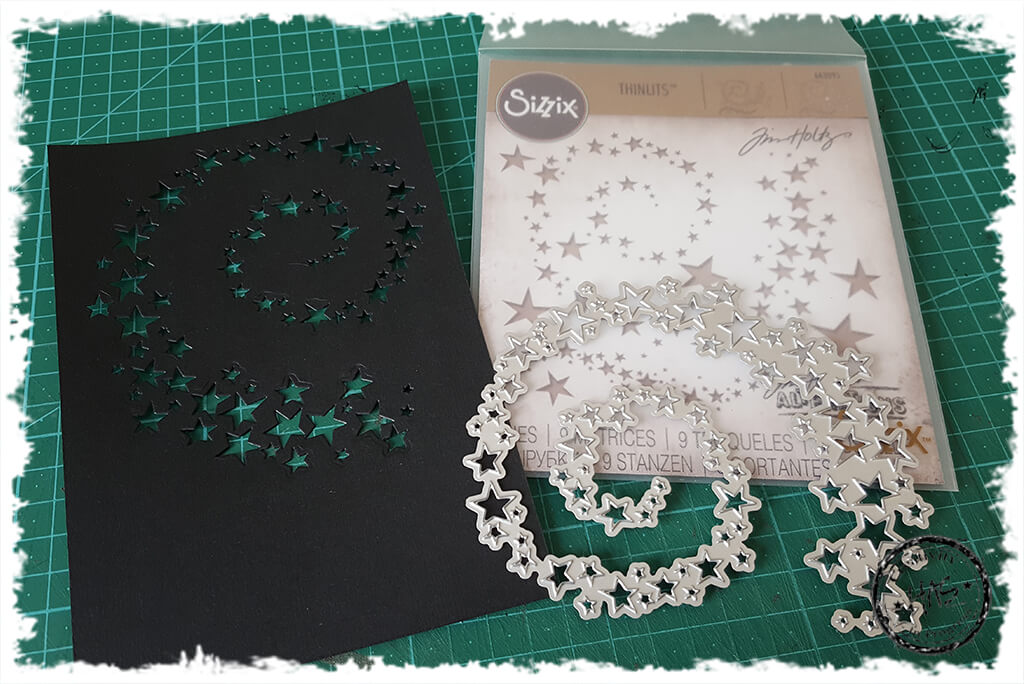
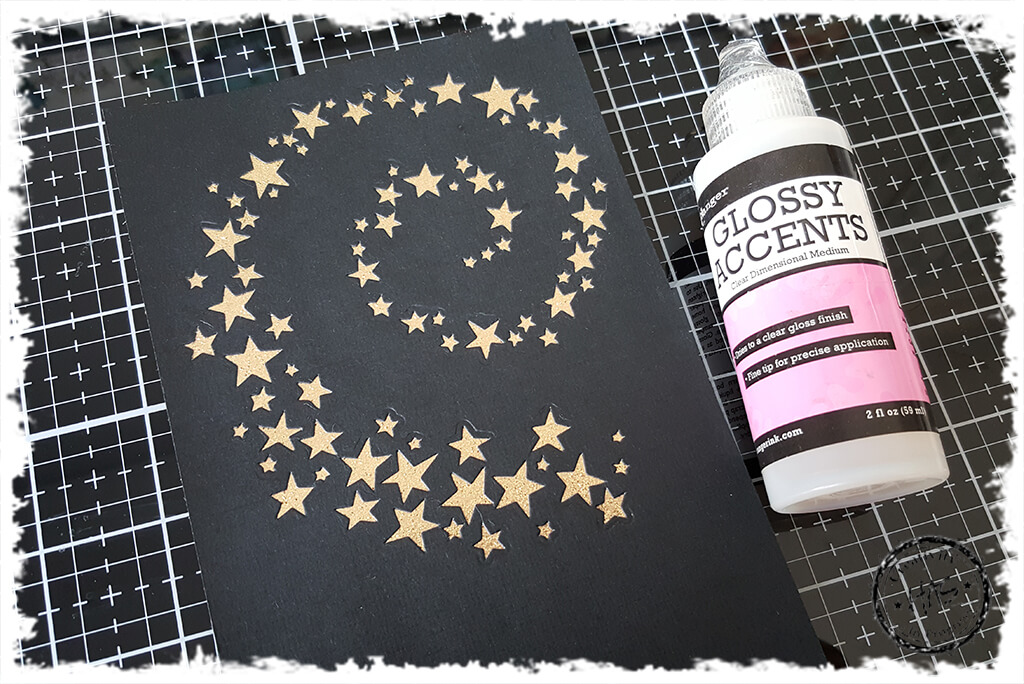
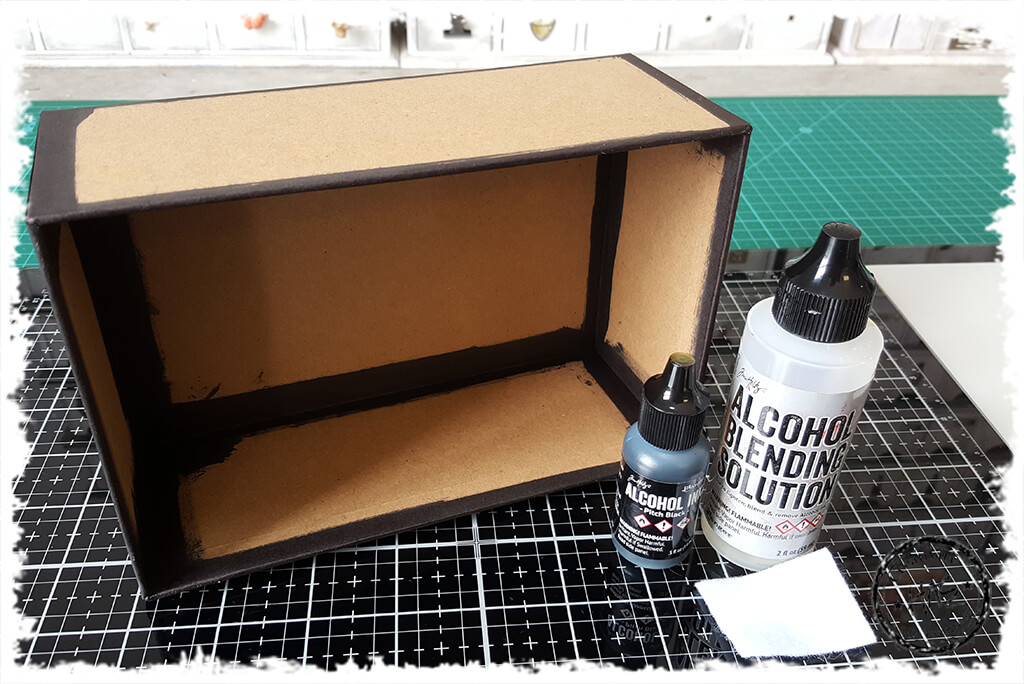
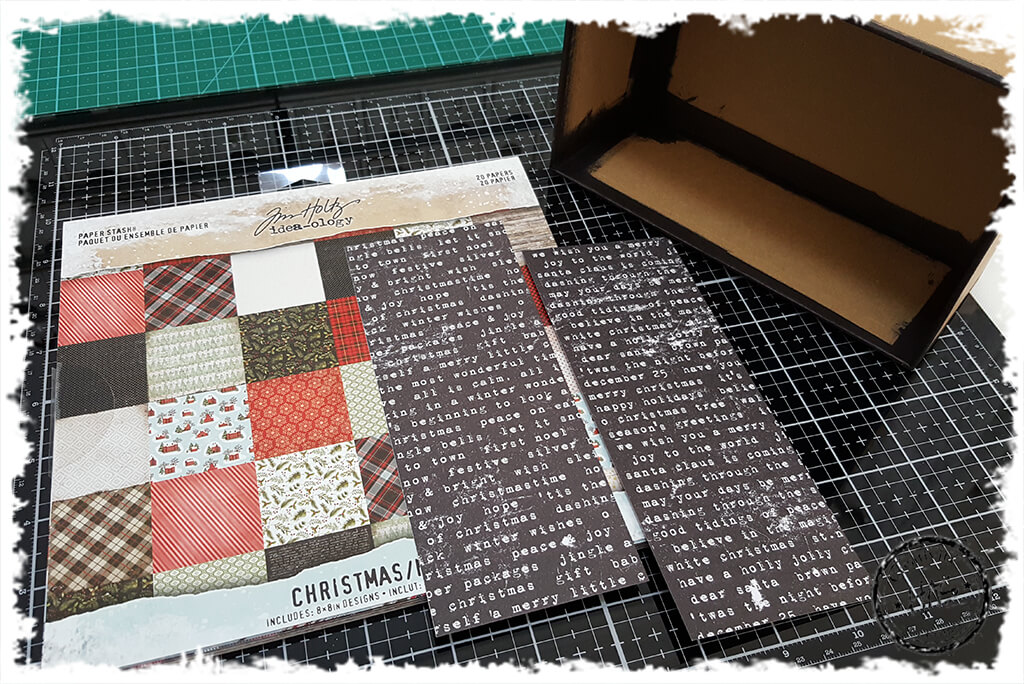
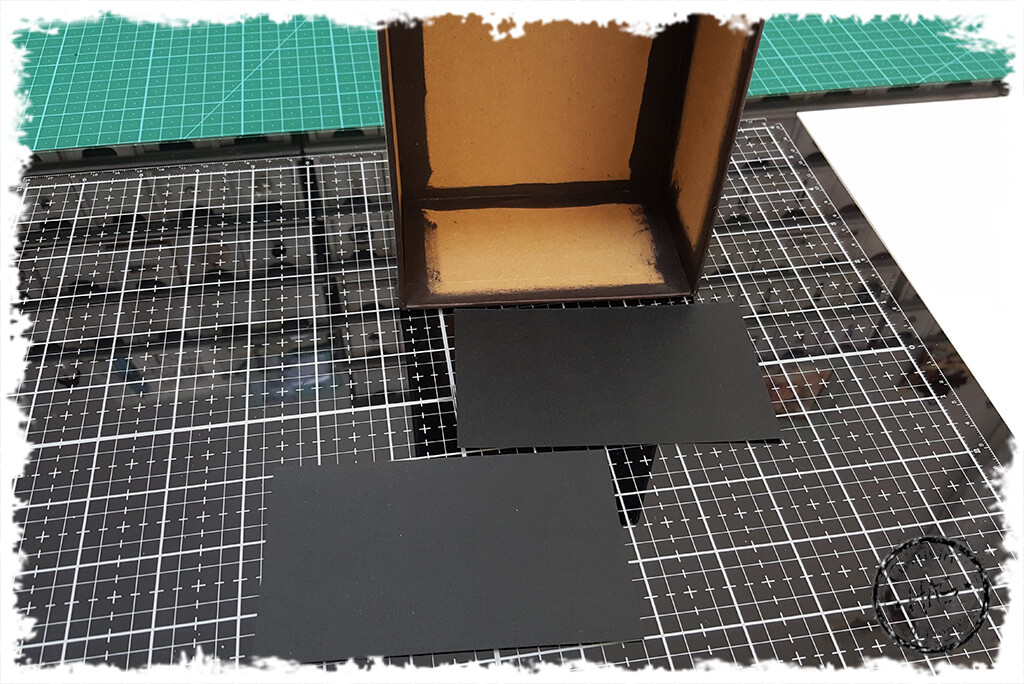
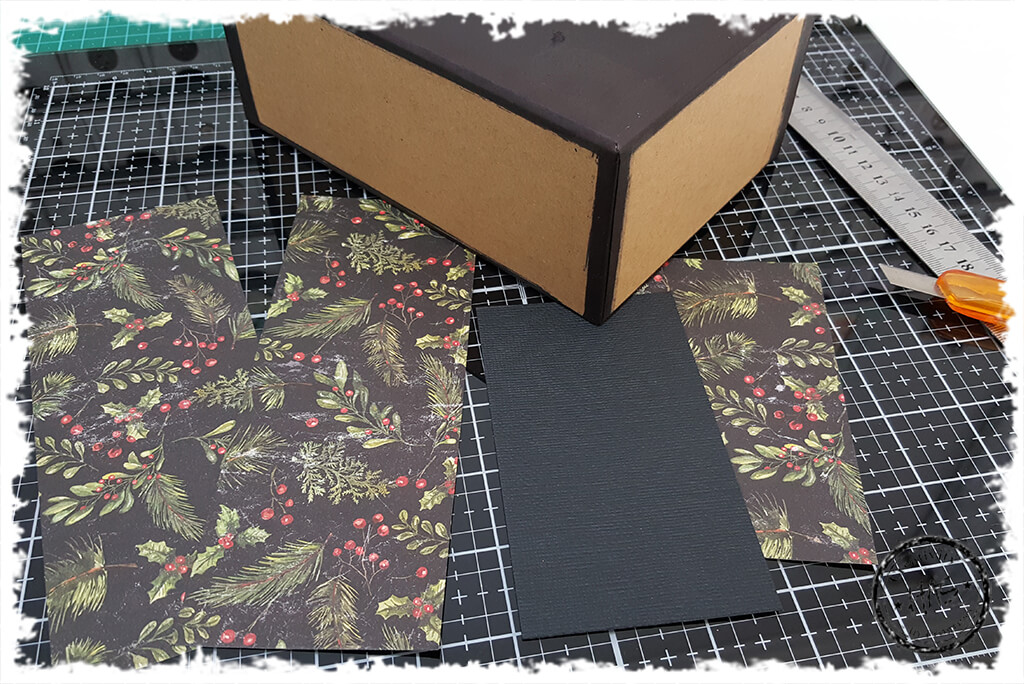
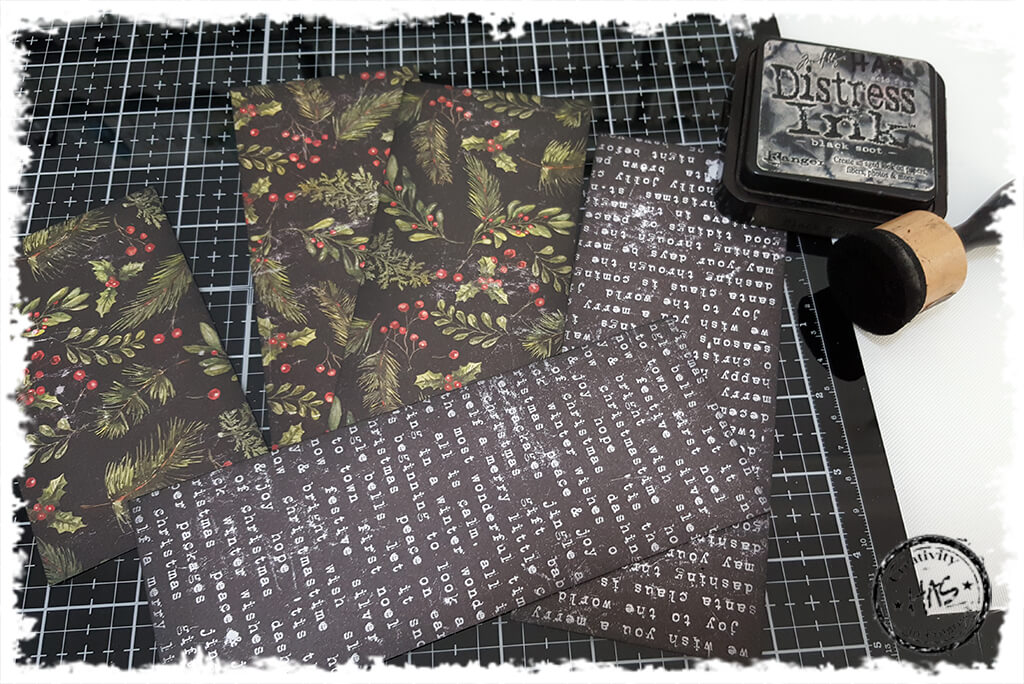
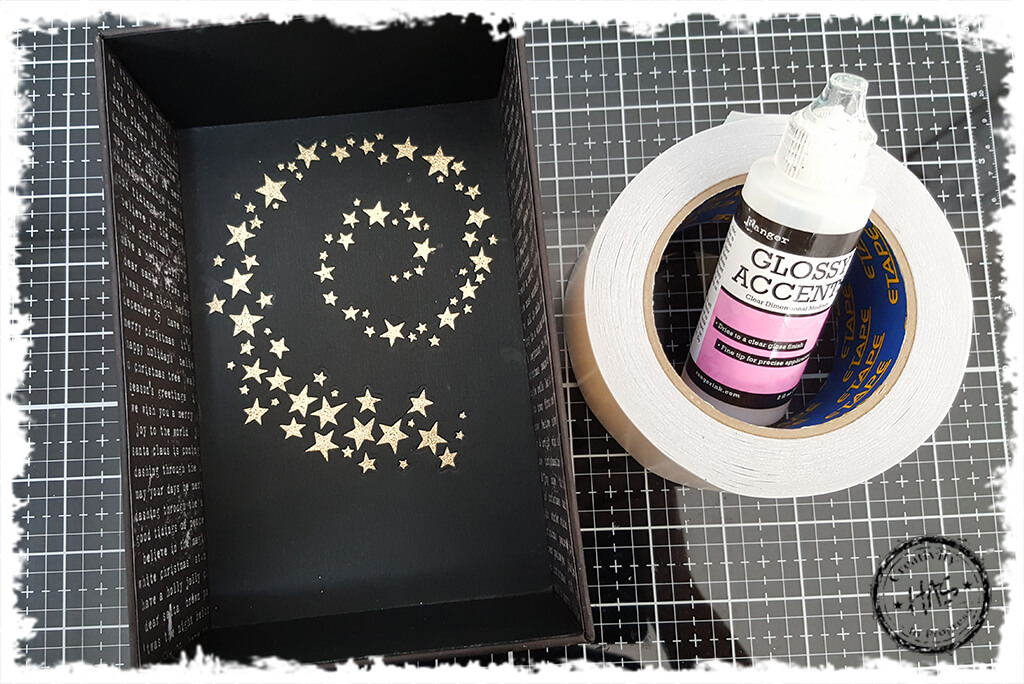
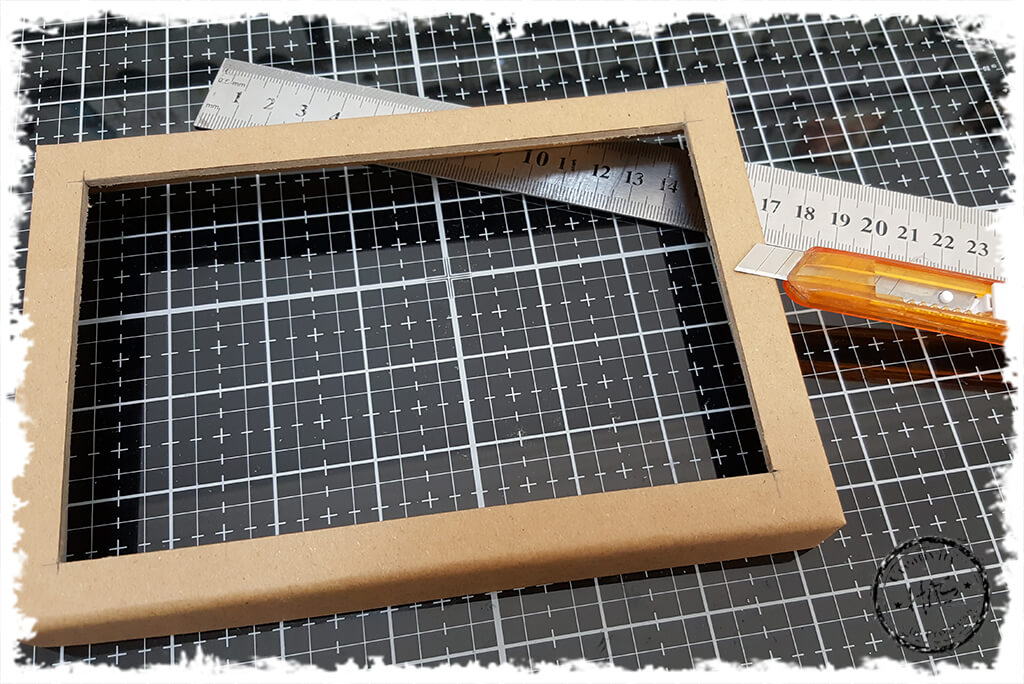
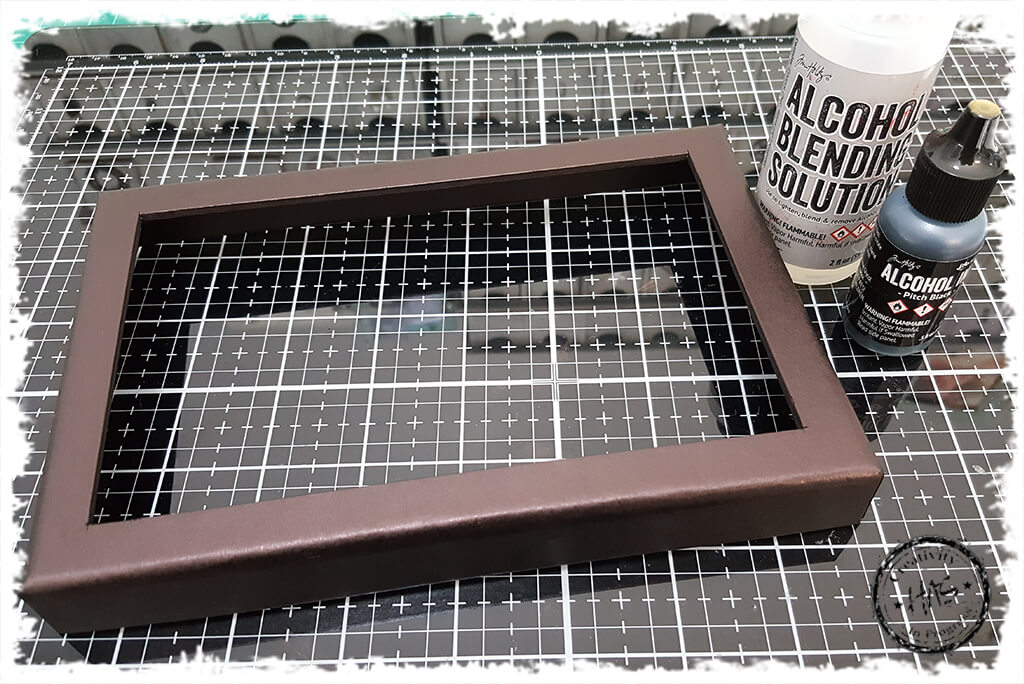
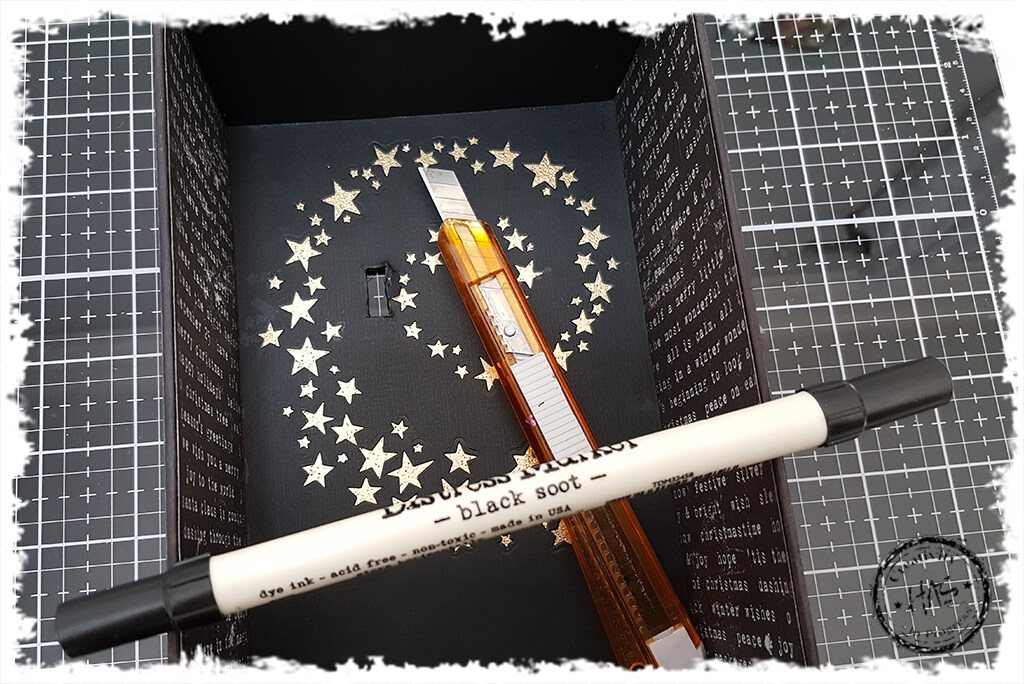
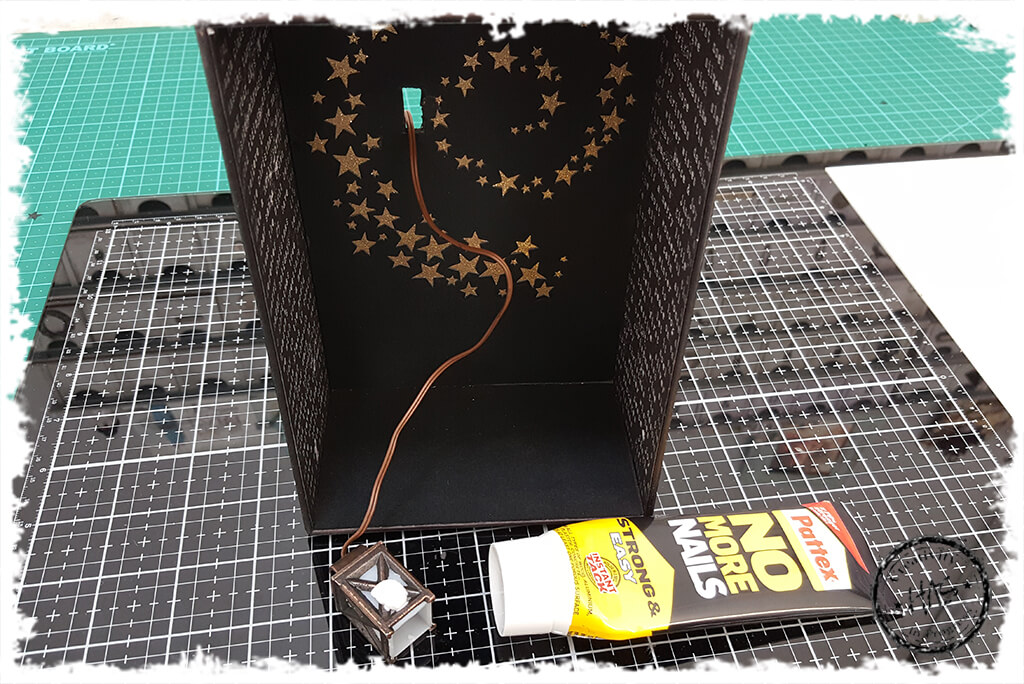
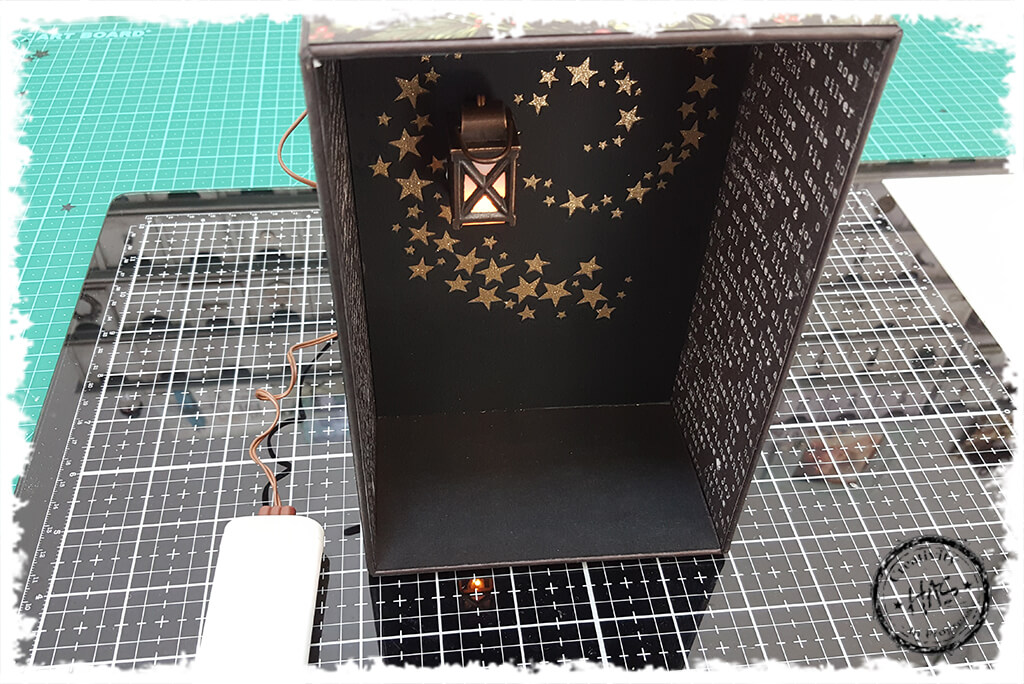
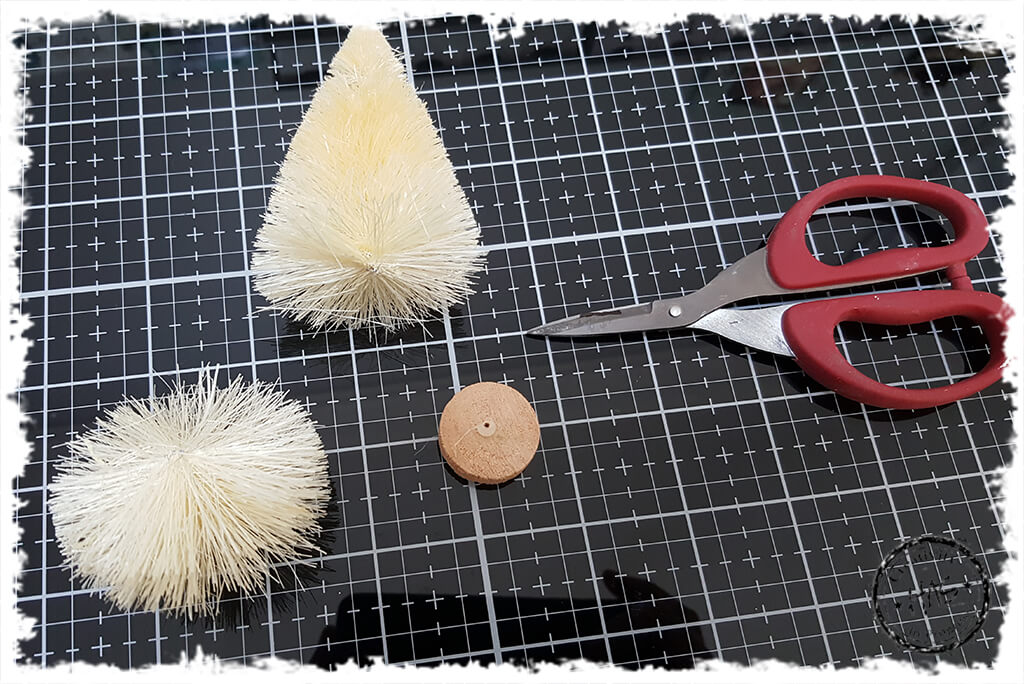
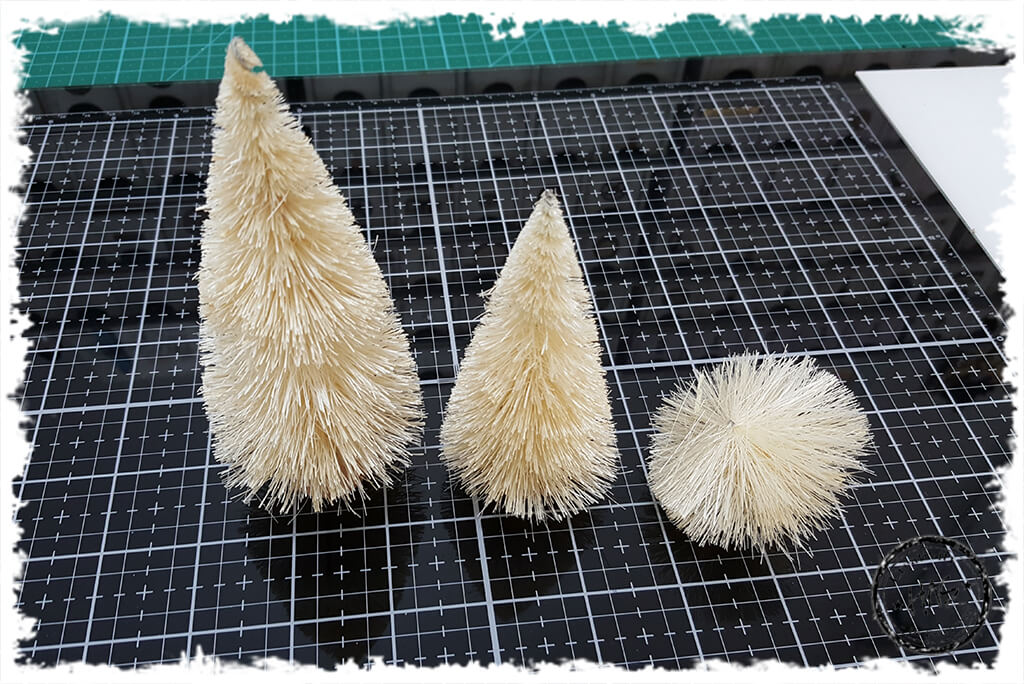
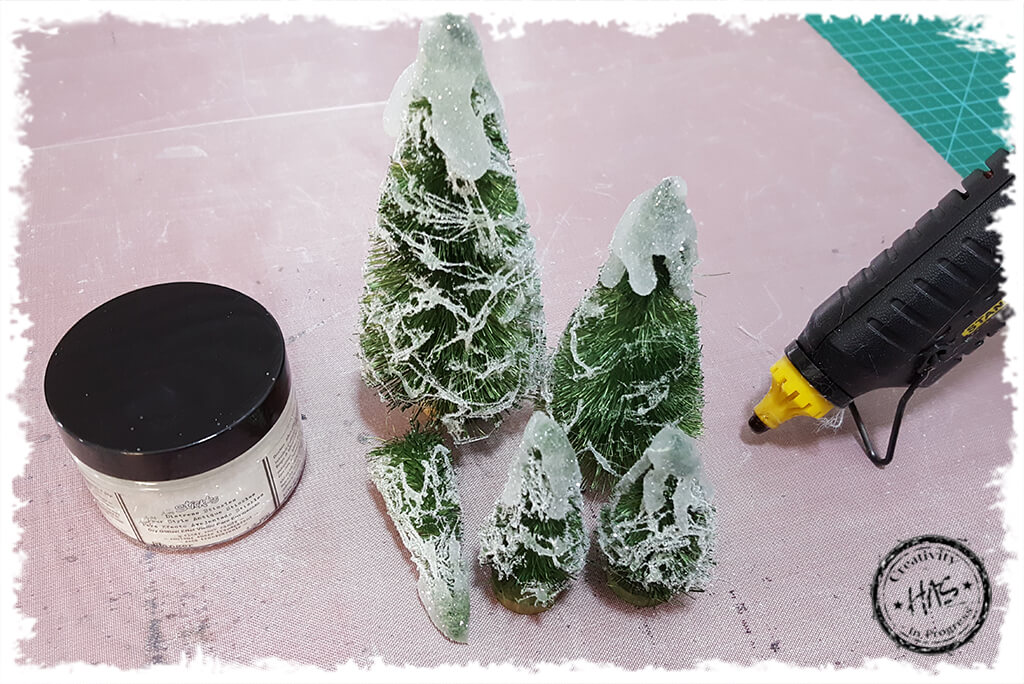
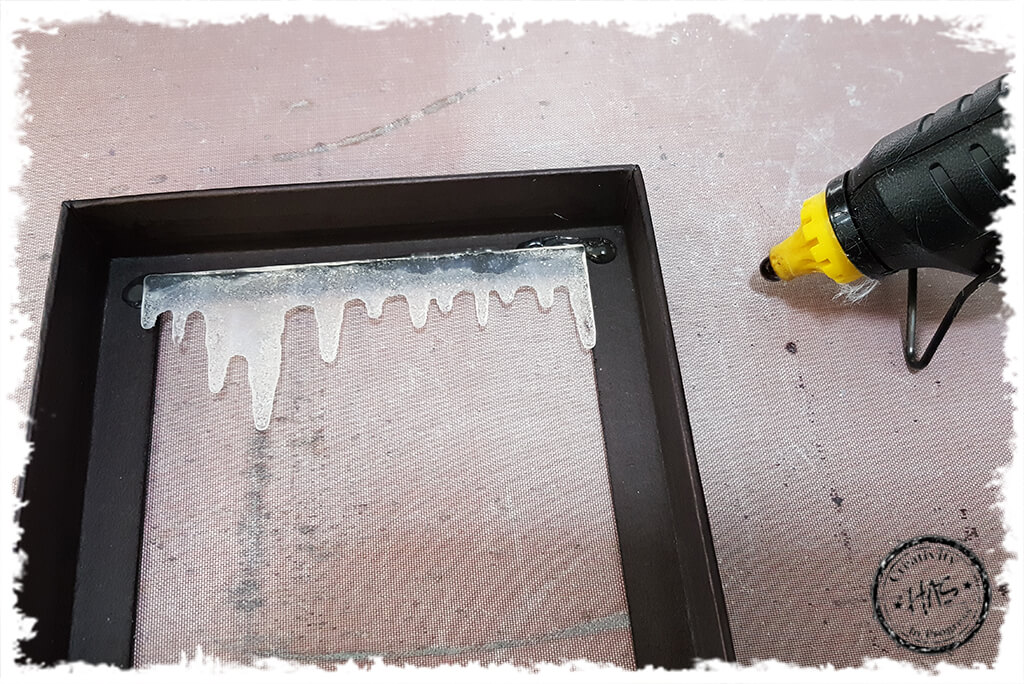
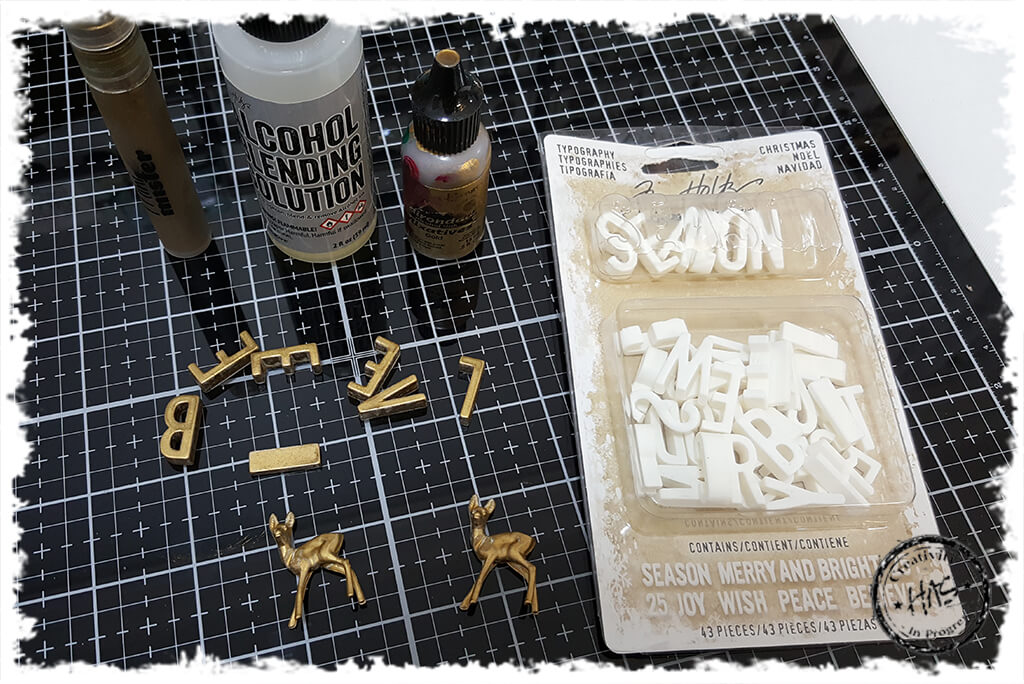
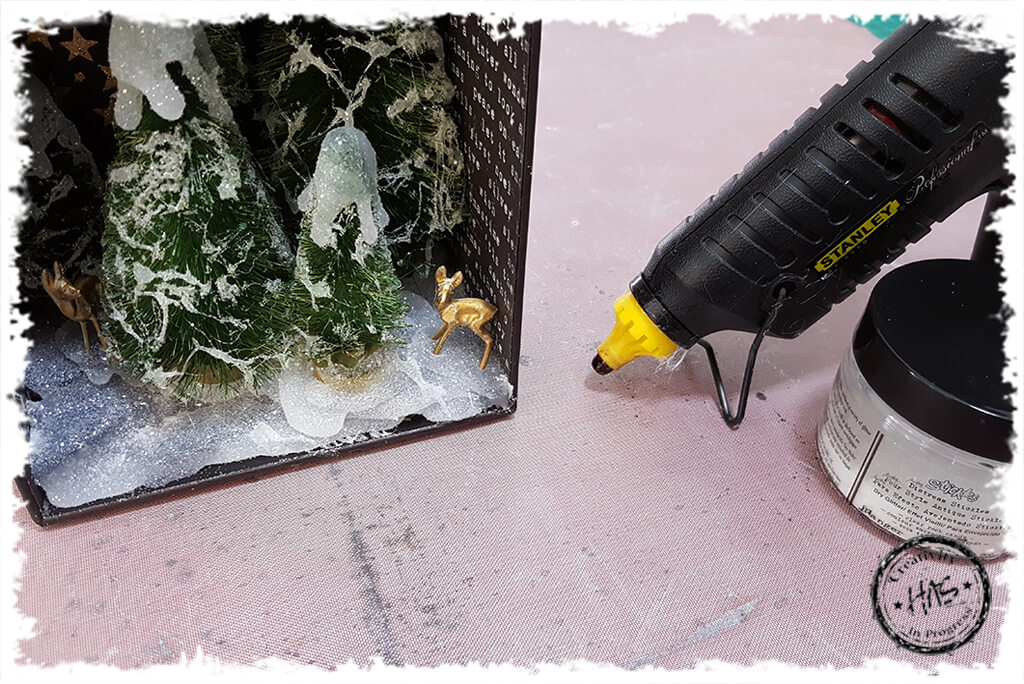
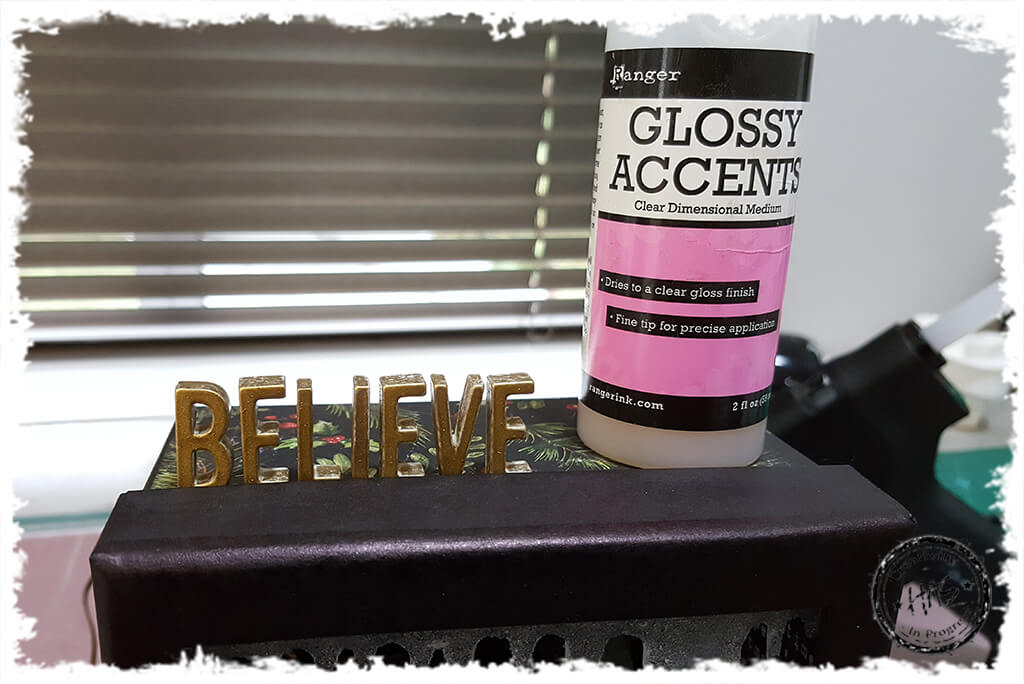
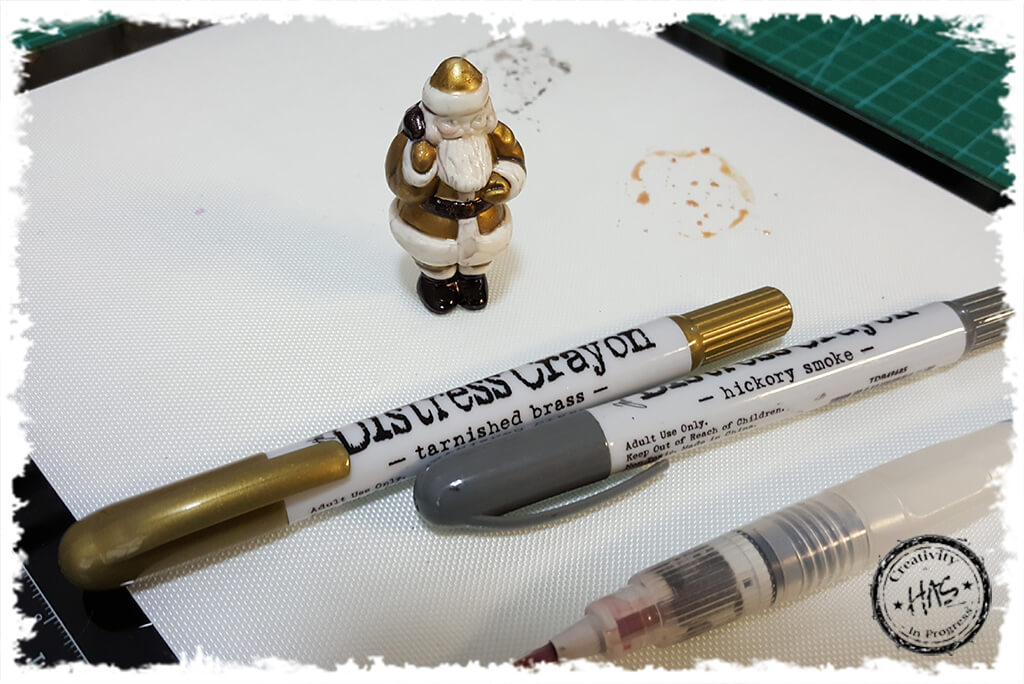
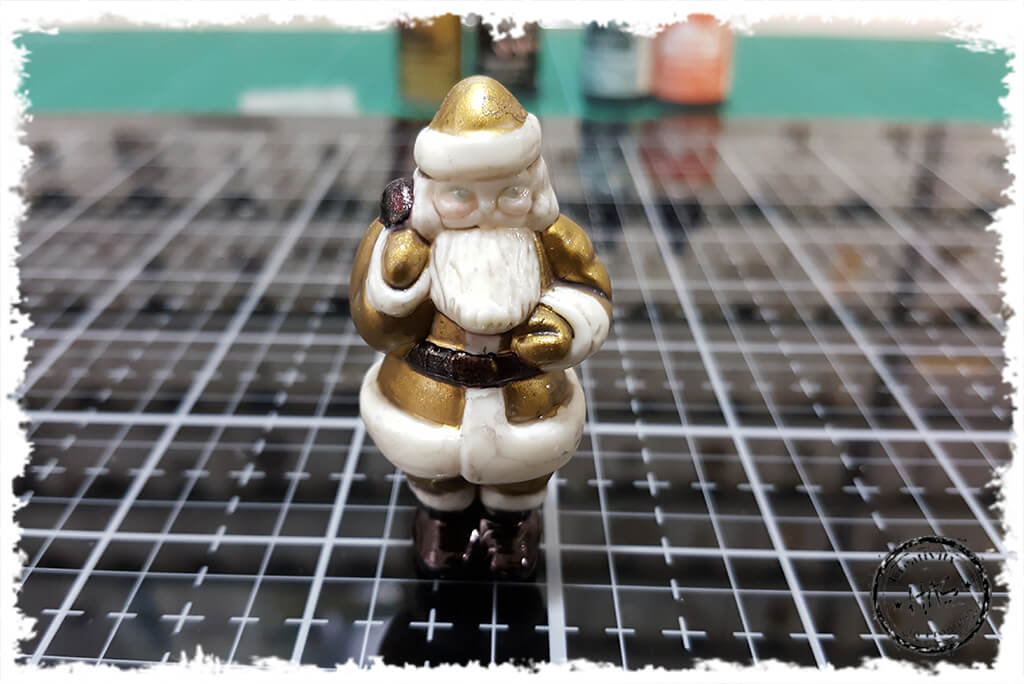
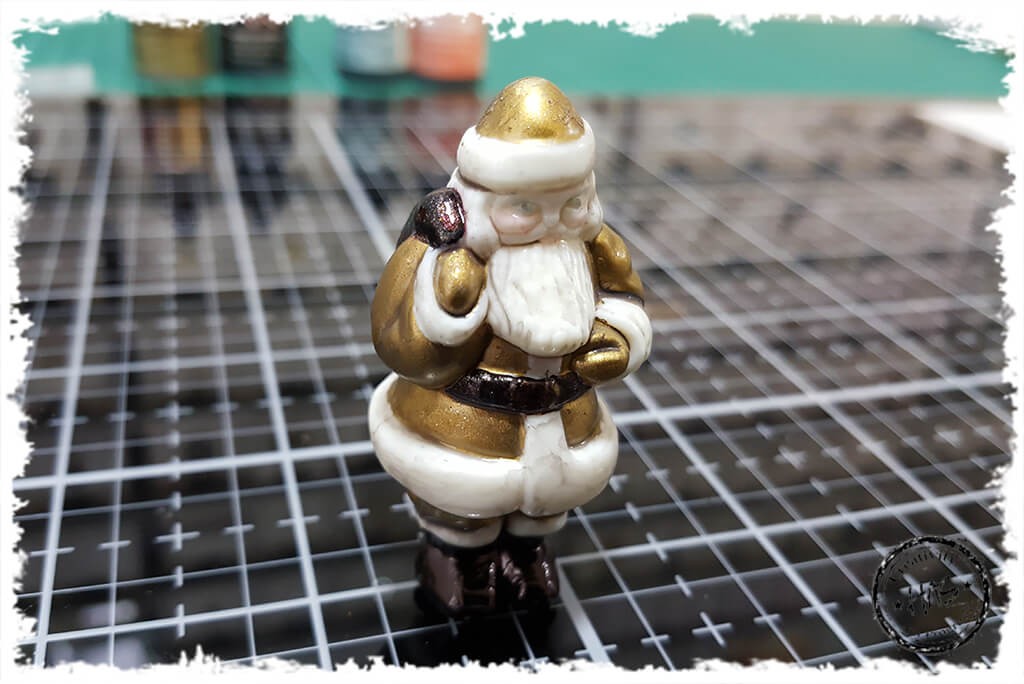
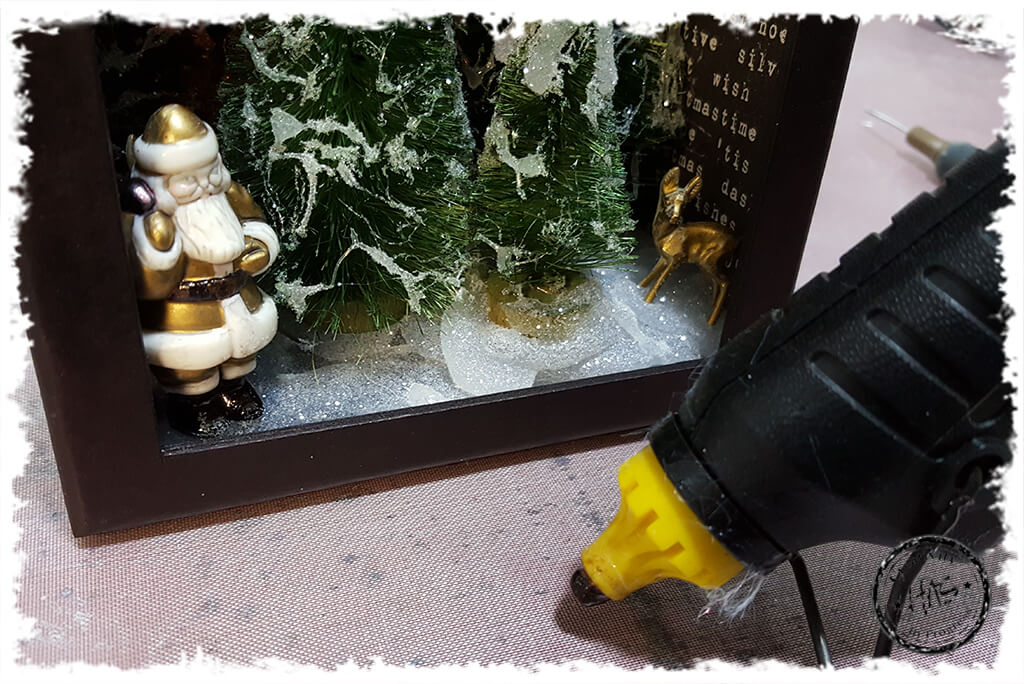
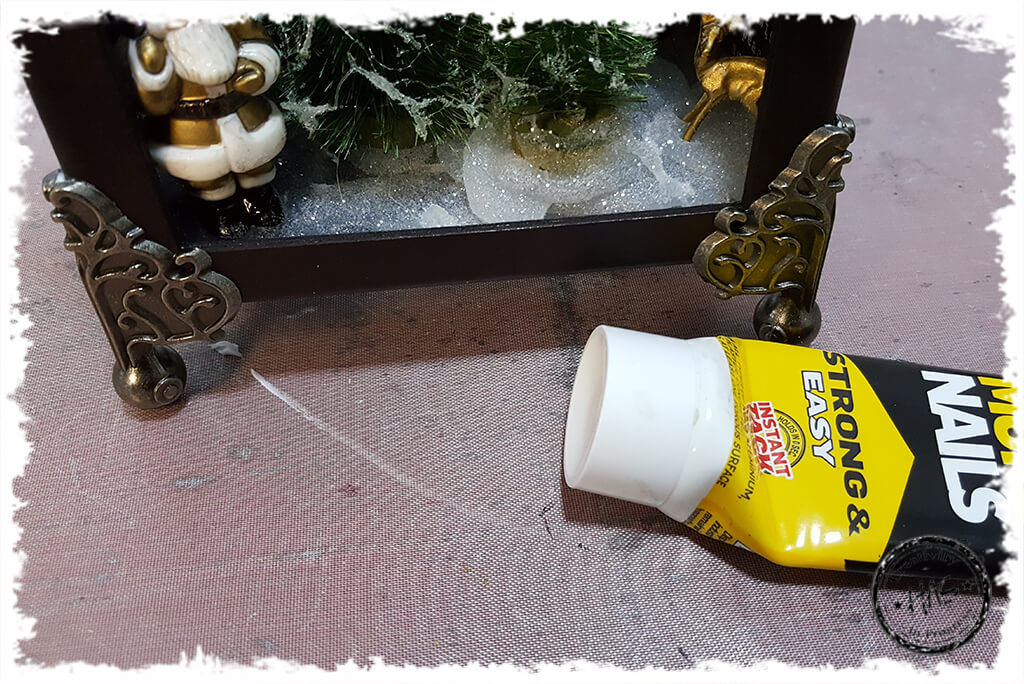
Measure the size of the inside of your box and cut a piece of black cardstock. Using your Swirling Stars Die set, cut the stars from your black cardstock.Cut another piece of black cardstock, the same size as the one you cut the stars from and embossing that piece using your embossing dabber and your Gold Tinsel Embossing Powder.Using your Glossy Accents adhesive, glue the black cardstock with the stars cut out, to the top of the gold tinsel embossed cardstock. In this way, you will see your stars will pop out!Using Pitch Black Alcohol Ink and a little Alcohol Blending Solution on a piece of felt, ink the back and sides of your cardboard box. I like to use the alcohol ink for this as it goes on really smoothly and dries in seconds! I also didn’t want to use a heat tool on the cardboard box in case it warped.Repeat the same process with the alcohol ink on the inside of the box – getting into all the corners and edges.Measure the inside of your box and cut 2 longer strips from the black typed paper from your Tim Holtz Christmas Stash.Measure the inside of your box and cut 2 shorter strips from your plain black cardstock.Measure the outside of your box and cut three strips (2 x long and 1 x short) from the Black Greenery Paper in your Tim Holtz Christmas Paper Stash. Also cut 1 x smaller strip from your plain black cardstock.Using your blending tool and Tim Holtz Distress Ink Pad: Black Soot, ink the edges of your cut out strips.Using double sided tape and glossy accents, adhere your Swirling Stars cardstock to the inside back of the box and hold down until you are sure it has adhered properly.Using double sided tape and glossy accents, adhere the strips you cut to the outside of the box and brayer on top to ensure they are adhered securely.Using your Folding Ruler, measure a rectangle from the centre of the lid of the box.Using a kraft knife and ruler (ensure you have a sharp new blade on your kraft knife), cut along the marker lines to remove the centre panel from the lid of the box.Using your Pitch Black Alcohol Ink and Blending Solution on a piece of felt, apply the alcohol ink to the lid of the box ensuring you cover every area.Using a sharp kraft knife, cut a little rectangle from the back of the box to allow you to thread through the cord of the mini lantern. I also used a Distress Marker: Black Soot to colour the edges that I cut out.Pull the mini lantern cord through the hole and apply some ‘No More Nails’ glue to the back of the lantern.Place the lantern into position and allow the glue to dry. You can add your batteries at this time.Cover a strip of your Tim Holtz Icicles using glossy accents and then sprinkle over Clear Rock Candy Dry Stickles and allow to dry – do not heat with a heat tool or you will melt the plastic.Remove the base from one of your 5” trees and cut off about 1.5cm from the bottom of the tree.Adhere the base back onto the tree. In this photo you can see that standard 5” tree, with the one I cut on the right and the piece I cut away on the far right.From your remaining 5” tree, cut the back of the tree off so that essentially the tree will sit flat against a background.Add some Alcohol Ink: Meadow to a mini mister with some Alcohol Ink Blending Solution. About 2/3 Alcohol Ink and 1/3 Blending Solution. Shake well. You should do this outside as it is not advised to inhale the fumes from the alcohol ink in this manner. Spray all your trees and allow to air dry.Cut some pieces of black foam board randomly. Random sizes and shapes.Using a hot glue gun, adhere the foam board to the base of the inside of the box. This is done to create some height without having to use all your hot glue sticks.While the hot glue is still hot, sprinkle over some Clear Rock Candy Glitter to create a faux snow effect.Apply some hot glue to your Christmas Trees and sprinkle over Clear Rock Candy Glitter while the glue is still hot.Using a hot glue gun, adhere the Christmas Trees into the box as desired.Using a hot glue gun, adhere the snowflake border to the inside of the lid of the box, along the short side.Add some Alcohol Ink Mixative: Gold to a mini mister with some Alcohol Ink Blending Solution and mix well (2/3 gold to 1/3 blending solution). Shake well. Use outdoors. Spray your Typography Letters (to spell the word ‘believe’) and your 2 Decorative Deer and allow to air dry.Using your hot glue gun, insert your deer into your box as desired – if you can see the glue where you stuck them down, simply add some more glitter to that area.Using Glossy Accents, adhere your word to the top of your box. I would suggest putting your lid onto your box first for easy placement. Allow to air dry.Using a very fine paint brush and your Alcohol Inks: Gold / Pitch Black / Cloudy Blue / Mountain Rose, paint your Salvaged Santa. If you make a mistake, simply remove the colour using your Blending Solution – so don’t stress! Allow to air dry.Apply some Distress Crayons: Tarnished Brass and Hickory Smoke to your non-stick craft sheet and pick up the colour (one at a time) using a water brush and apply to the Salvaged Santa. I used Hickory Smoke over the entire piece and tarnished brass over the black areas.Allow to air dry.Admire your Santa lol.Using a hot glue gun, attach your Salvaged Santa to your project as desired.Using No More Nail Glue, adhere your Foundation Box Feet to the bottom of your box – be sure to remember to put your lid on before you attach the feet. Allow to air dry.Switch on your Mini Lantern and enjoy admiring your masterpiece!Merry Christmas!
We know that you care about your personal data and how it is used. We want you to trust that Hillcrest Art Supplies uses your personal data carefully. For more information or to make an enquiry, see our full Privacy Policy.OkPrivacy policy