I always attach a tag to every present, and coming from a family that likes to wrap every item individually (so as to draw out the fun of opening presents), I always need a stack of tags. Here are some quick and easy tag ideas…
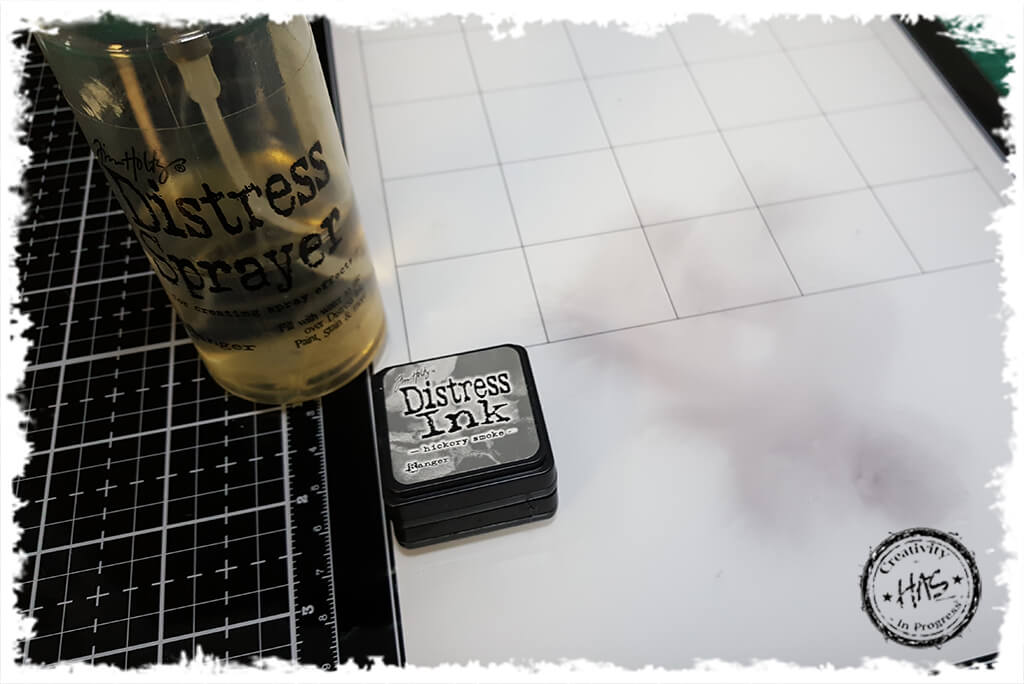
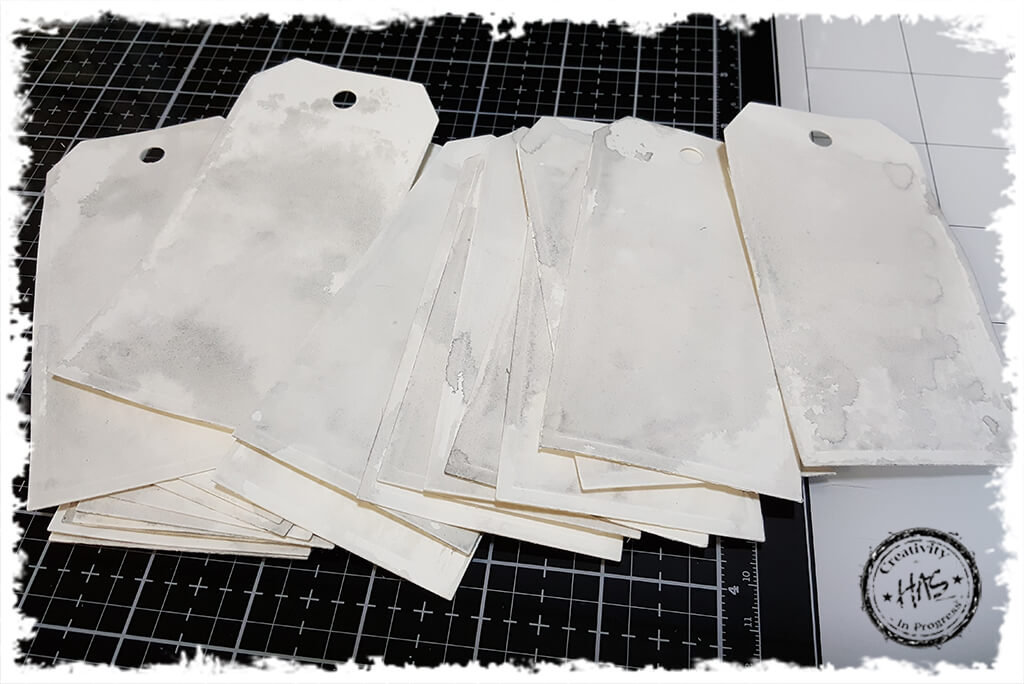
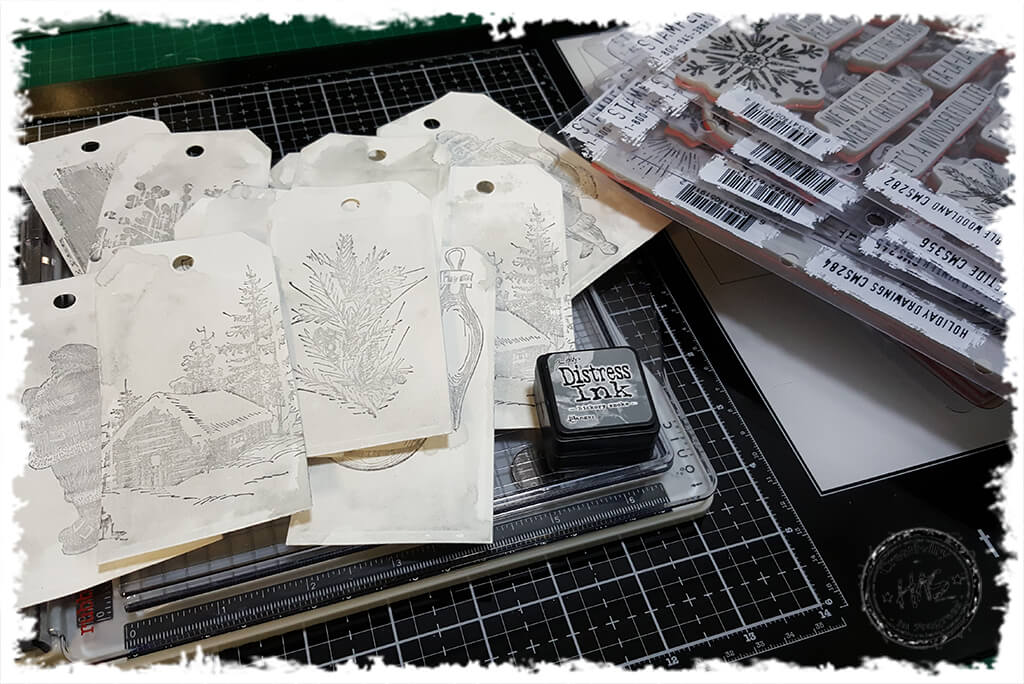
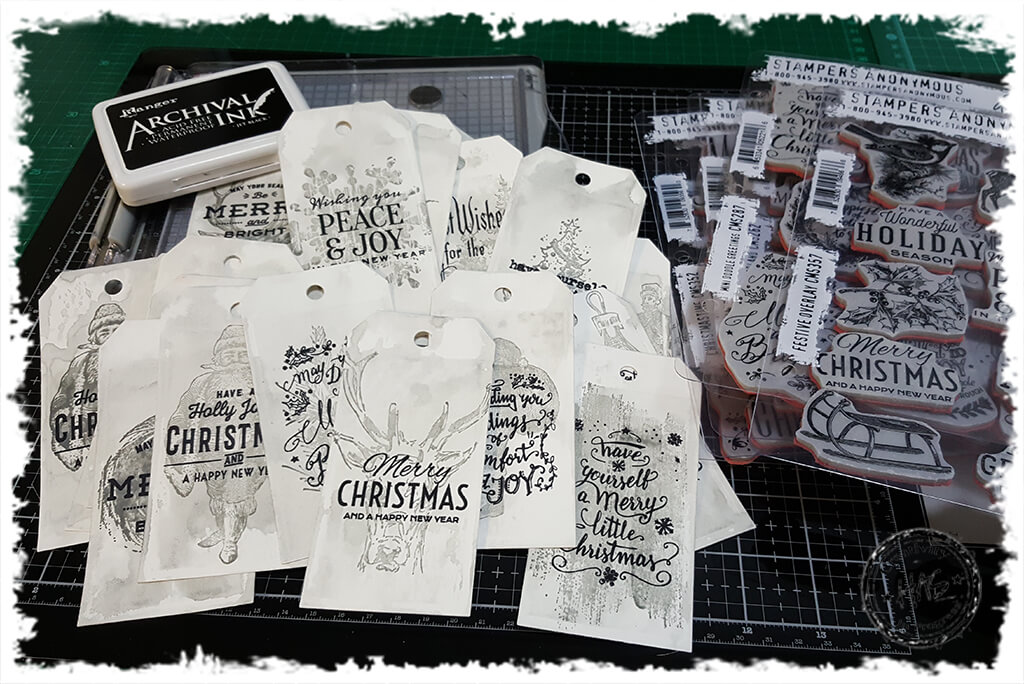
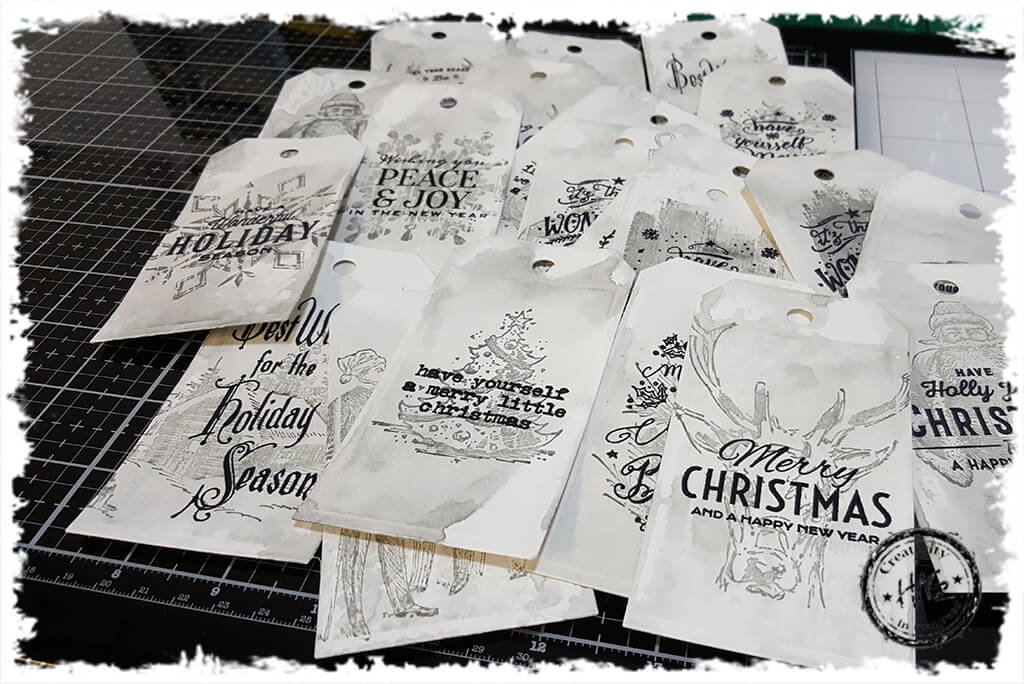
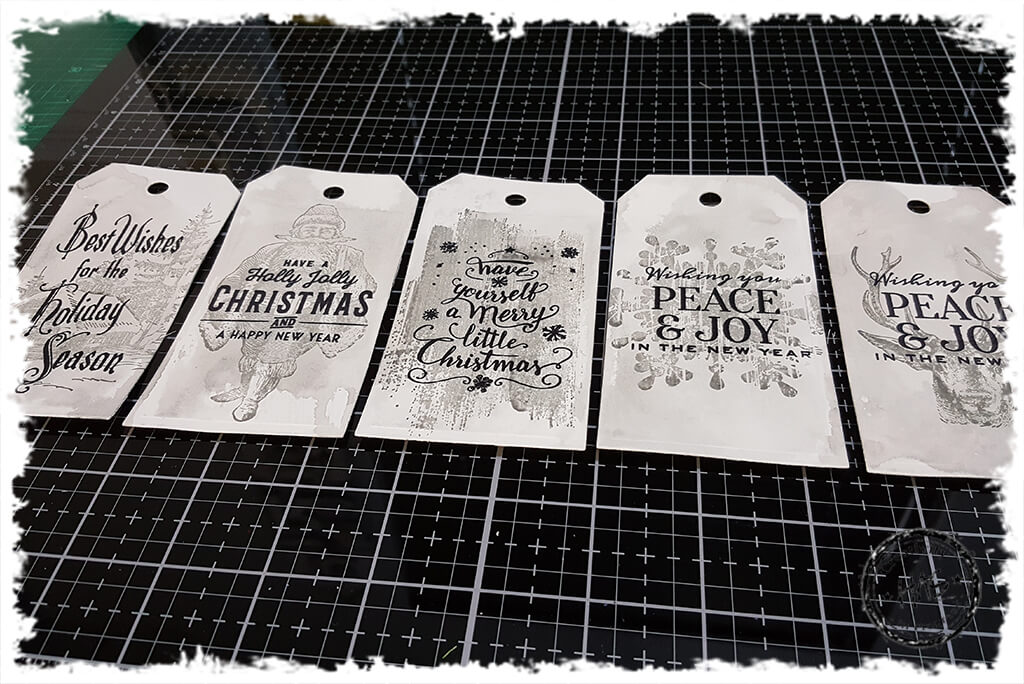
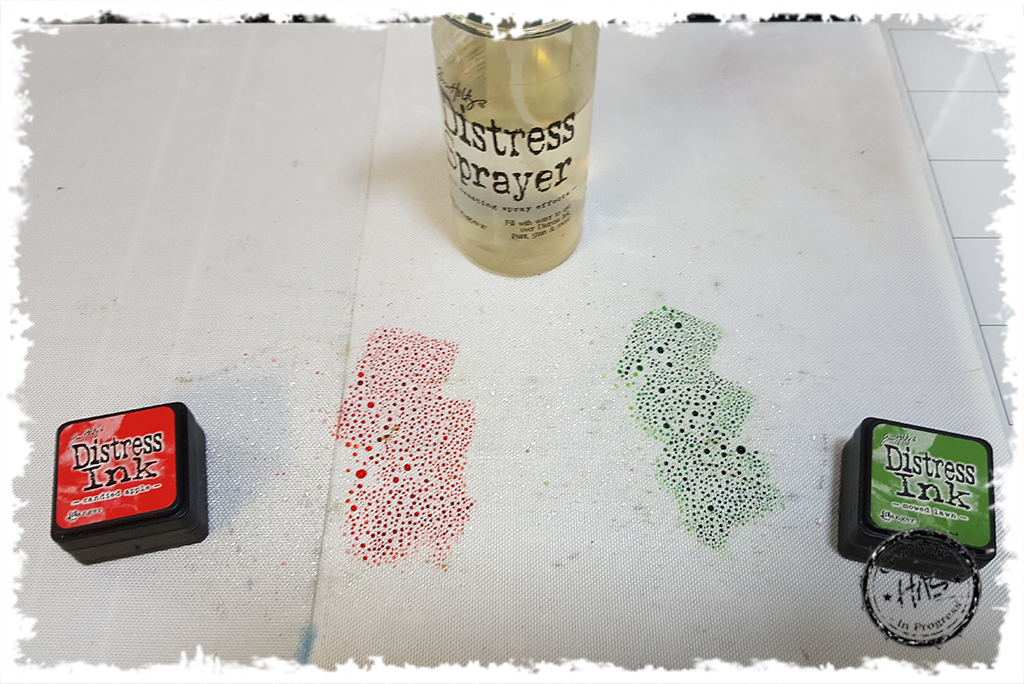
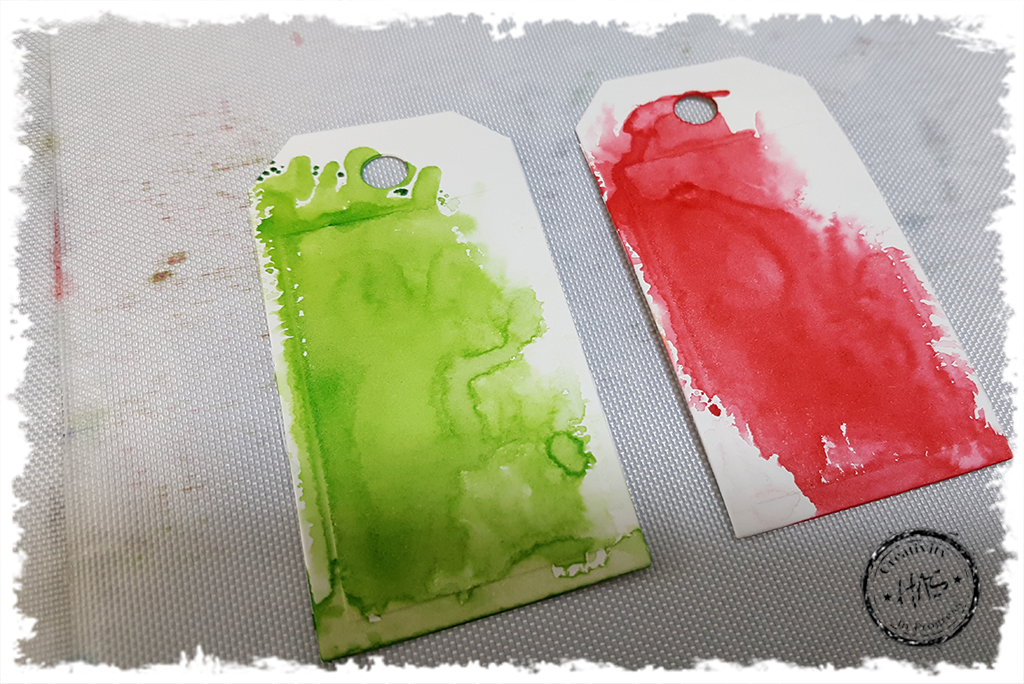
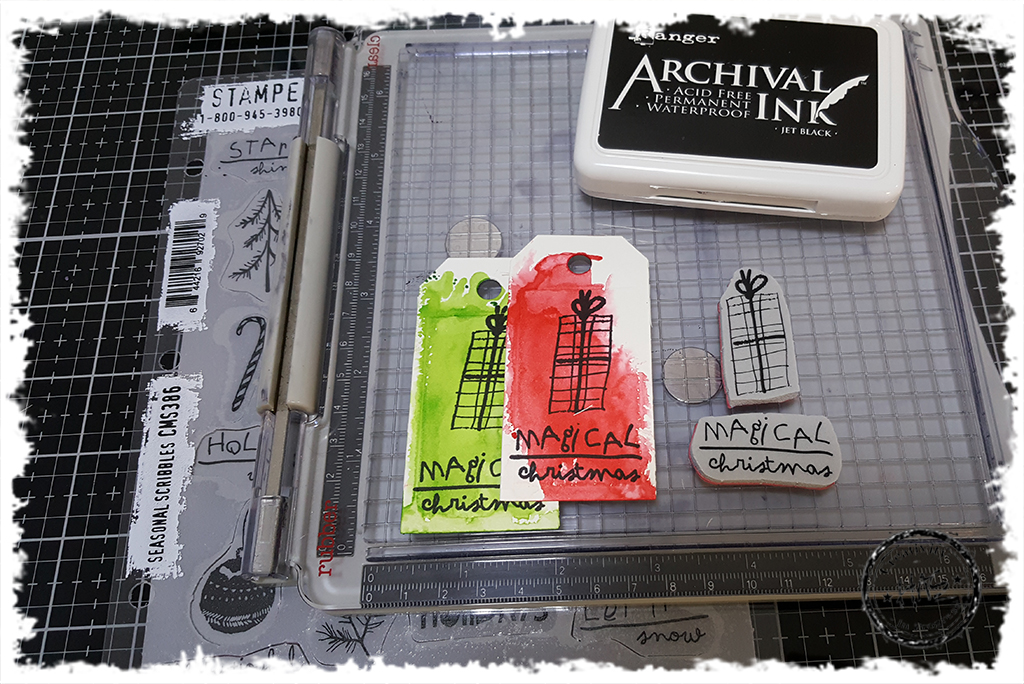
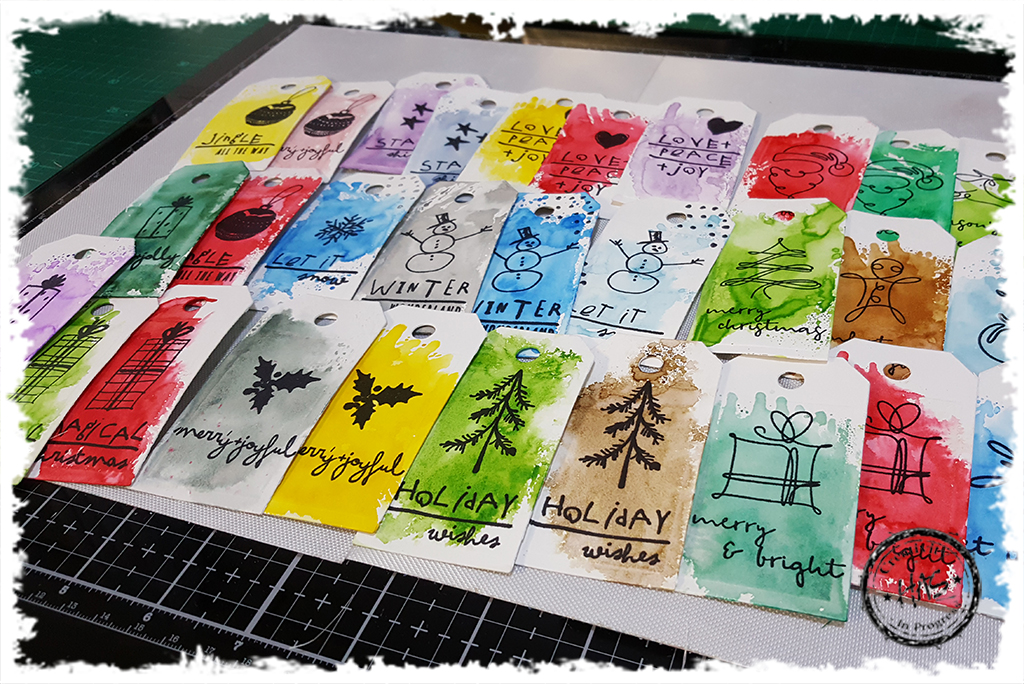
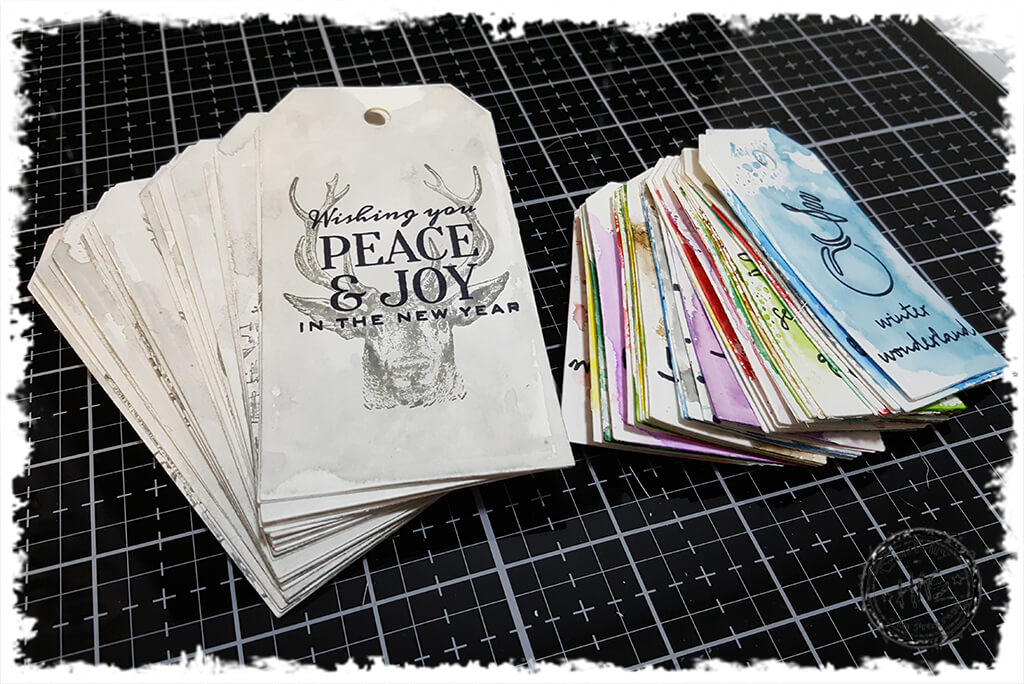
Apply some ink directly from your Ink Pad to your Media Mat and then spritz with water until the ink pools. The more water you add, the lighter the ink will be, and for this quick techniques, you really are looking for a light background. My main presents this year are all wrapped in silver paper with silver and dark grey ribbons and cords – so I did a bunch of Hickory Smoke coloured tags to match my gift wrapping.Cut some tags (I used the Tim Holtz Framelits Die Tag Collection 658784) out of hot pressed watercolour cardstock. You really do want to try and use a watercolour cardstock or a mixed media cardstock as you will be adding quite a bit of liquid to the tag and don’t want it to warp. Then run your tags through the ink randomly and dry using a heat tool. If you feel the colour is too dark, simply spray with water and dab off before drying with a heat tool. I like to do these on mass first, before moving to the next step.This part is the most fun for me… Take out ALL your Christmas Stamp Sets!!!!!!!! Using the same colour Ink Pad as you used to create the watercolour inked background, lightly apply the ink to some Christmas Image stamps – there are no rules here – use what you have! Using your stamping platform, stamp the images over your inked background. You really want a light impression, similar to a watermark. I stamped a variety of different images on my tags. Once you start, you will find it hard to stop!Using your stamping platform and a darker coloured Archival Ink – I used Jet Black as it went perfectly with my colour scheme, but Watering Can would have also worked just as well in this case, stamp your Christmas Sentiments over the watermarked image on the tag. The results really are super impressive. And by changing up the colours or images or sentiments, you can create sophisticated, classic tags, cutsie fun tags, traditional tags and more. Best part for me – I get to use so much of my stash and pull out stamps I haven’t used in ages!Such a simple technique but so super effective!And it really is a great way to use all the stamps in your Christmas stash!These are some smaller tags I cut (using the same die set), and used stamp sets with smaller images on – most of which were really cutsie, so I pulled out all my ink pads and had some colourful fun here! I’ll use these mini tags on my stocking filler prezzies this year, as well as on the many prezzies already bought for our nieces and nephews! Almost the same process applies here, except that I didn’t use a watermarked image. Add ink from your ink pad to your media mat or non-stick craft sheet and spritz with water.Run your tags through the ink and dry using a heat tool. It’s also fun to swirl the tags around for different inked backgrounds. Or lift colour off using a dry paper towel in different areas too – just play!Then it was back to the stamping platform and my favourite friend… Archival Ink Pad Jet Black for a good time stamping some images and sentiments on my tags.You can see I got a little carried away here – but to be fair, there are always so many little prezzies that need a name on – so these will certainly be used up and not wasted! I just love all the colours here, makes me happy in my heart. #useyourstashAnd there you have it… literally a few hours of playing and I have over 50 Christmas Tags ready to rock and roll! Give it a bash! #festivecraftingfun #useyourstash #itsthemostwonderfultimeoftheyear