I love Merry Misfits! I love everything about them! I love them all so much, I cannot choose a favourite. Here are a few tags I made using these quirky little guys…
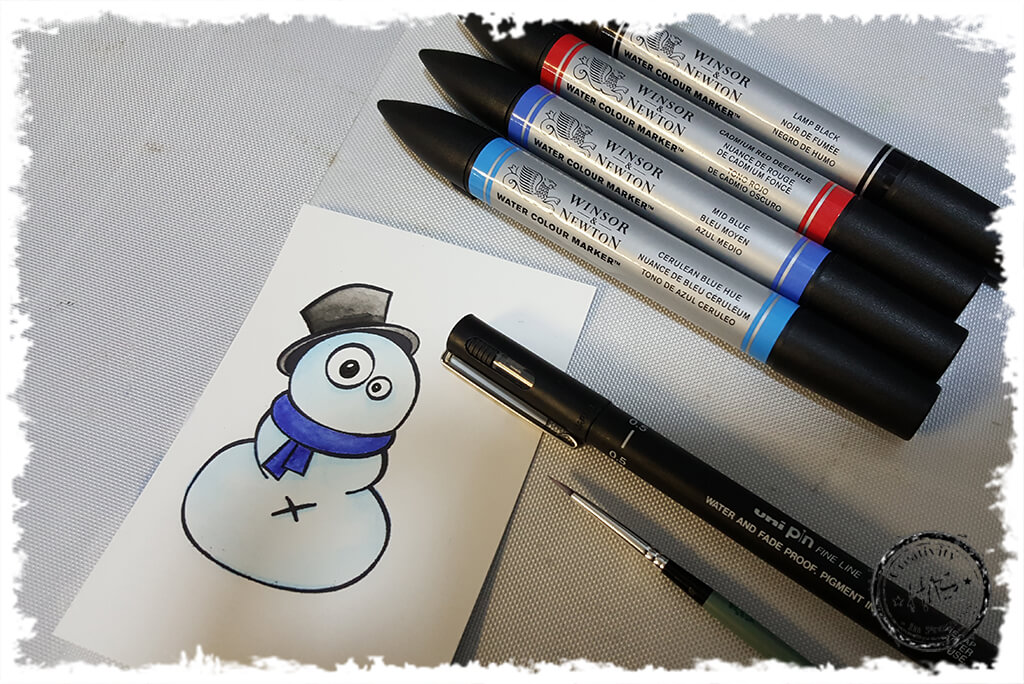
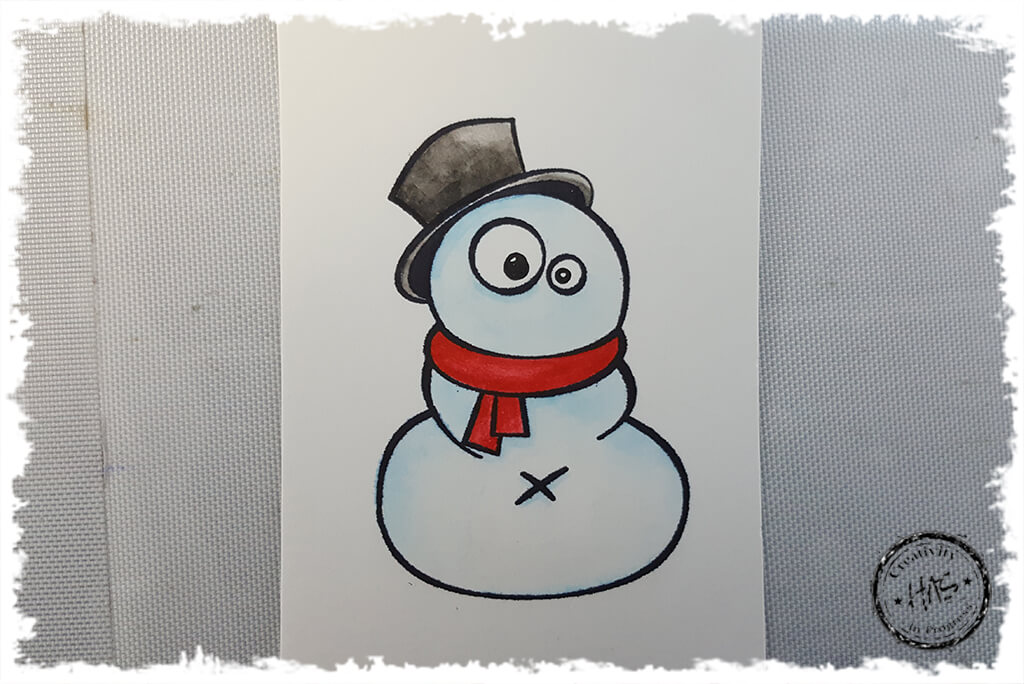
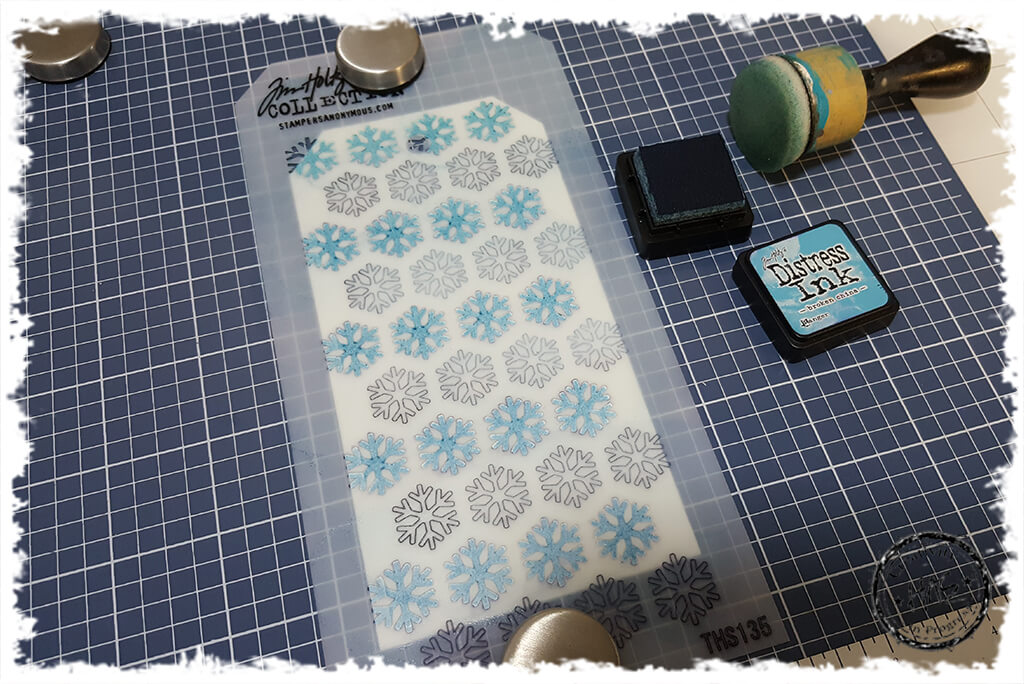
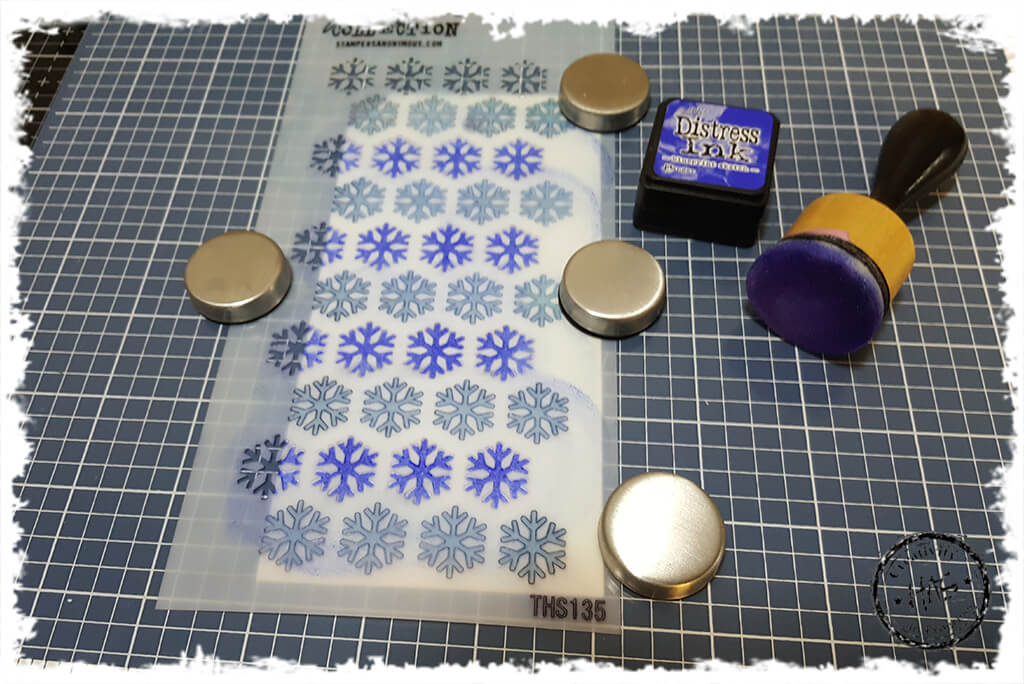
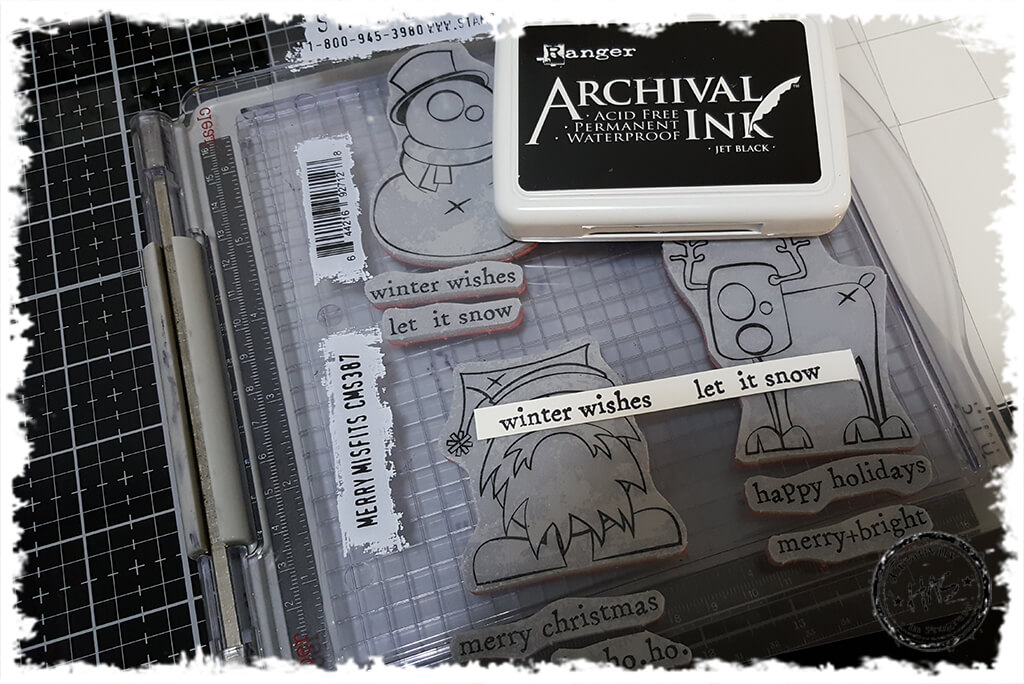
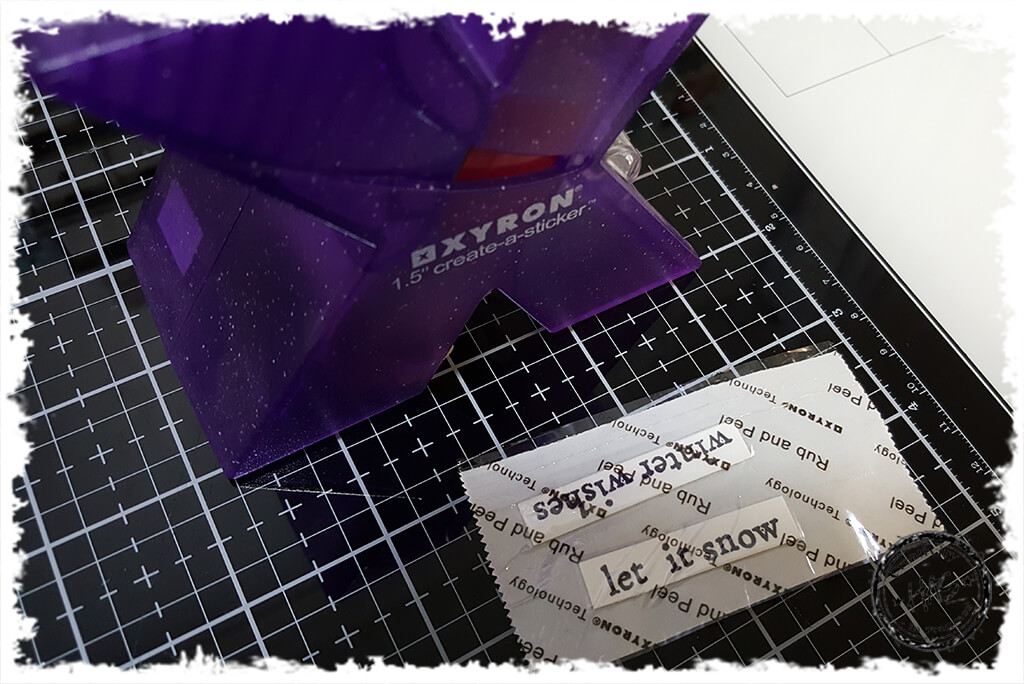
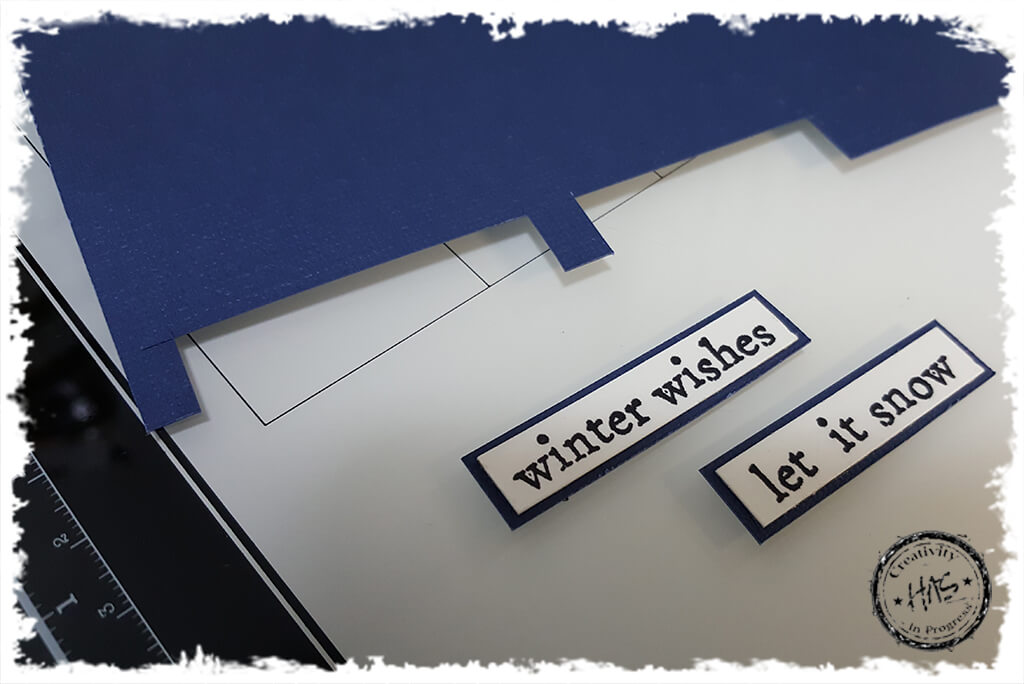
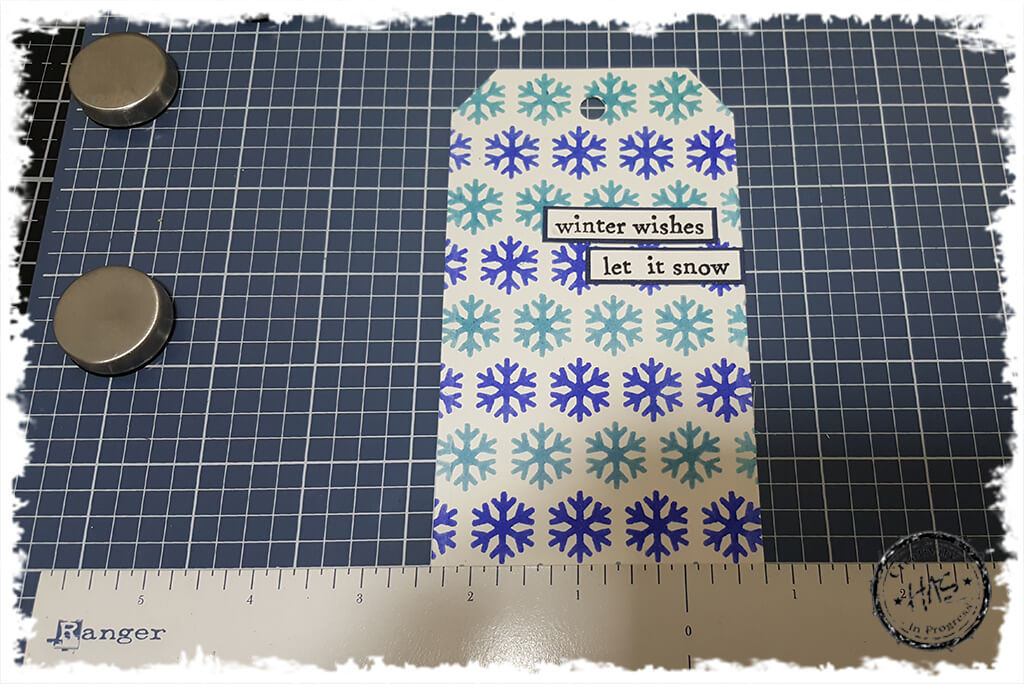
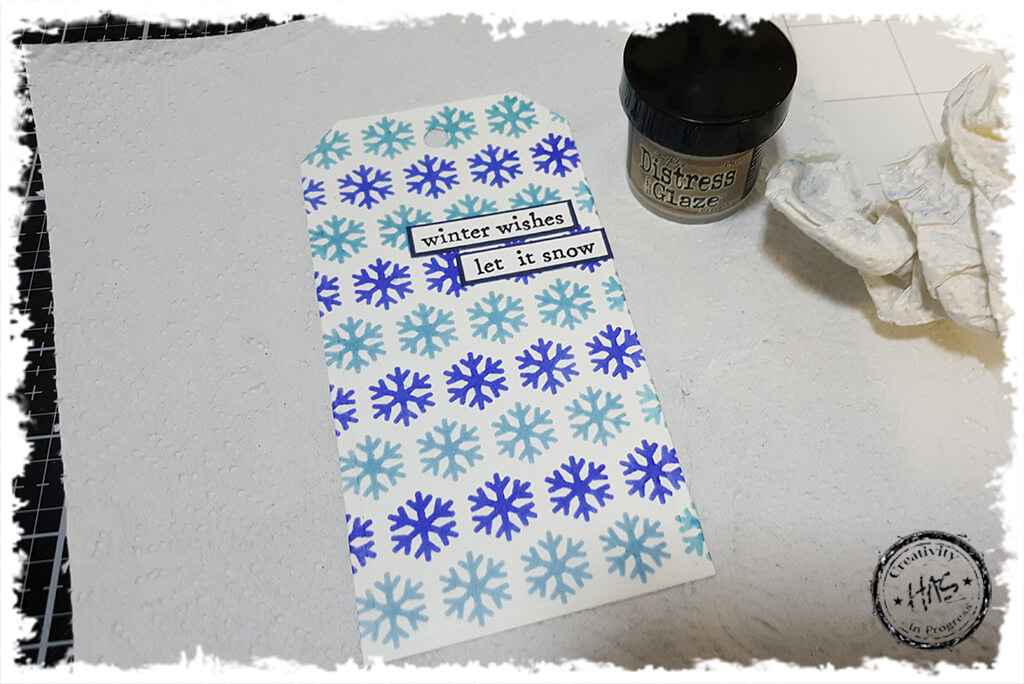
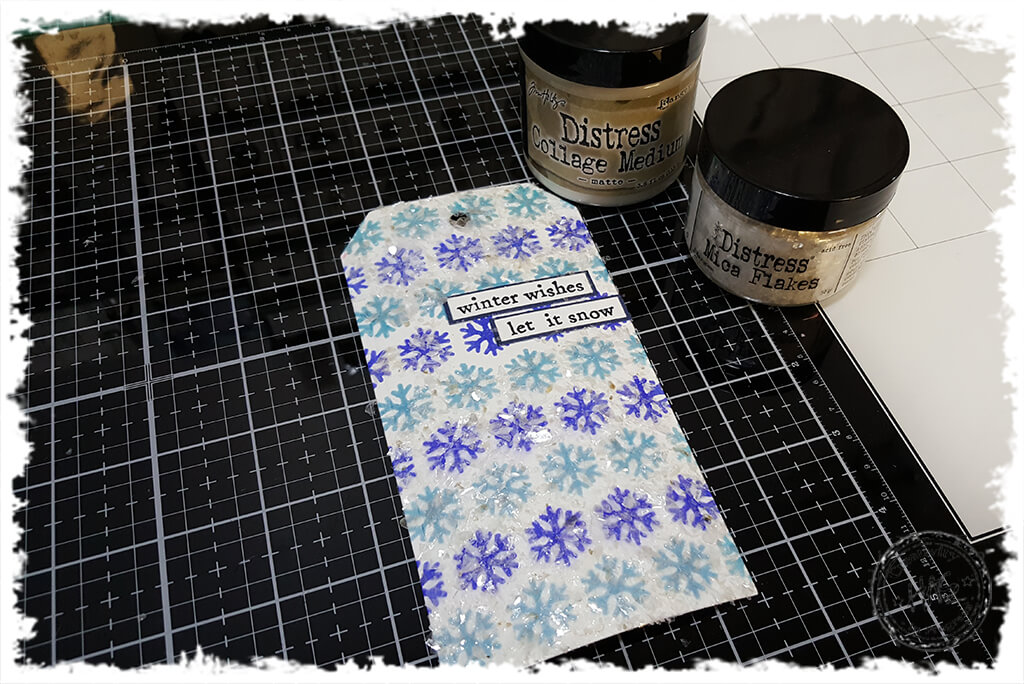
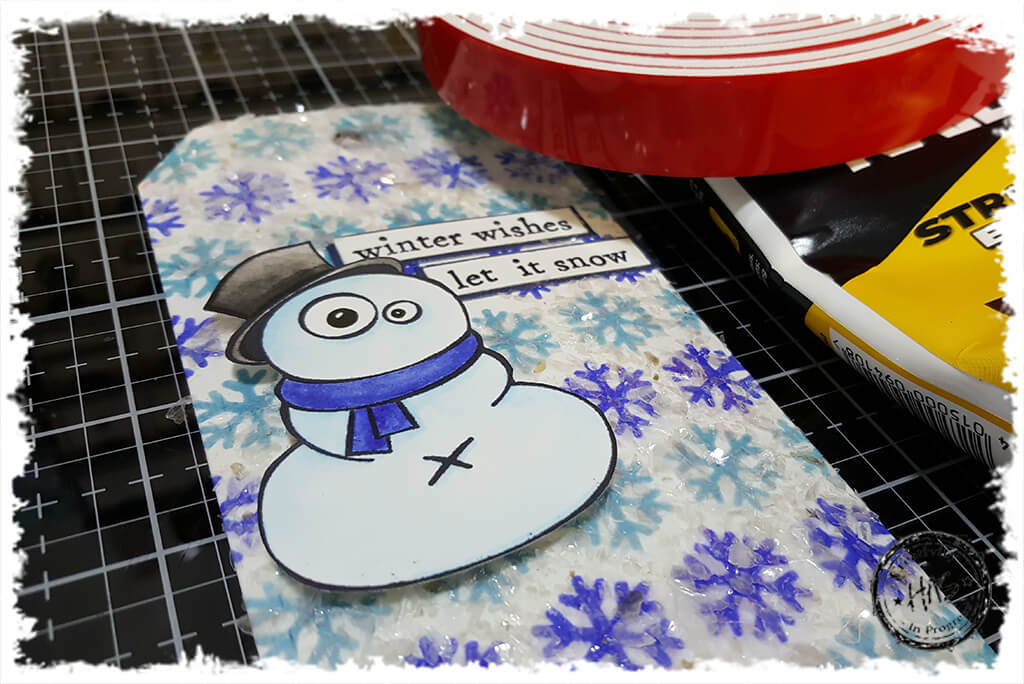
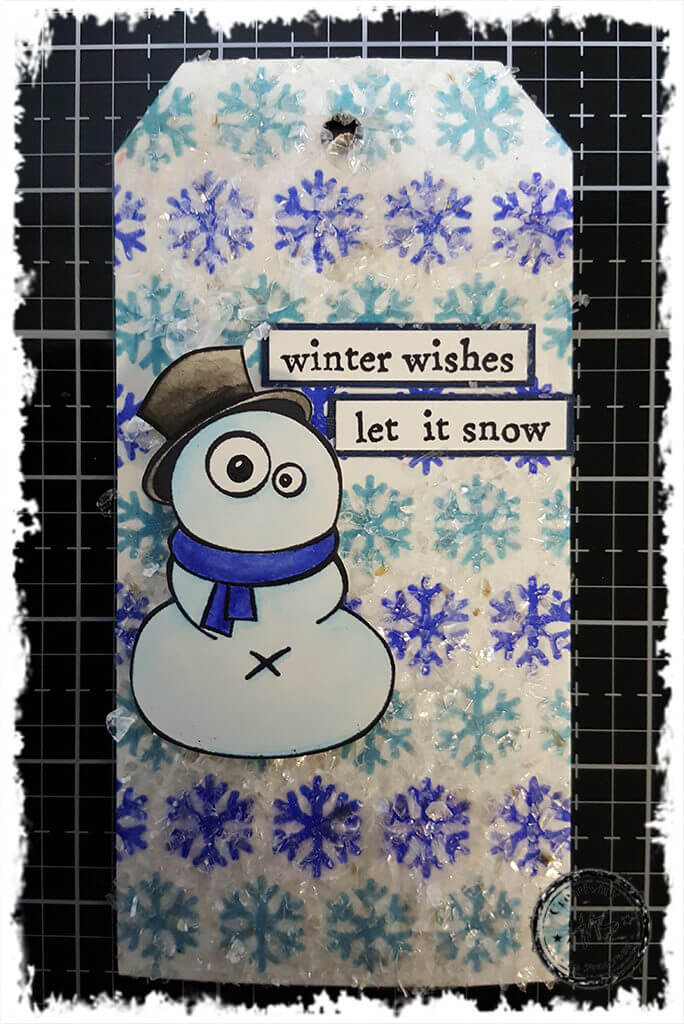
Stamp your Snowman Misfit (CMS387) onto a piece of hot pressed watercolour paper using Jet Black Archival Ink, and colour in with watercolour markers of your choice. My new favourite markers to work with are the Winsor and Newton Watercolour Markers – if you are a fan of watercolour markers, then you really need to give these a try! Colours Used: Cadmium Red Deep Hue / Cerulean Blue Hue / Mid Blue / Lamp Black I used a Uni Pin marker to draw in the eyes. You can use the markers direct to paper, or add colour to your non stick craft sheet and transfer colour to your stamped image using a water brush or fine detail paint brush and water. I always use a heat tool between colour layers to ensure the ink doesn’t become saturated and bleed.I stamped a few images and played around with different googly eyes for these misfit characters… ok, ok, I just cant stop playing with my new markers!I used my new Tim Holtz Shifter Snowflake Stencil (THS135) over a die cut Tag (Tag Colelction Framelits Die 658784), and inked first with Tim Holtz Distress Ink Broken China and a blending tool. I like to use my Wendy Vecchi Make Art Staytion when stenciling as the magnets hold the stencil tightly in place and ensure nothing shifts while inking.Next I shifted the stencil to cover the inked areas which then allows you to apply another colour (or more ink), without any chance of you inking or messing over the areas you have already inked. This time I used Tim Holtz Distress Ink, Blueprint Sketch.Using my Stamping Platform and Archival Ink Pad Jet Black (I don’t think I ever craft without using this go to ink pad), I stamped a sentiment from t he Misfits stamp set onto some hot pressed watercolour paper.I ran the sentiments through my Xyron Sticker Maker which adds adhesive to the back of the stamped surface.Then I matted the sentiments onto some blue cardstock to give them a nice edge and to help them stand out from the background.Adhere the sentiments to the tag. I also like to use my Wendy Vecchi Make Art Staytion when lining things up – it really allows you to get everything straight every time!Next I rubbed some Distress Micro Glaze over the tag to seal in the ink. This is like a wax varnish. You can buff off any extra glaze using a paper towel. Allow to dry.Using my Tim Holtz Collage Brush, I added some Distress Collage Medium Matte (which works like a glue and sealer). Then a sprinkled over some Distress Mica Flakes while the glue was wet and allowed to air dry.Using my Tim Holtz Mini Snips, I cut out the Snowman and adhered him to the top of the tag using double sided foam tape with a little no more nails glue to ensure he stick nicely over the mica flakes surface.I love the result of this tag, especially with the Mica Flakes in the background. Another cutie pie and another tag completed ready to be added to a Christmas prezzie! Happy Festive Crafting!