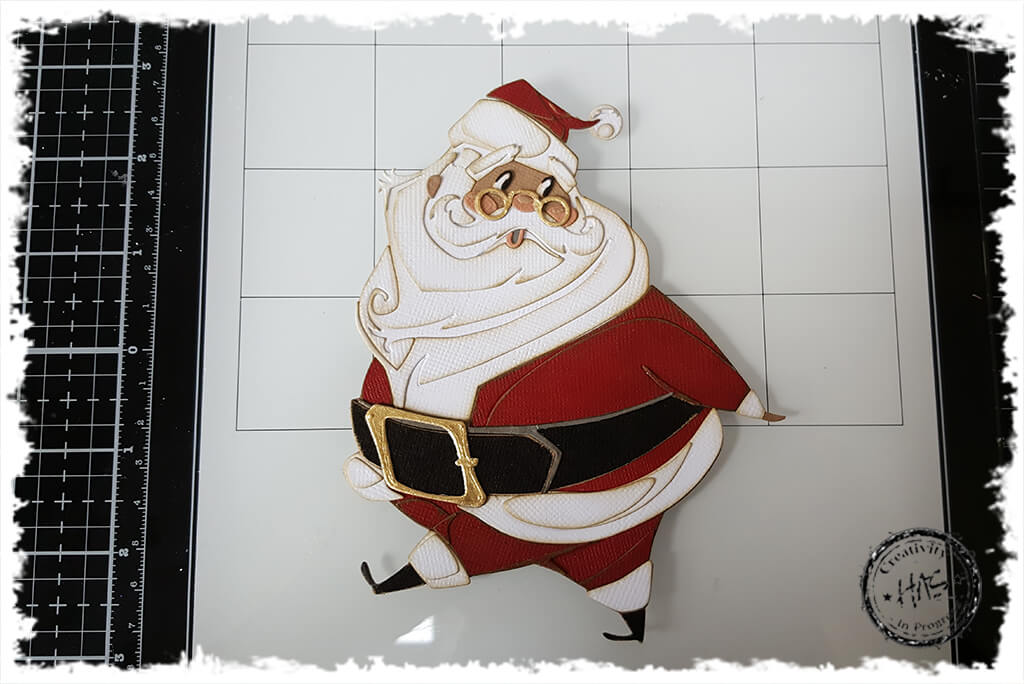
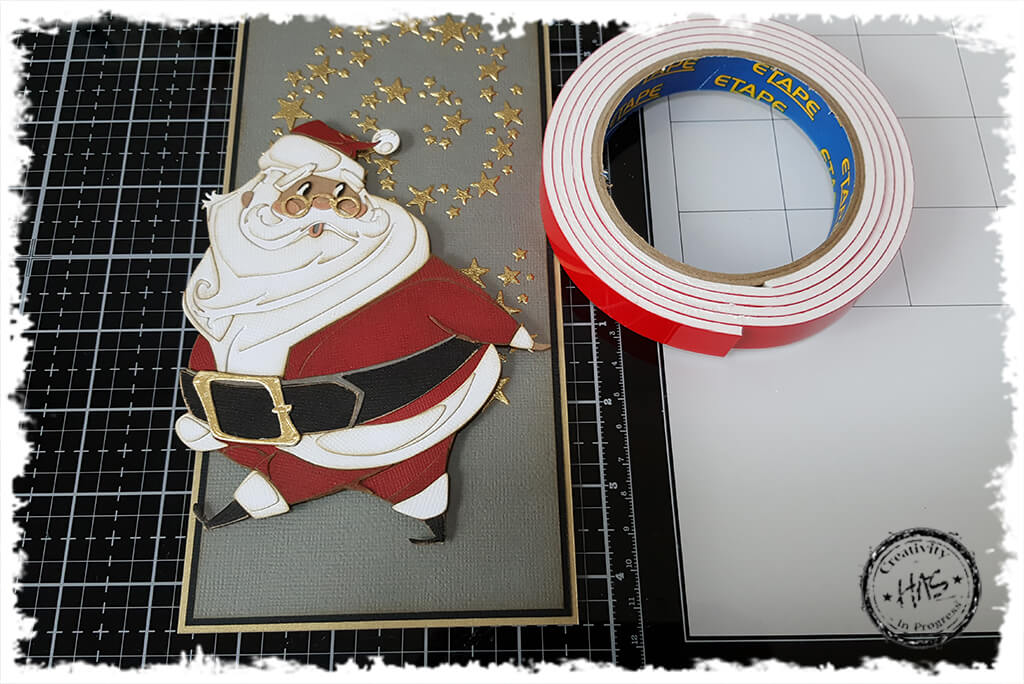
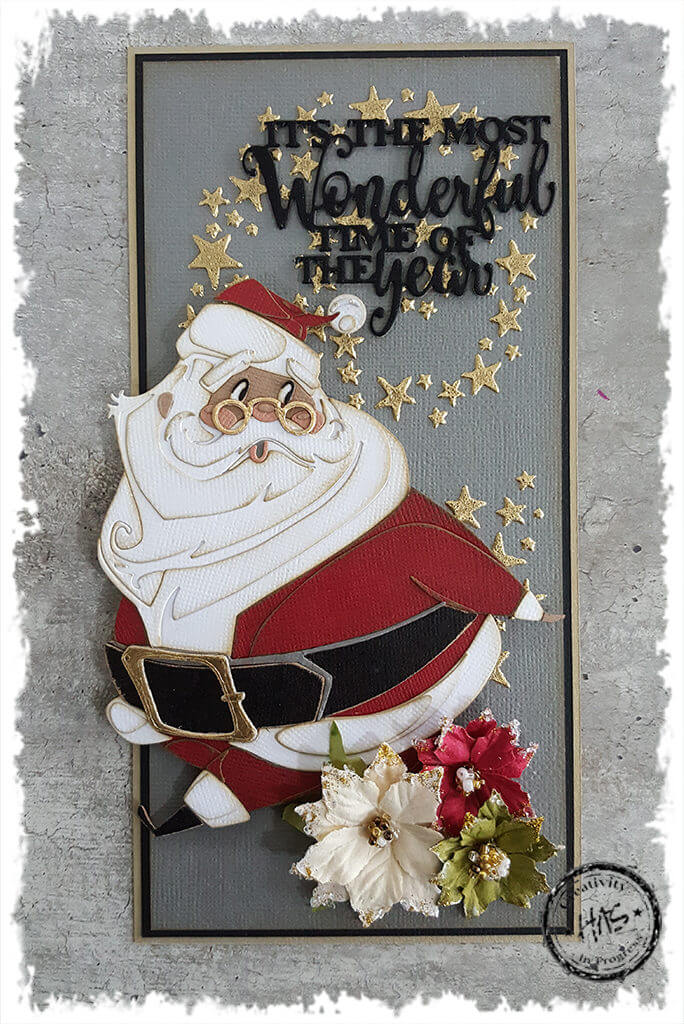
There are many parts and pieces to this Santa, but he is well worth the effort! This Jolly Santa makes a real statement on any card, gift bag or journal page. Give him a try!
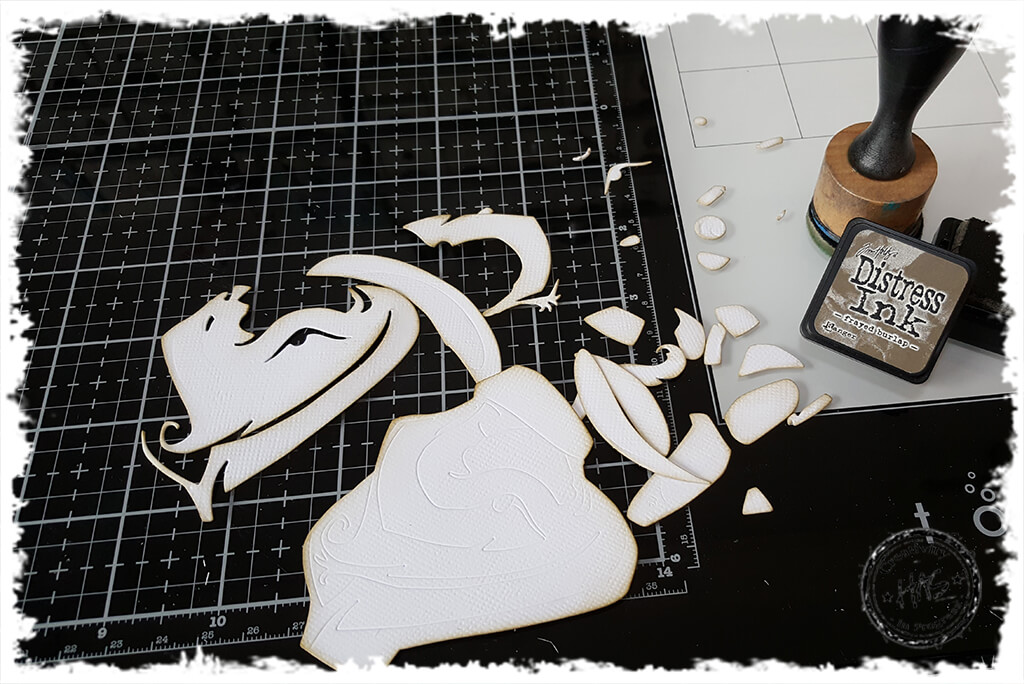
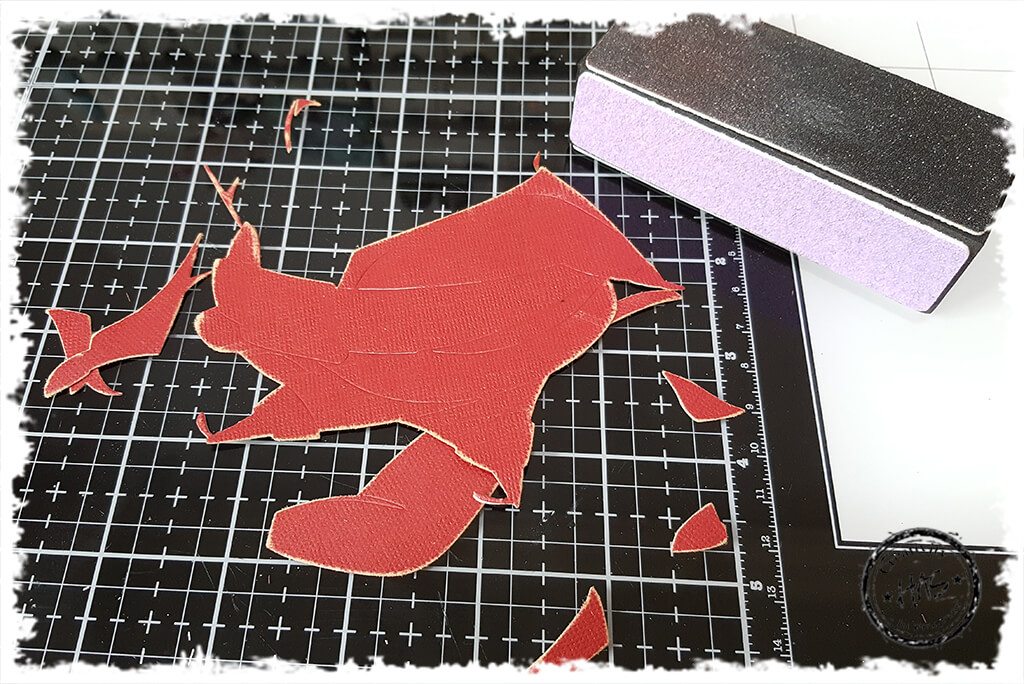
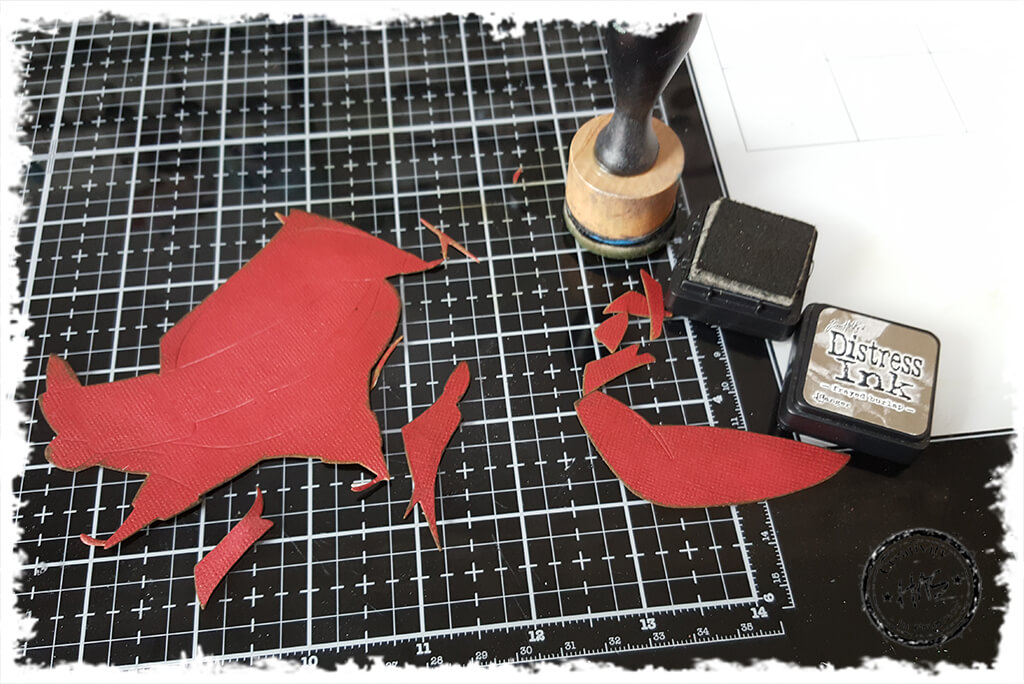
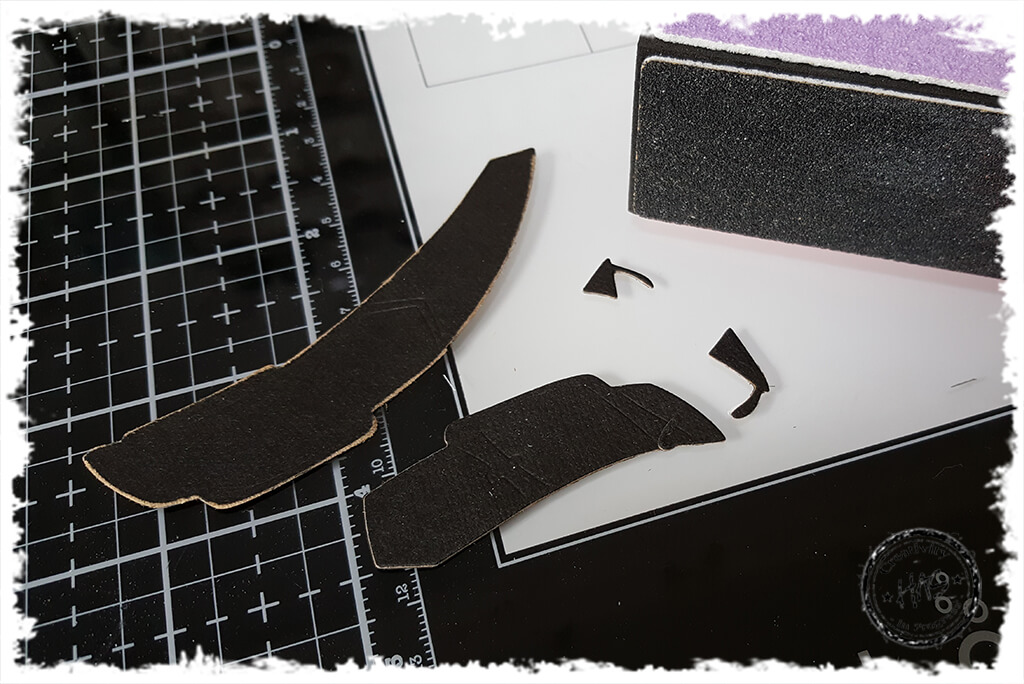
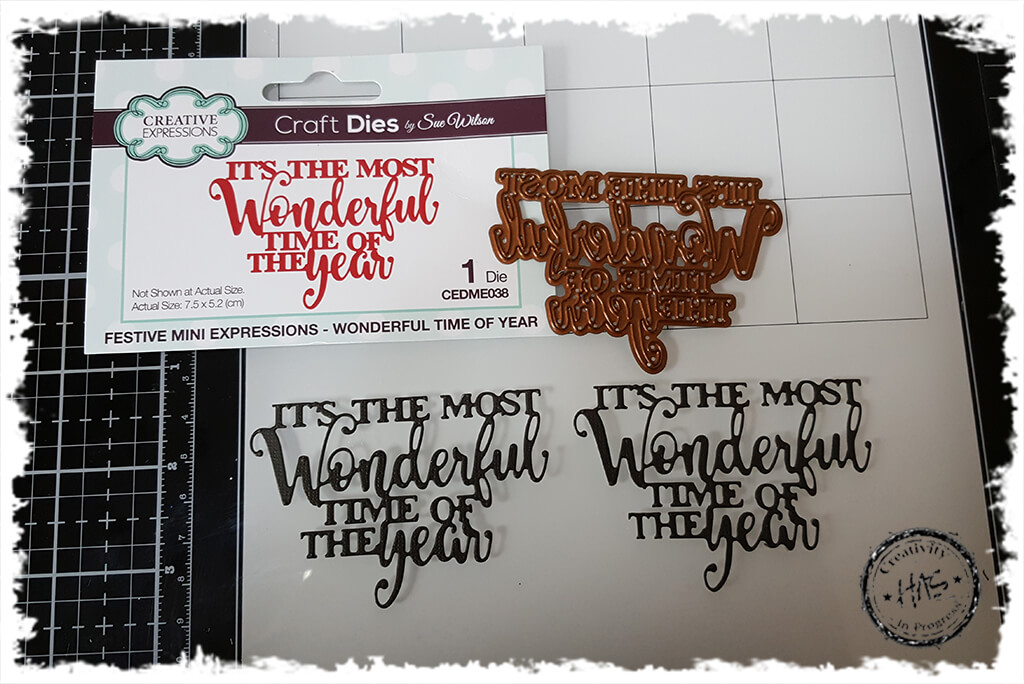
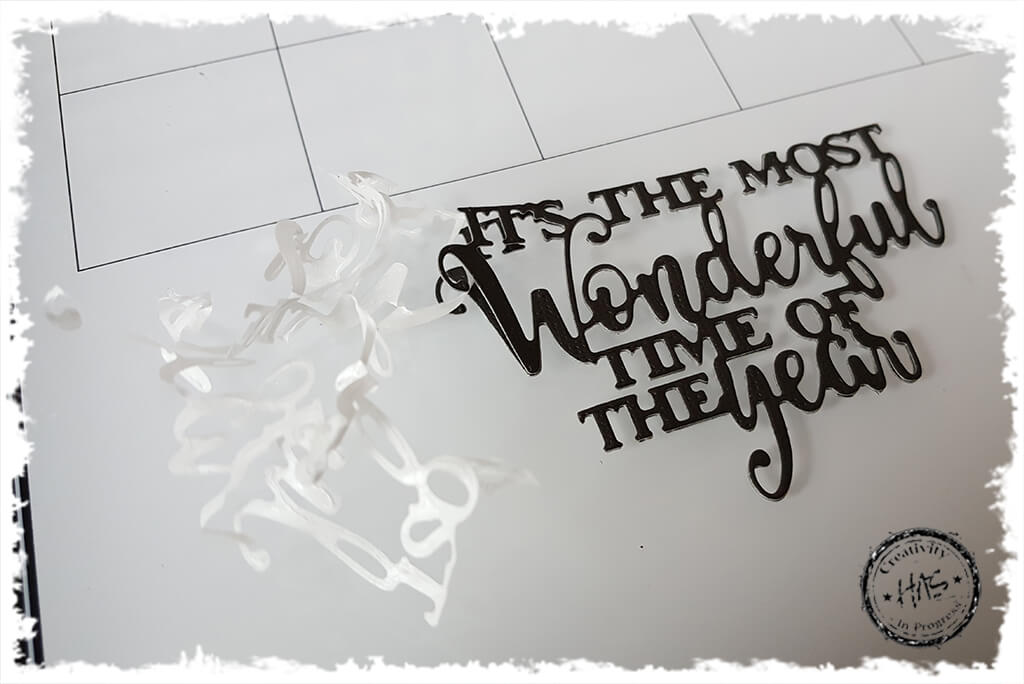
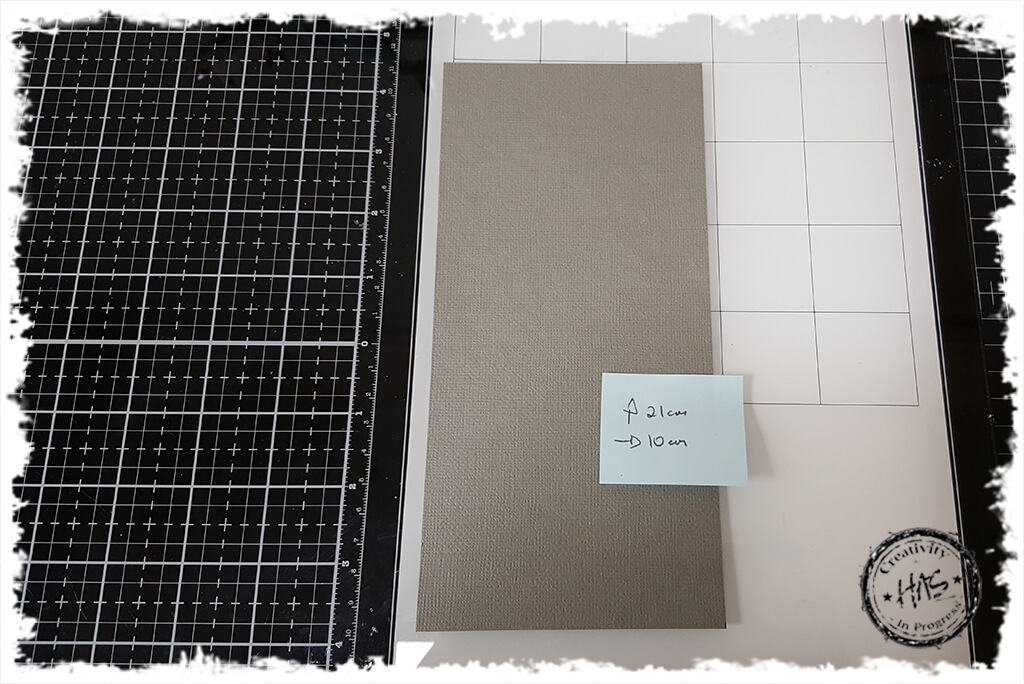
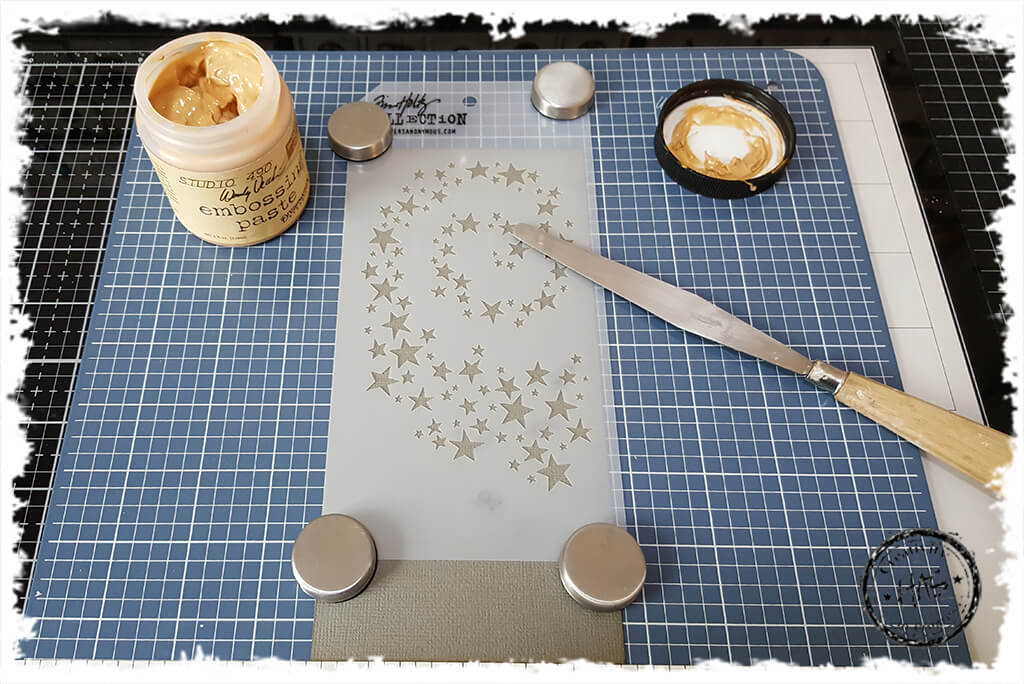
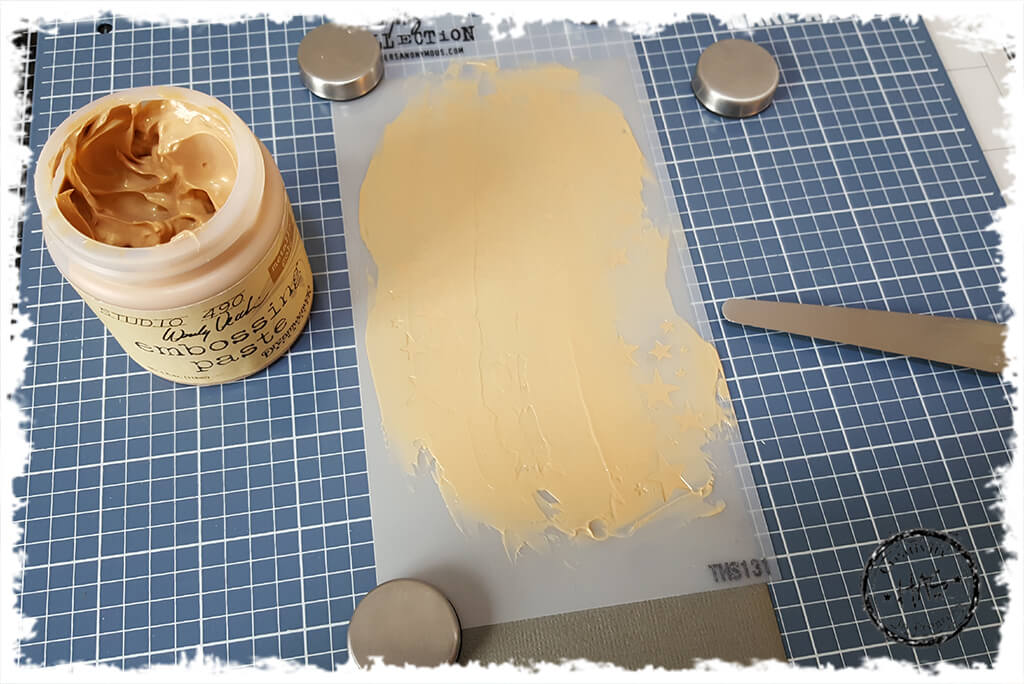
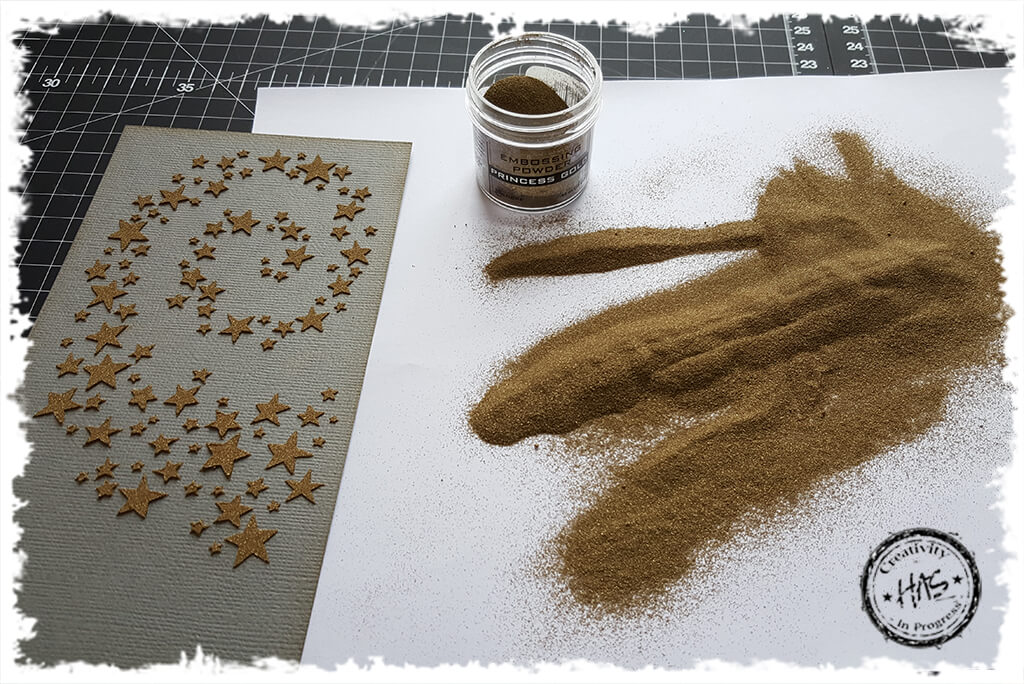
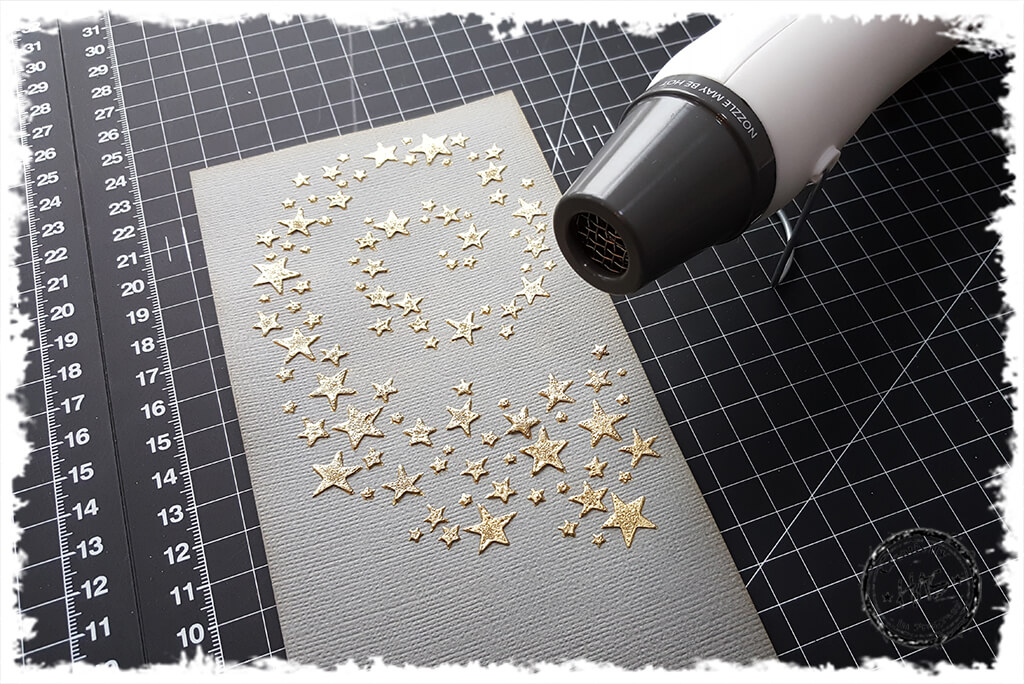
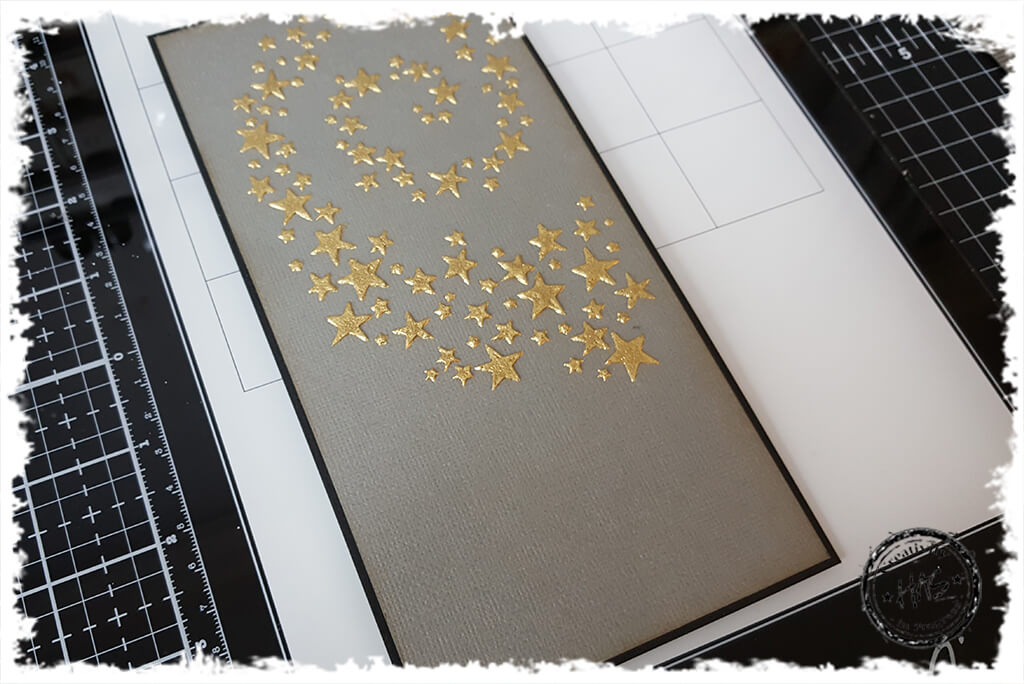
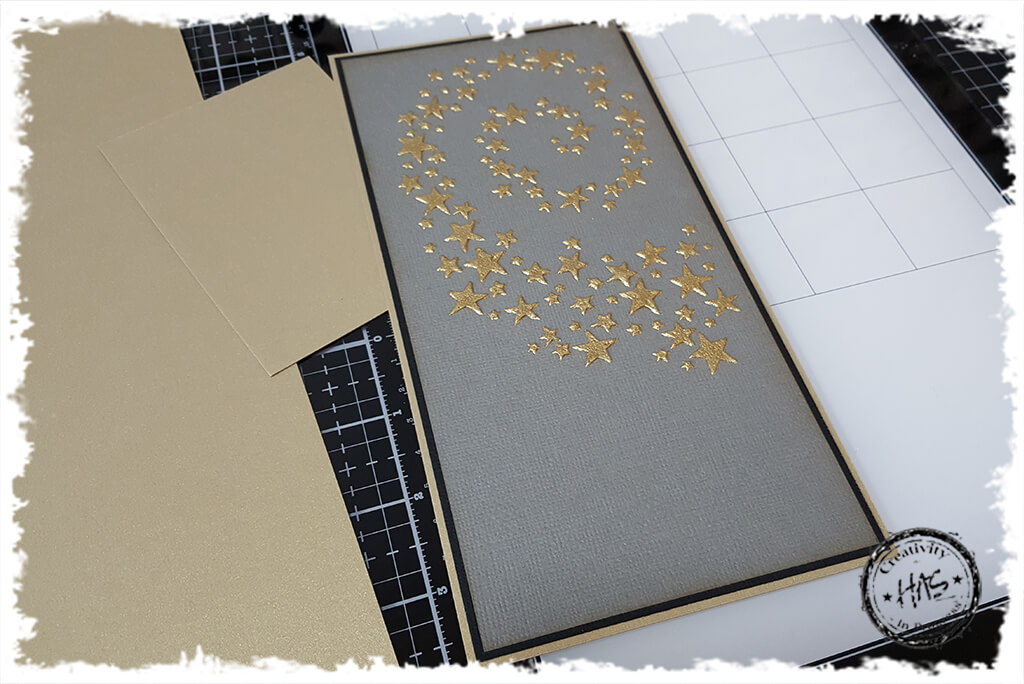
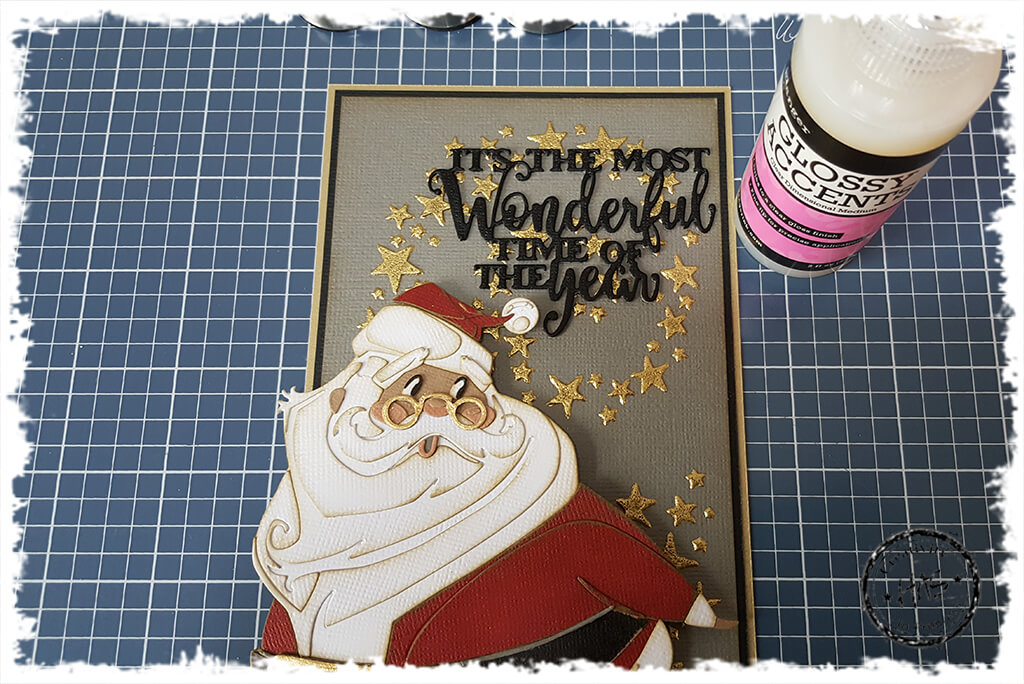
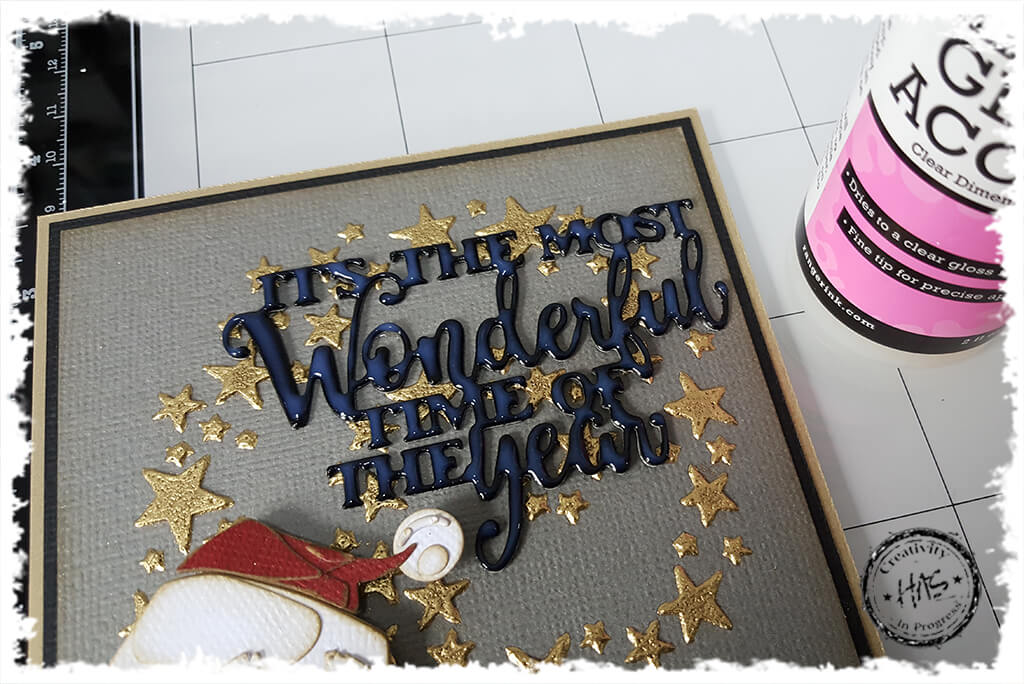
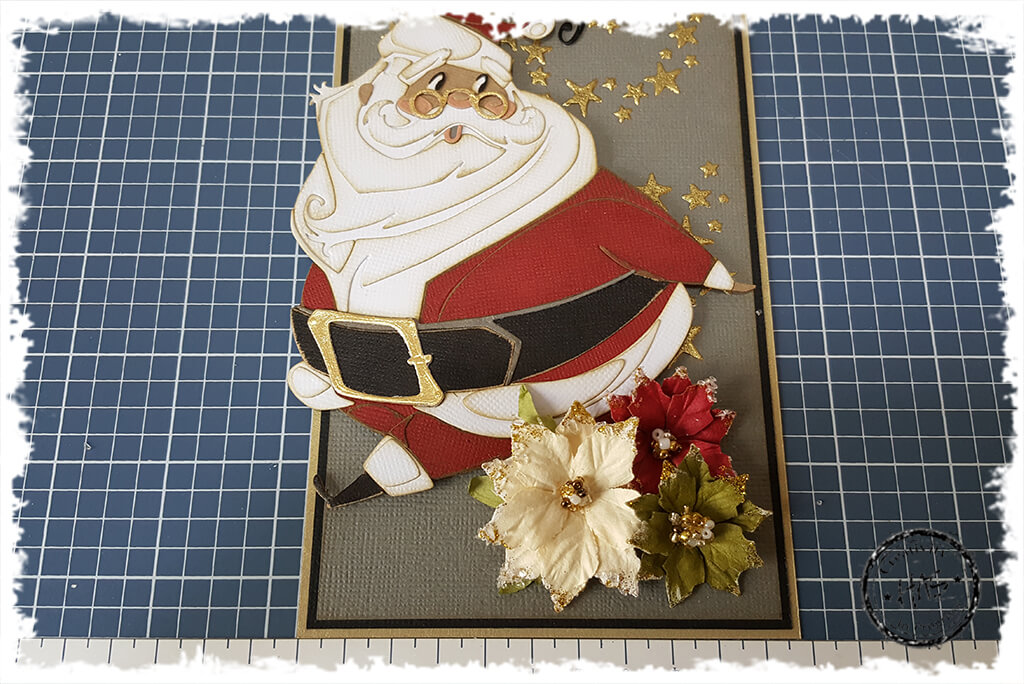
Whenever I am using my Colorize Dies, I start by running my cardstock through my Xyron Machine to add adhesive to the back of the cardstock before I die cut anything. That way, every piece I cut, already has adhesive at the back of it, making it super easy to assemble and also eliminates the sticky mess that glue can cause especially on such tiny pieces. If you don’t have a Xyron machine, you could also use Sizzix Adhesive Sheets which are designed especially for adding adhesive to the back of cardstock before die cutting. Next I cut out all my pieces from my Jolly St Nick Thinlits die and edged most of them using using a blending tool and Tim Holtz Distress Ink Pad: Frayed BurlapI decided to use Red Kraftcore cardstock for the red Santa elements. So I sanded the edges of these pieces first to reveal the kraftcore centreThen I inked the sanded edges as the ink holds much better to the kraftcore than the coated surface. The inked edges helps by giving Santa a slightly vintage feel, but also to edge him off nicelyI also used Kraftcore cardstock for the black elements and sanded these too. I chose not to ink these sanded edges thoughHe really is impressive once he is put together!I used one of the new Christmas dies we received in our last shipment. I absolutely love this phrase and thought it would be perfect for this card! Before I cut anything, I ran my cardstock through my Xyron Machine to add adhesive to the back of the cardstock, then I die cut it twice out of black cardstockThen I stuck the two pieces together to create a more dimensional and sturdier piece. I often do this for words and phrases die cut using my thinlits dies. I like the depth it creates, but it is not essentialI cut a piece of grey cardstock measuring 21cm in height x 10cm in widthAnd inked it with a little Frayed Burlap to edge it nicelyBack to my Wendy Vecchi Mart Art Staytion for this next step! Because the staytion is magnetic, it works beautifully for stenciling. Once my stencil was securely in place over my cardstock, I applied some Wendy Vecchi Embossing Paste(gold) over the top of the stencil using a palette knifeI gave it a nice, thick coat and removed the stencil very carefully so as not to smudge the pasteNo matter how many times I do this technique, I still love it! I sprinkled over some Ranger Princess Gold Embossing Powder and set the cardstock aside for about 10 minutes so the paste started to dry on its ownThen I heat set the Embossing Powder using my Sizzix Heat Tool which is perfect for both drying cardstocks and embellishments as well as embossing as it is dual speed!Then I matted the grey cardstock to some black cardstock to give it a thin borderAnd matted it once more onto some gold cardstock I found which I had stored from a million years ago. Gold glitter cardstock would also be awesome to mat with here. I think the double frame is nice and dramatic on this cardThen I added my Jolly St Nick. I wanted him raised, so I used a thick double sided foam tape, and because I was adhering him to an uneven surface, I also added some ‘no more nails’ glue to the foam tape to ensure it was well stuckThen I stuck down the Christmas sentiment with extra glossy accents to ensure it was securely adheredI wanted the sentiment to make just as much of a statement as St Nick, so I added a layer of Glossy Accents over the surface of the phrase and allowed that to air dry – it gives a wonderful resin like / enamel finishDown went the Christmas Flowers next – I used the Prima Christmas in the Country Collection (642563). I adhered these to the bottom right hand corner of the card topper using No More NailsAnd just like that, this card topper is ready to be added to a card when I need it!