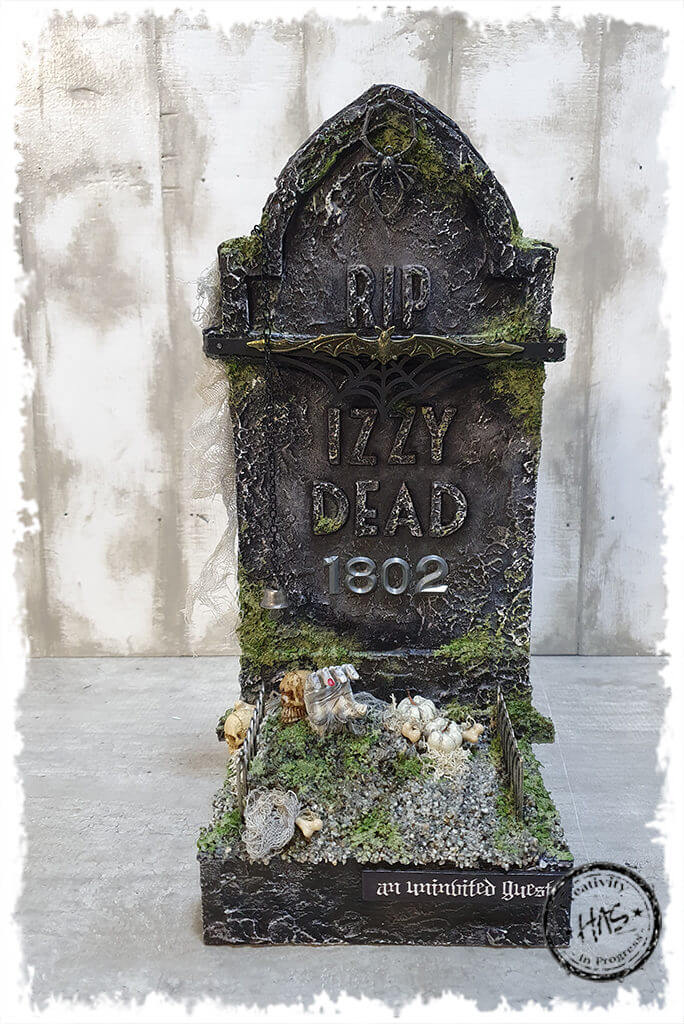
I cannot tell you how much fun I had creating this frightfully fun Halloween piece!
Here’s how I did it…
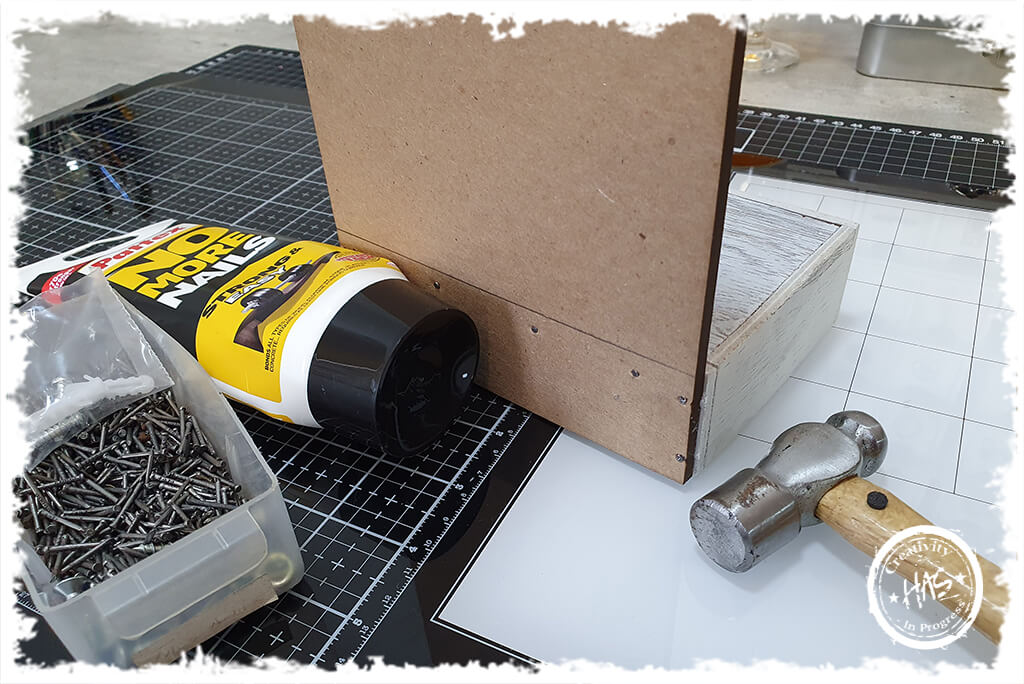
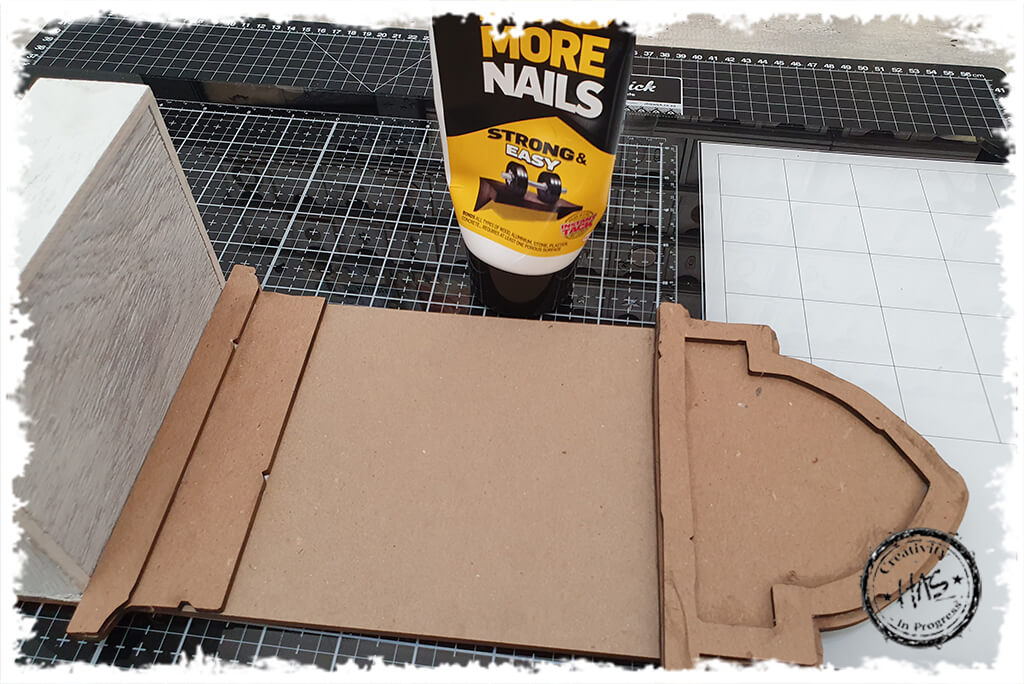
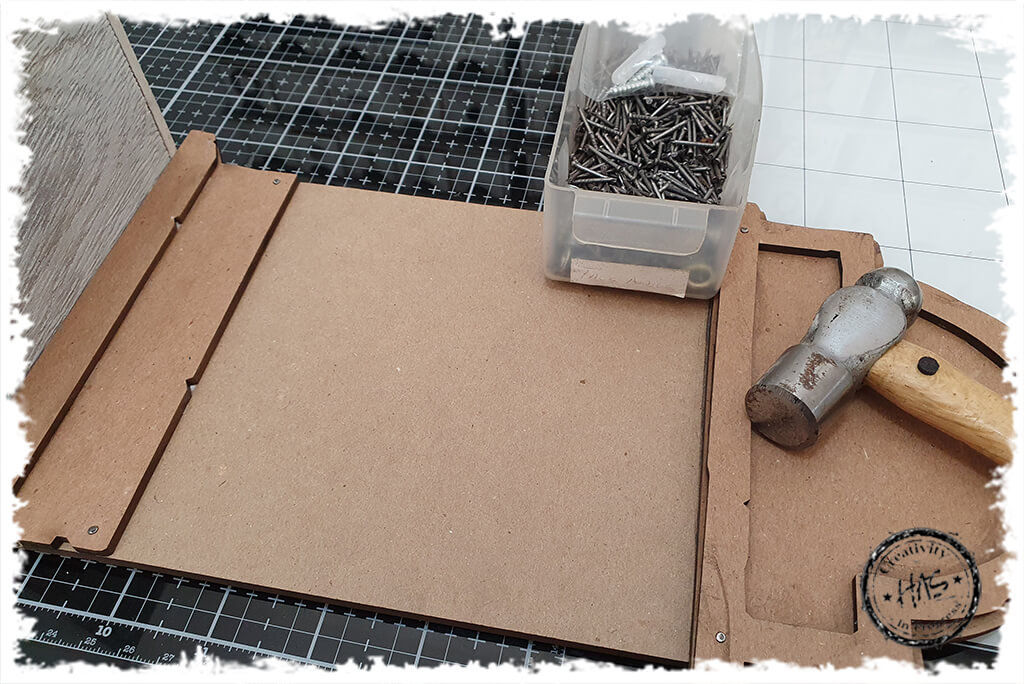
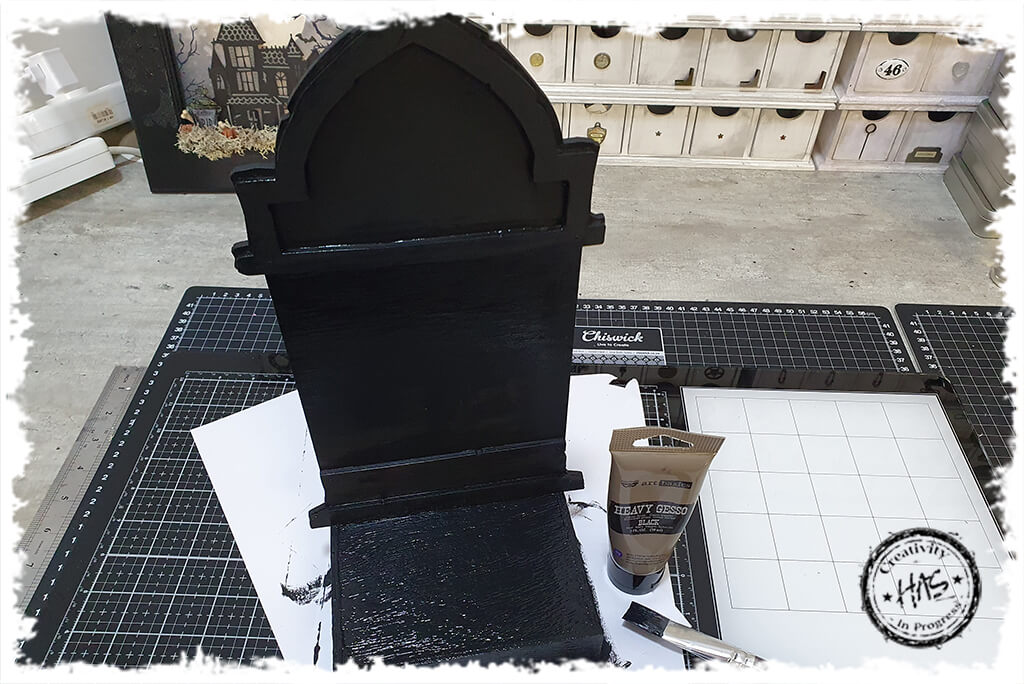
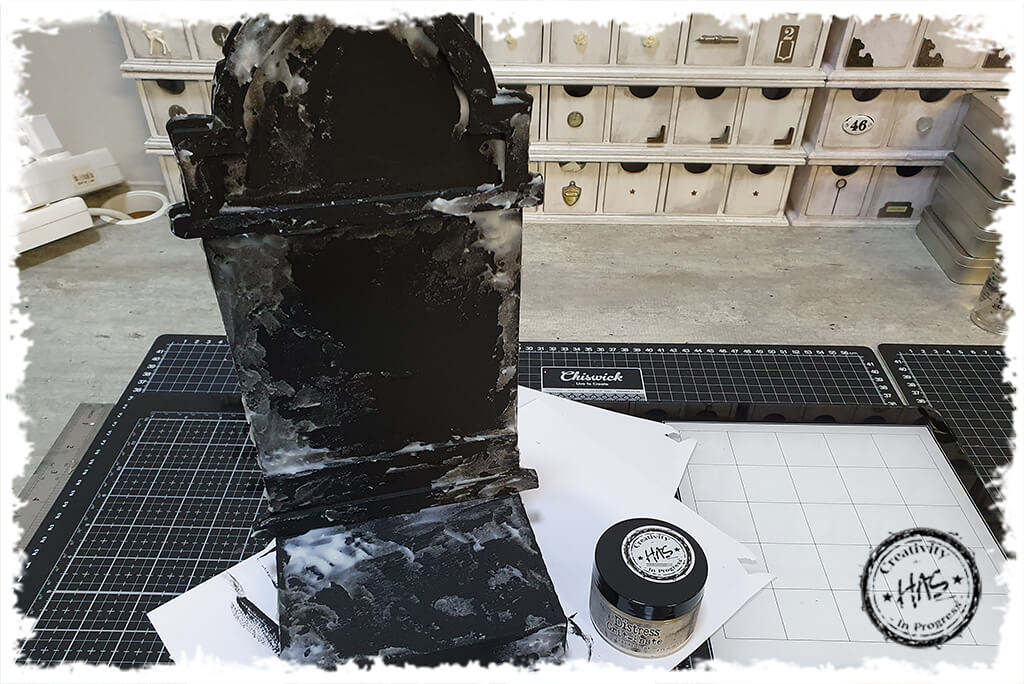
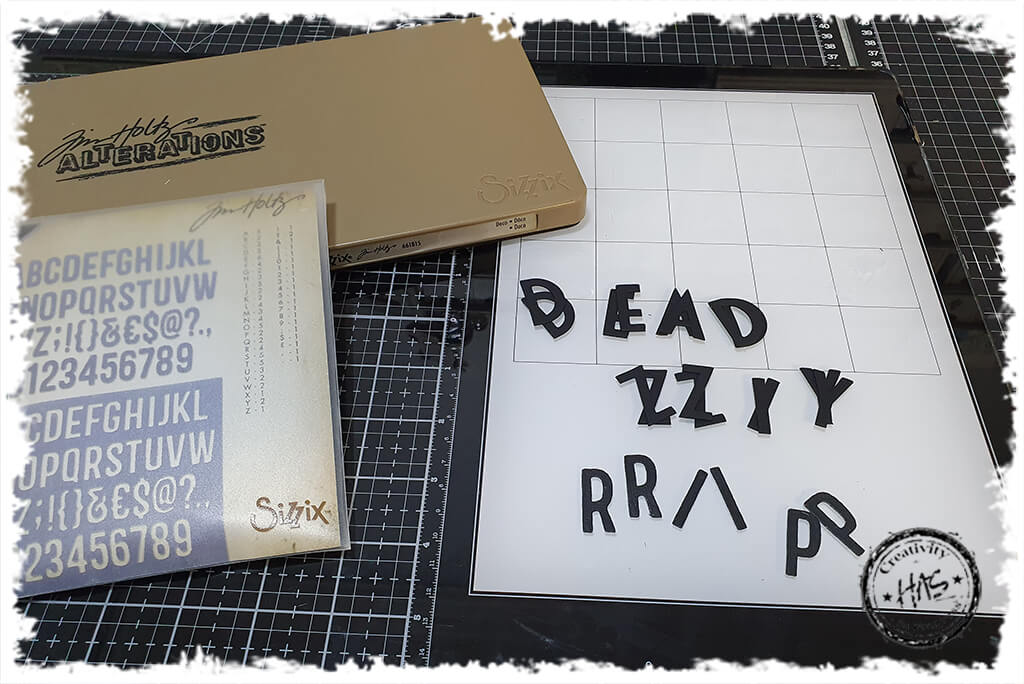
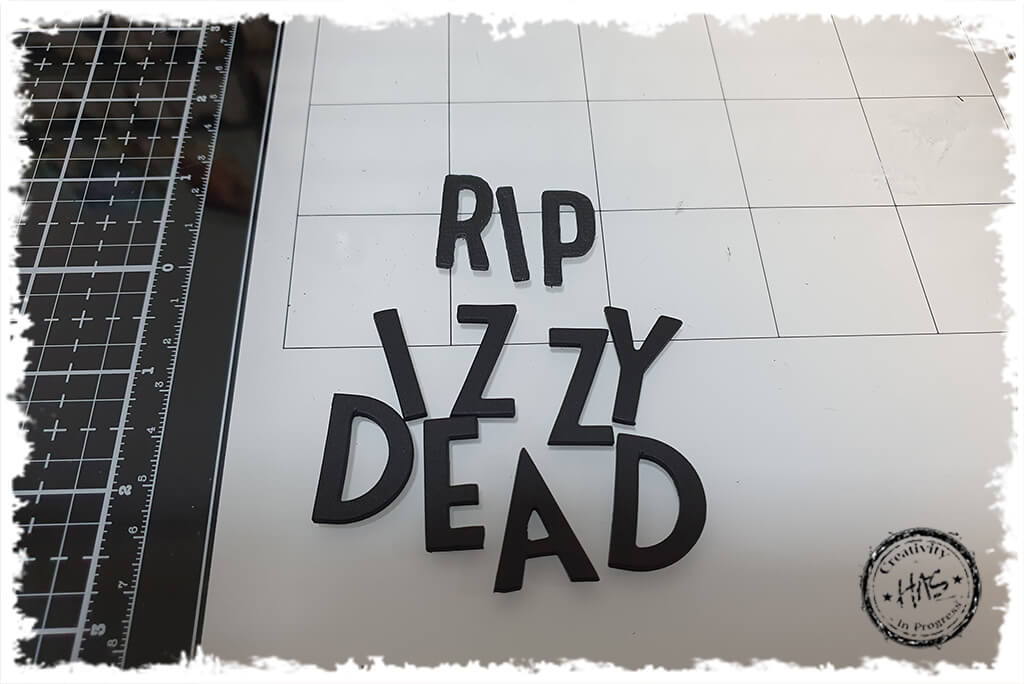
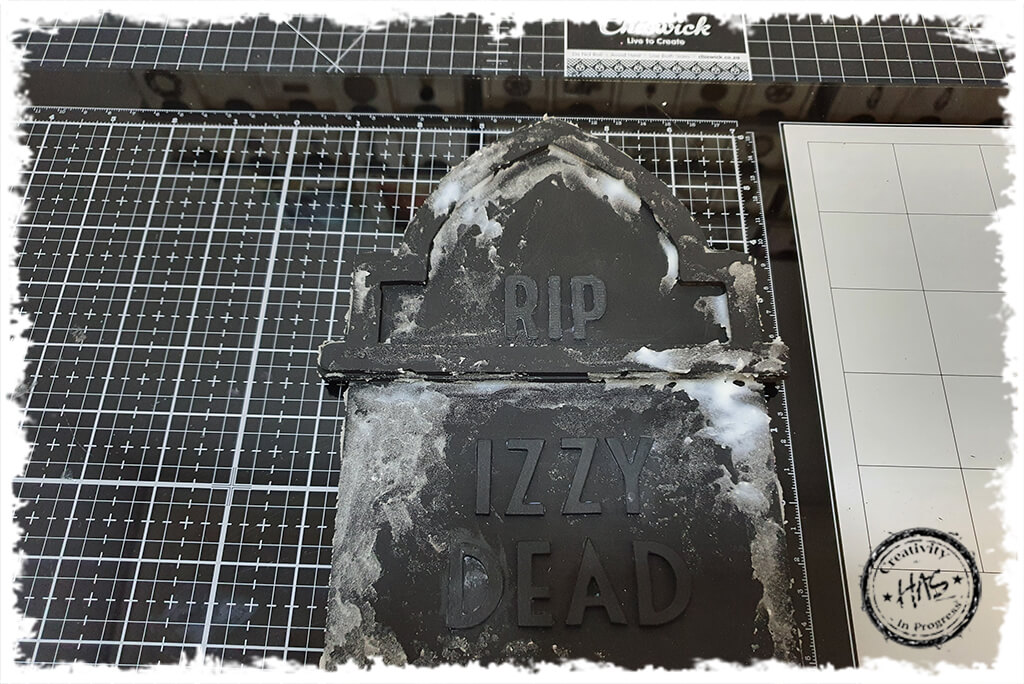
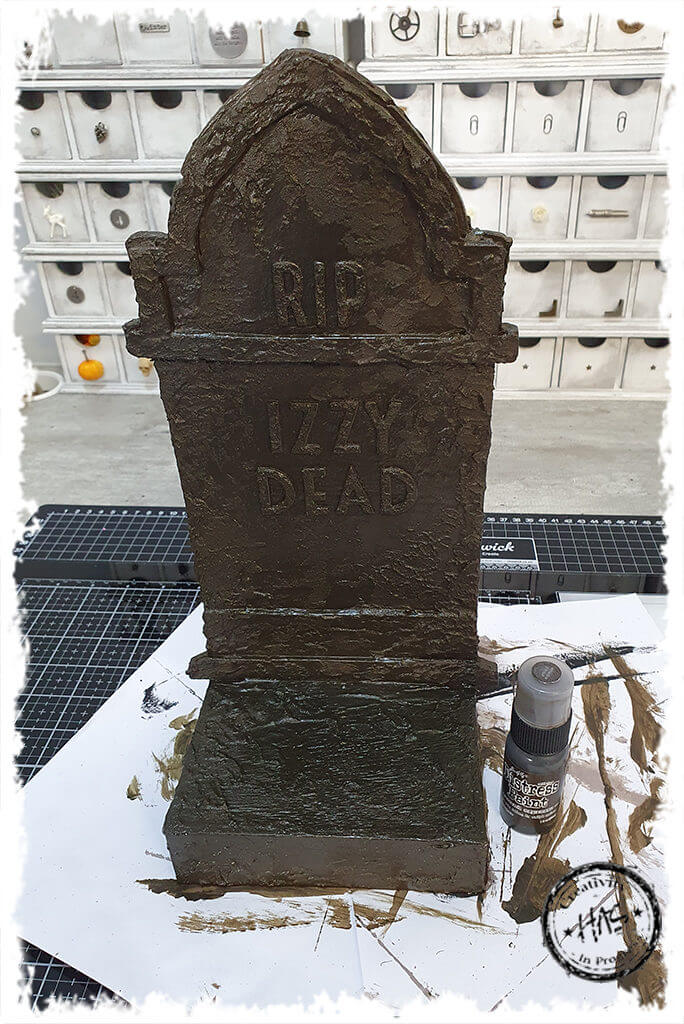
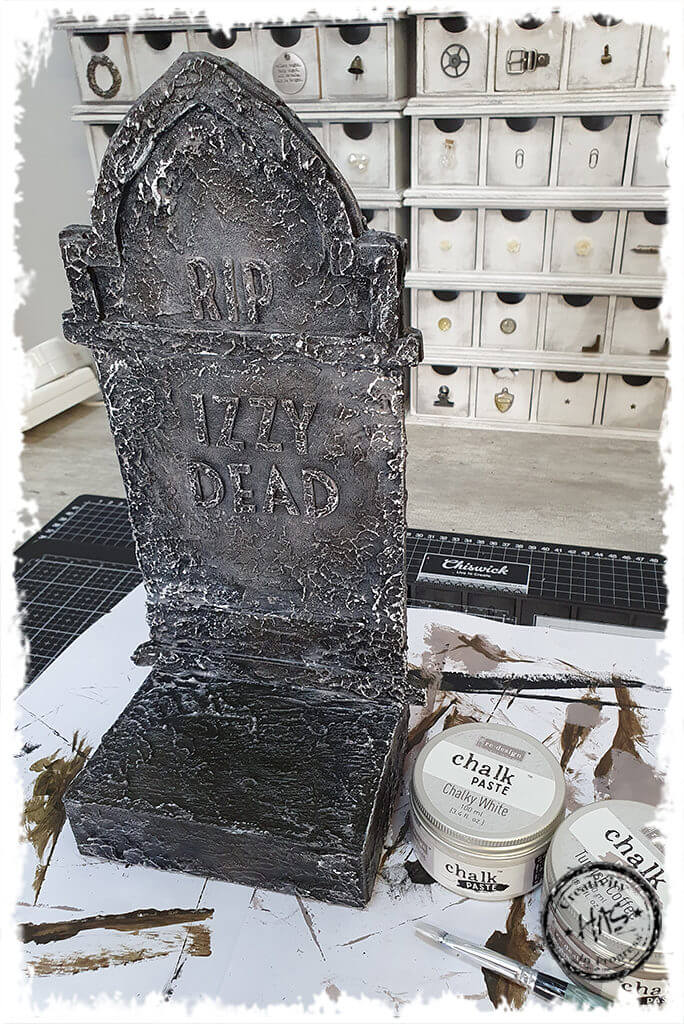
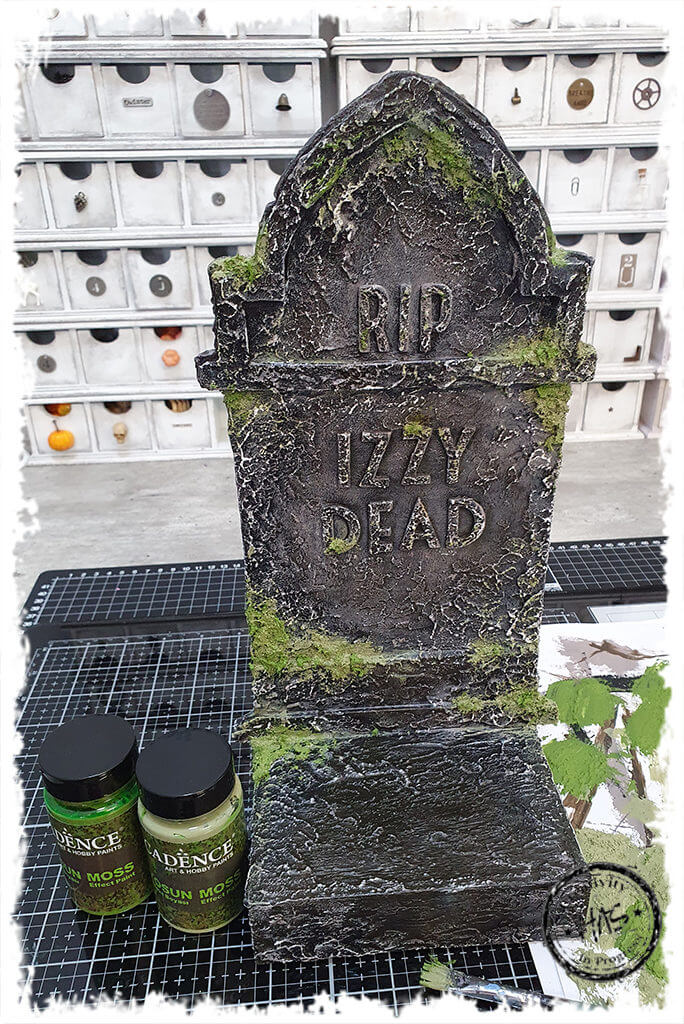
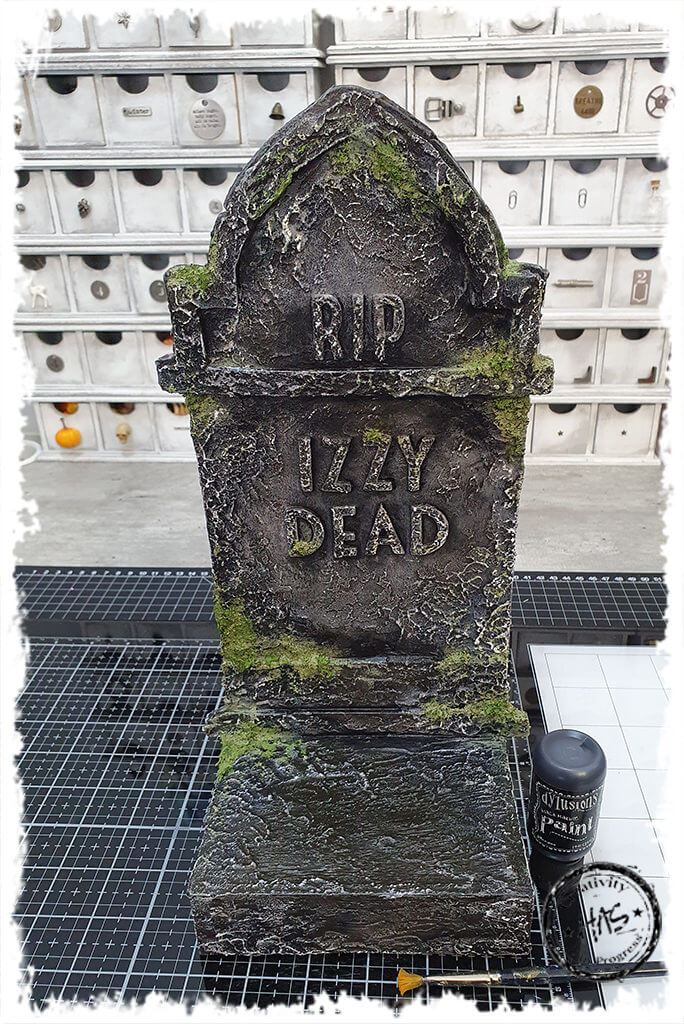
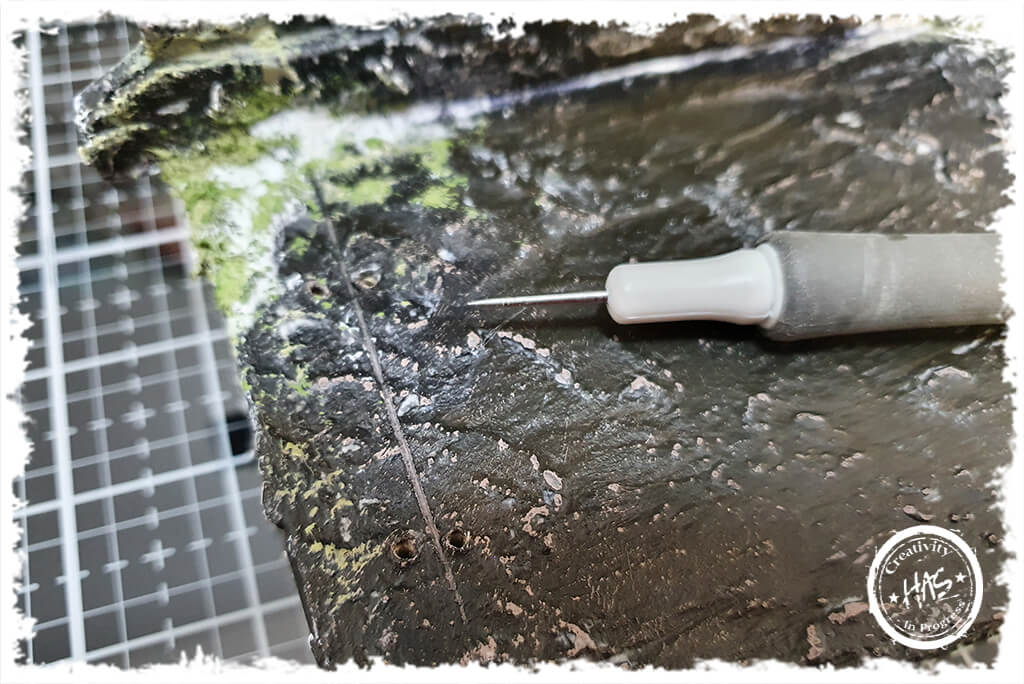
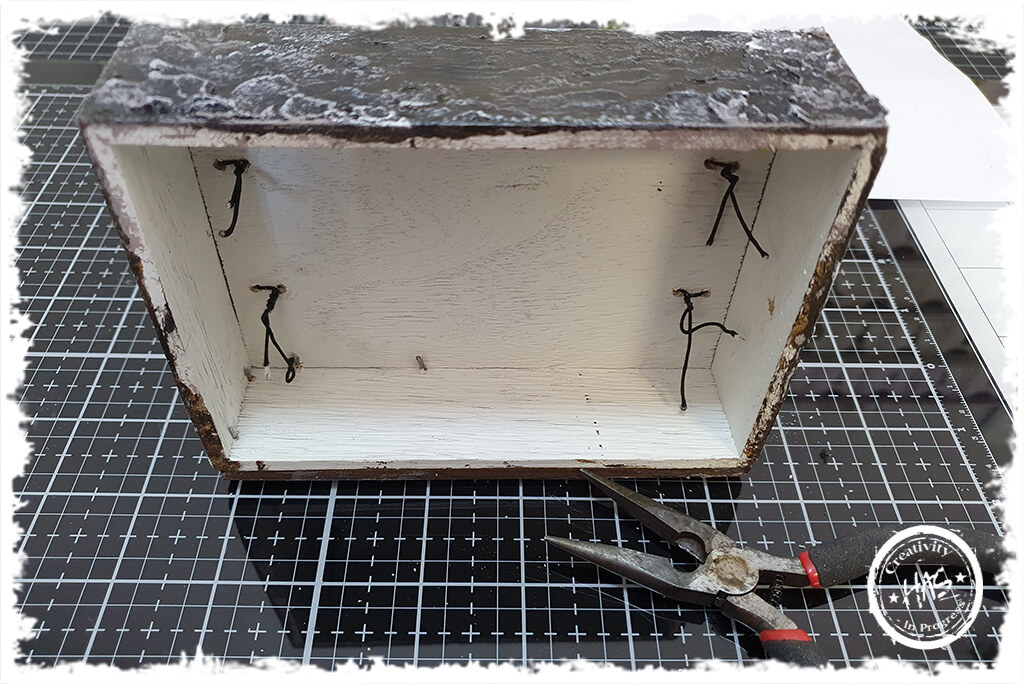
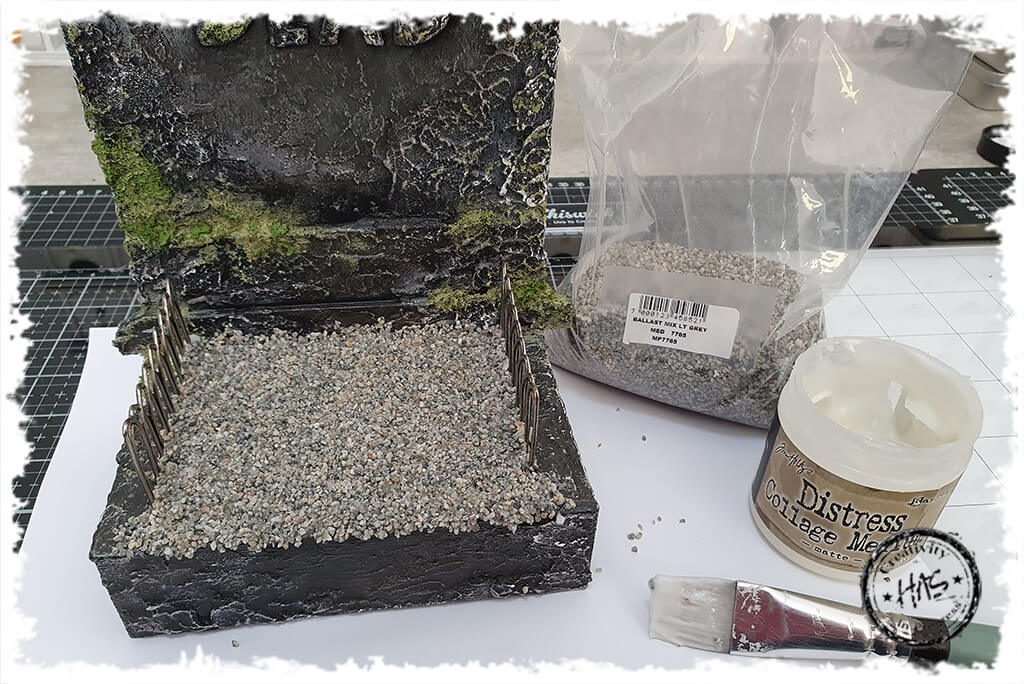
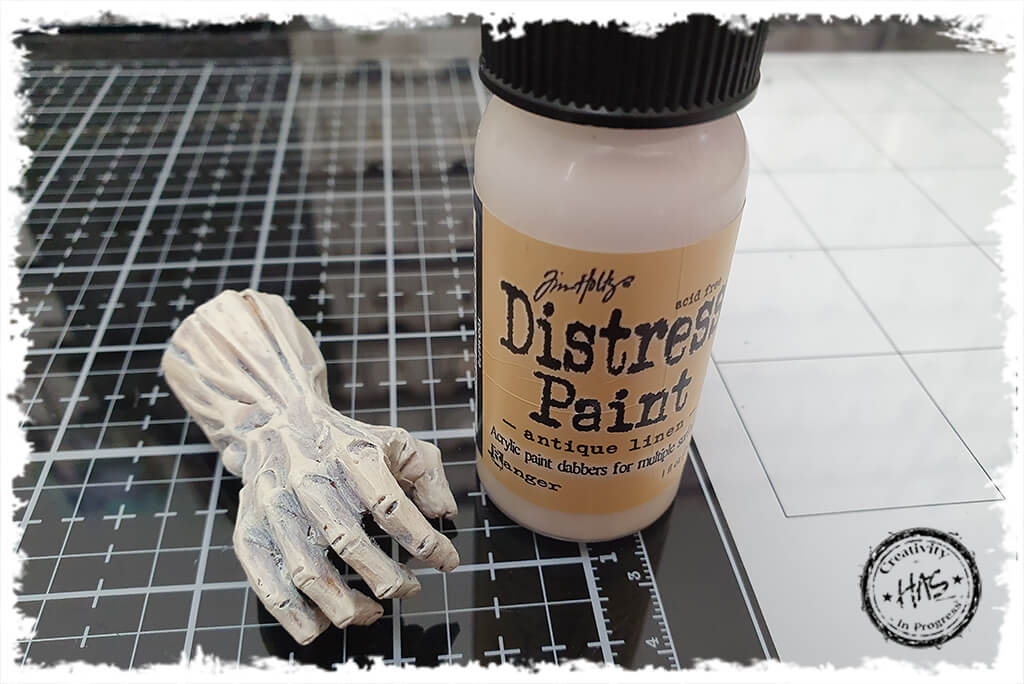
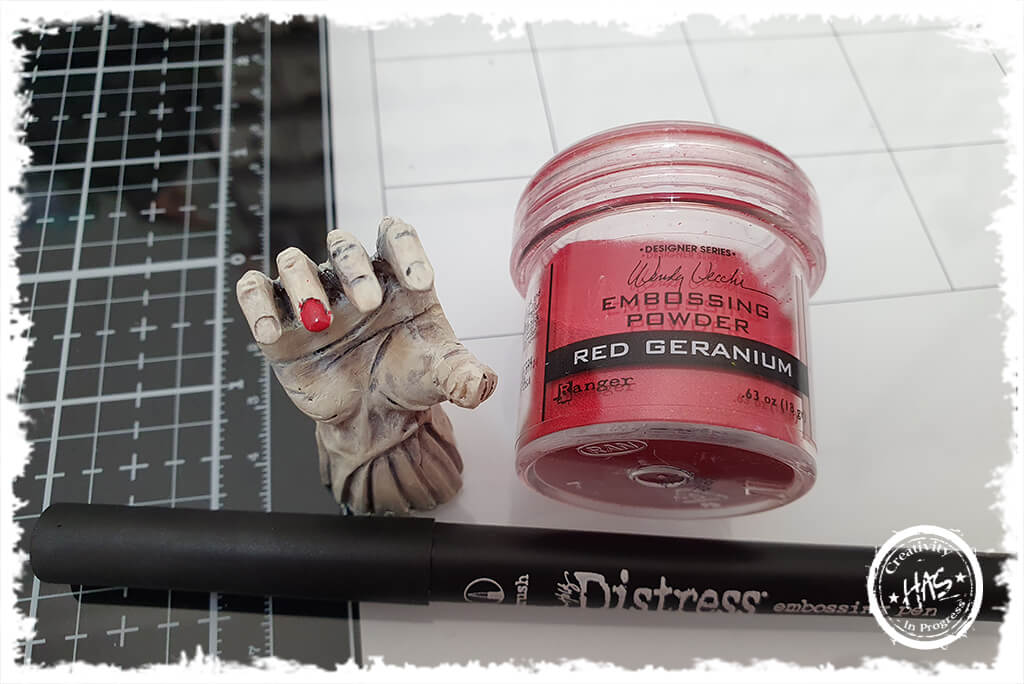
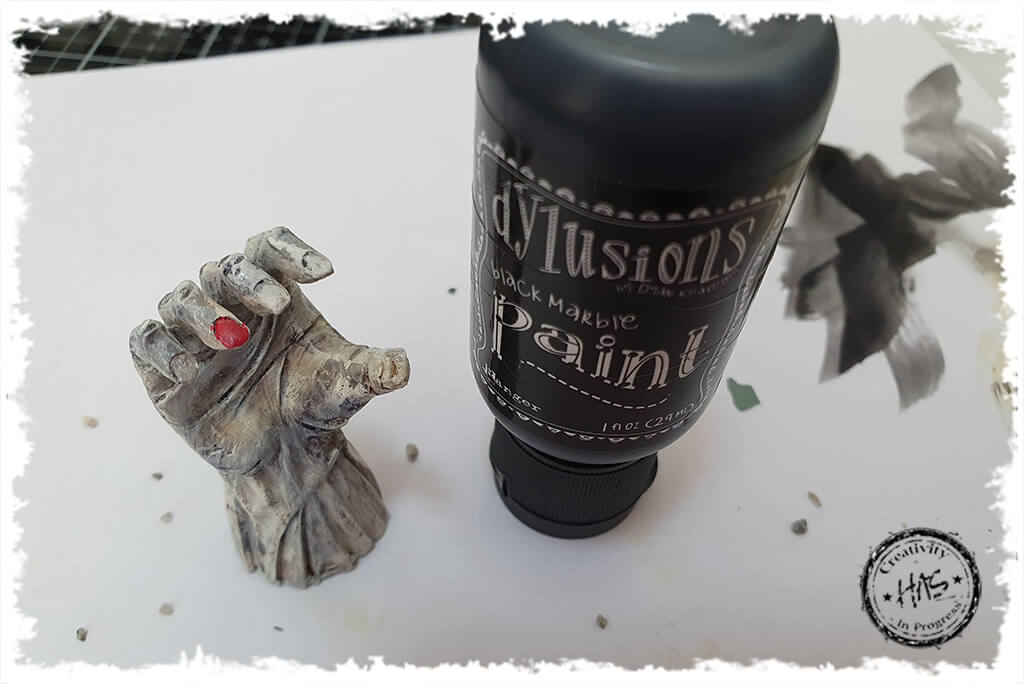
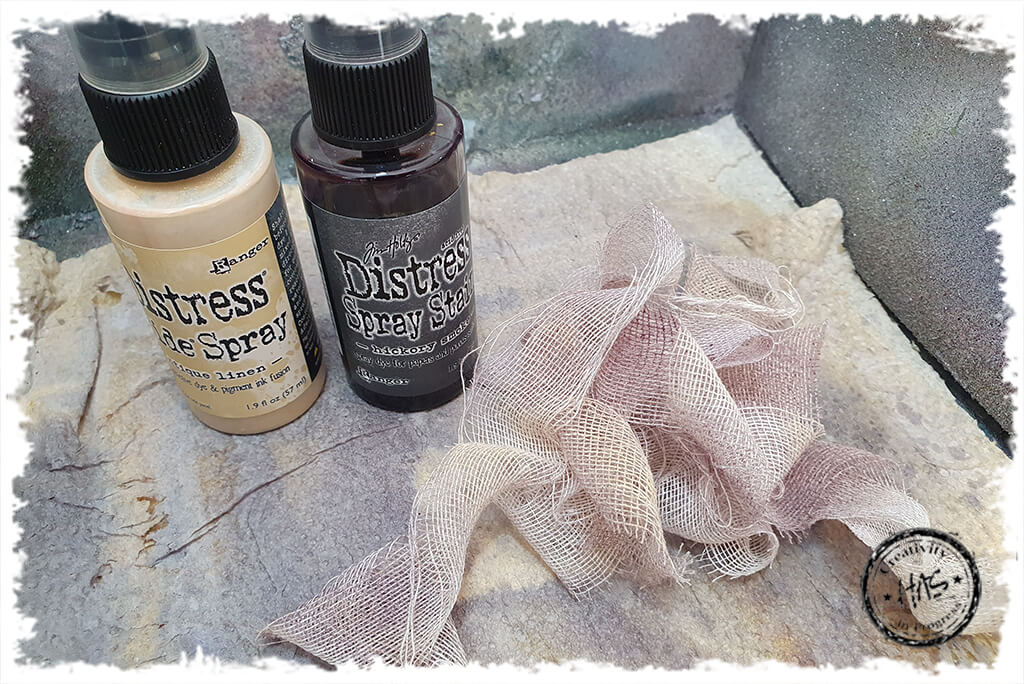
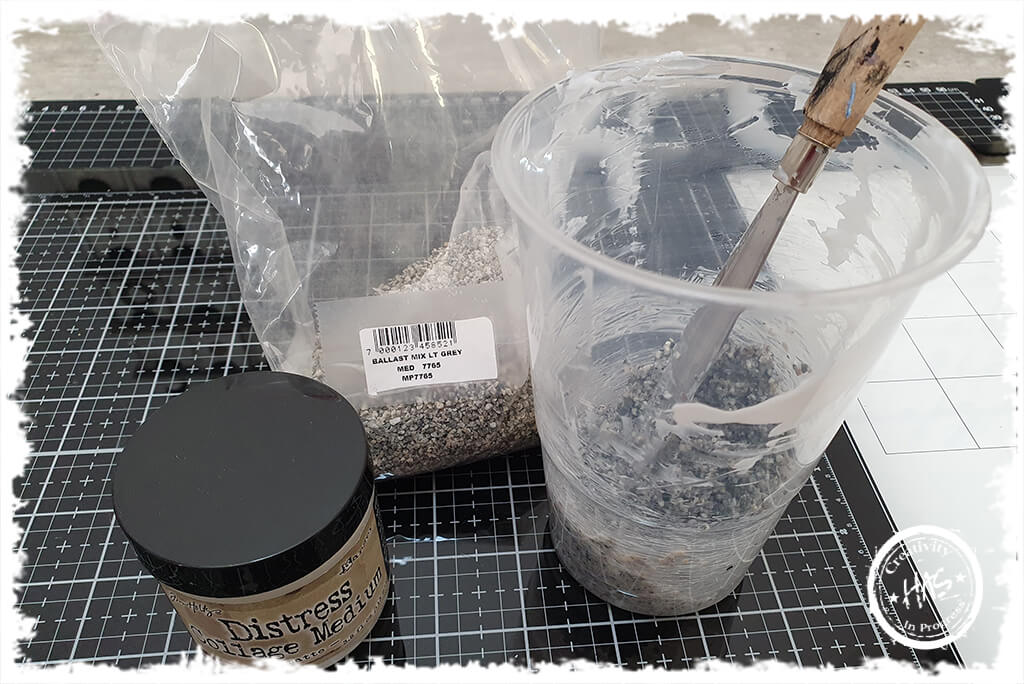
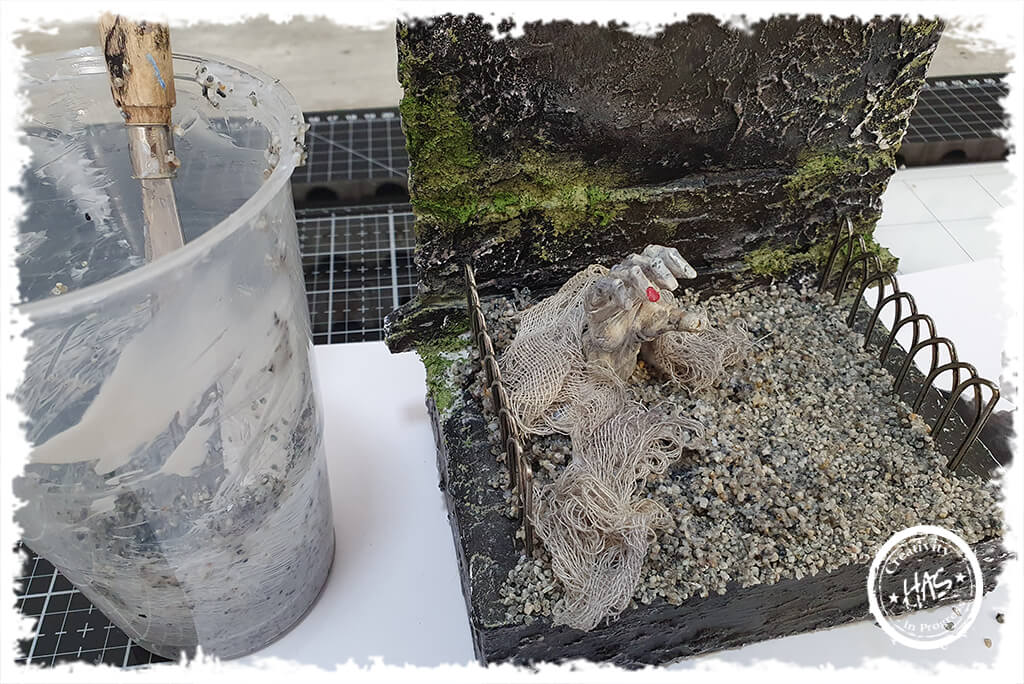
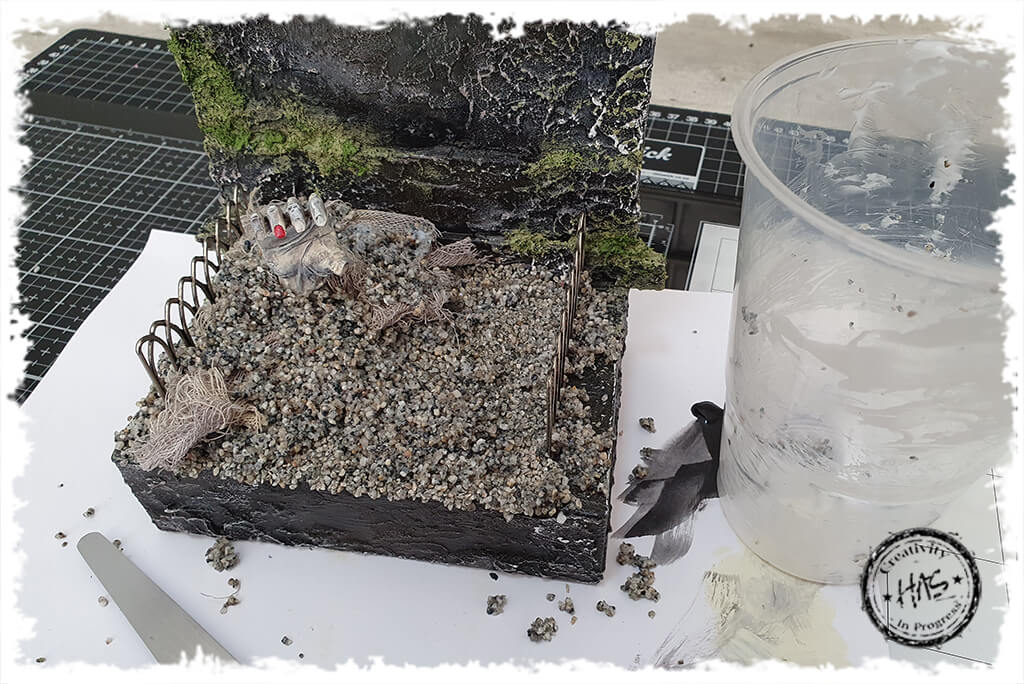
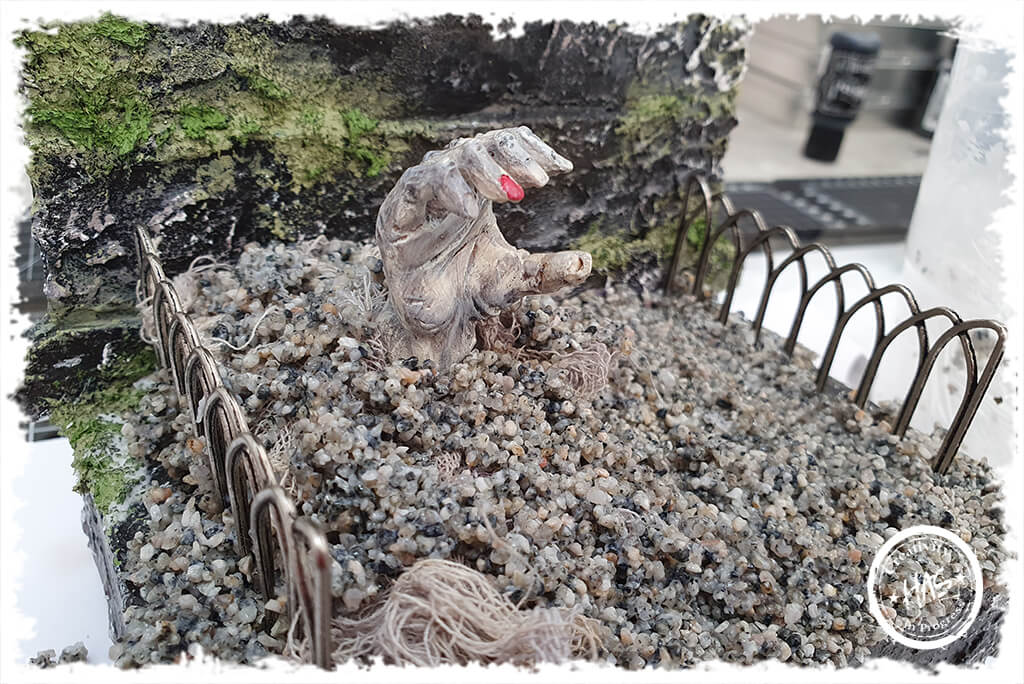
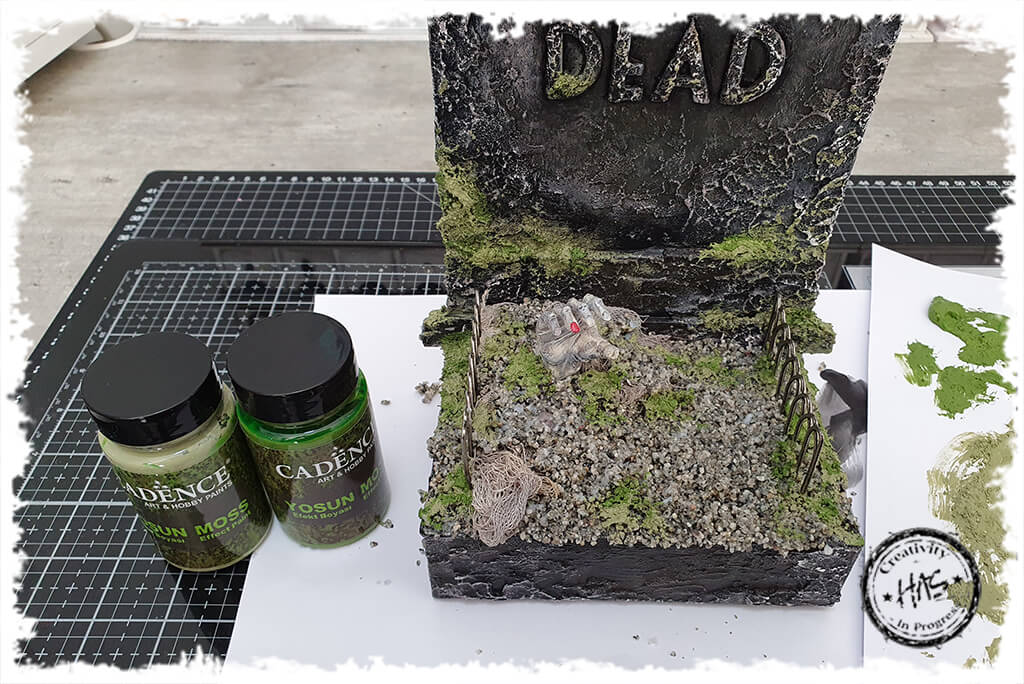
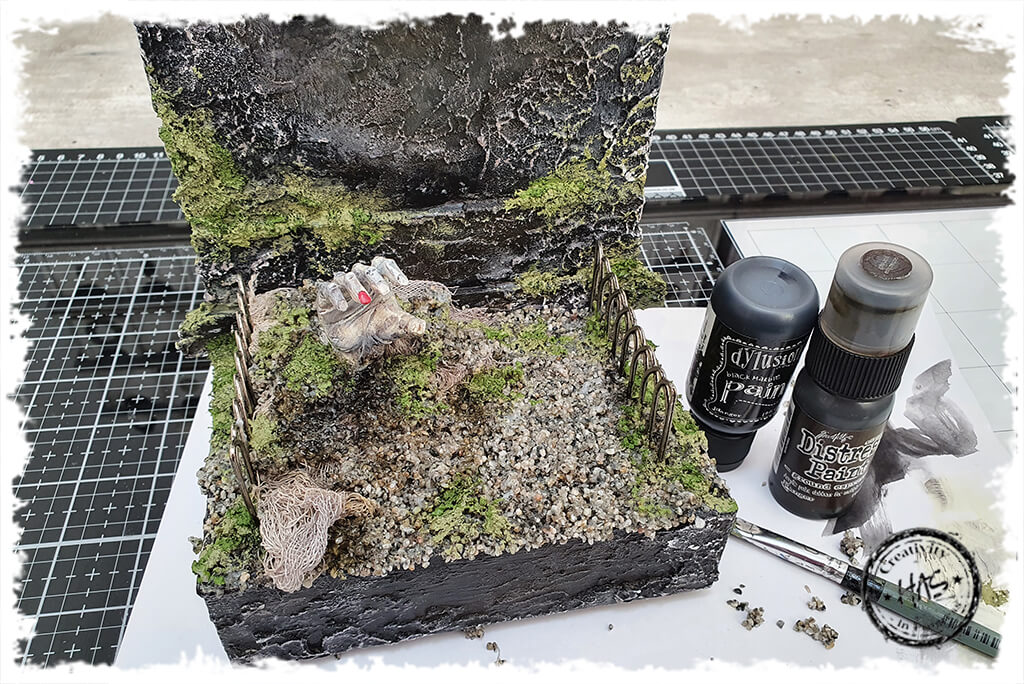
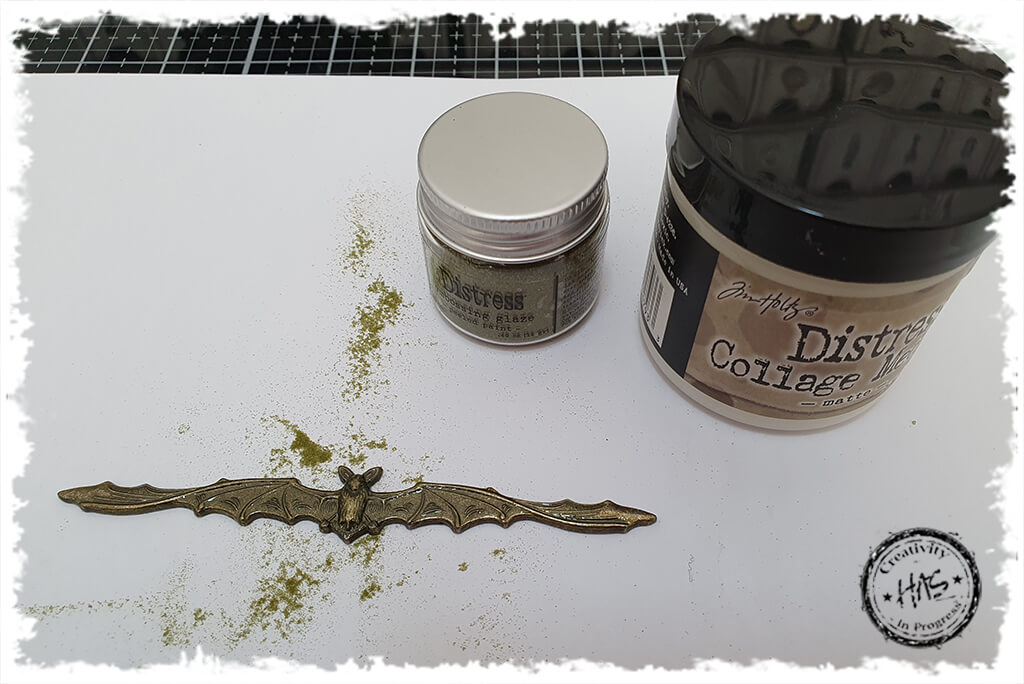
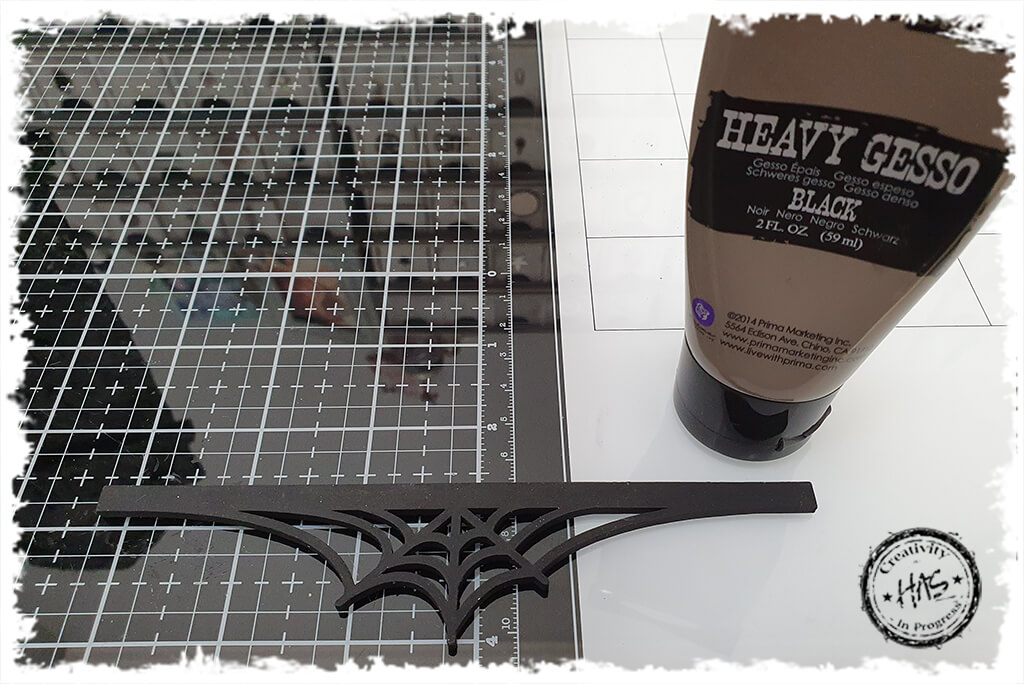
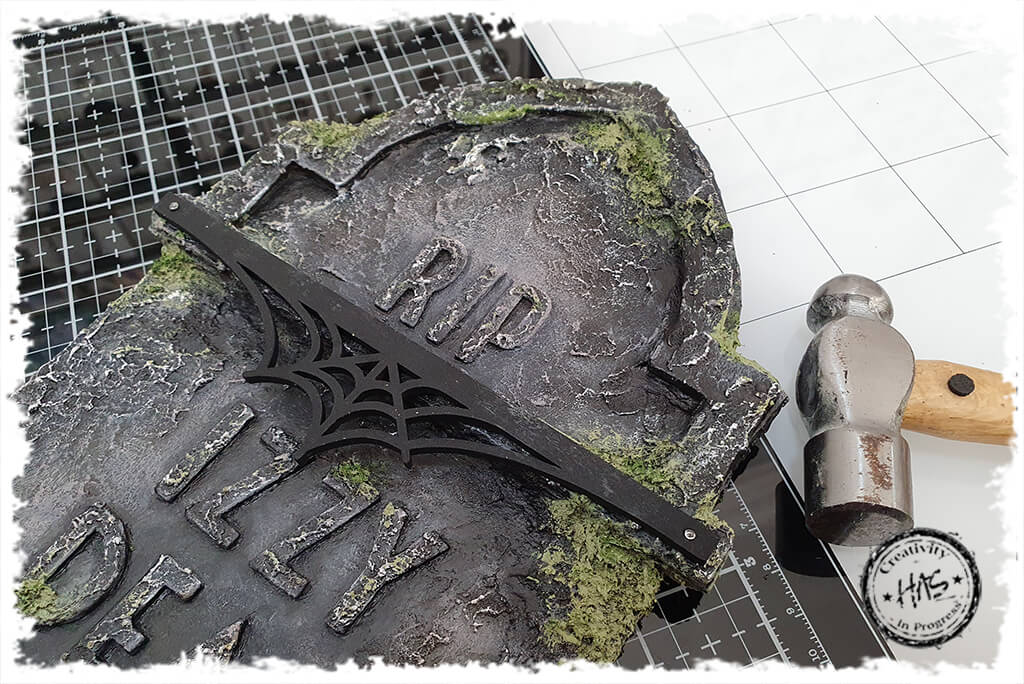
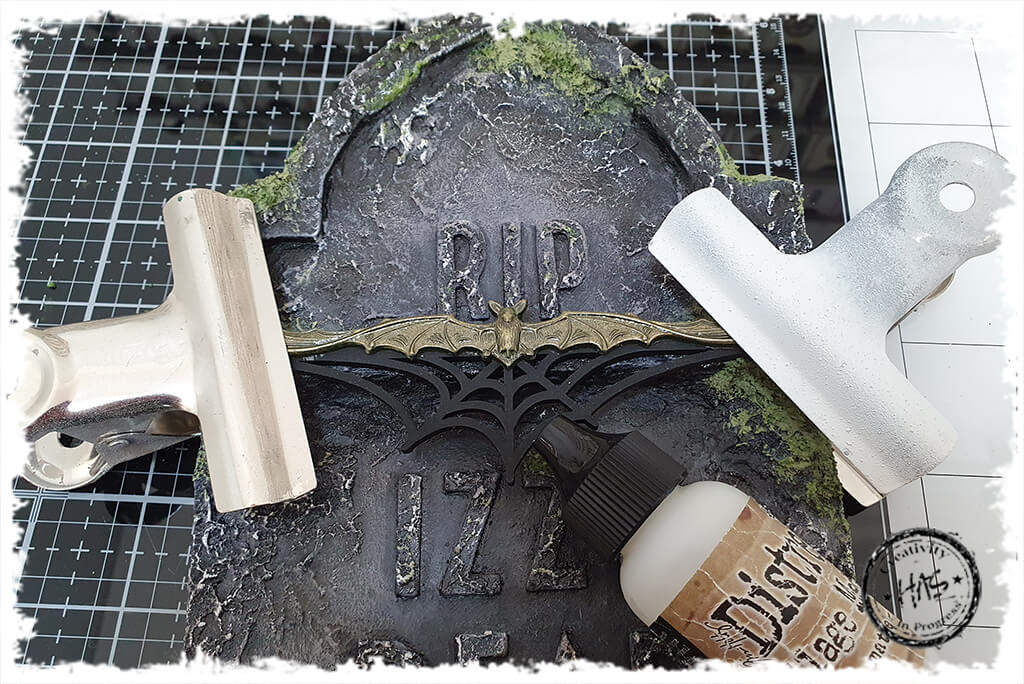
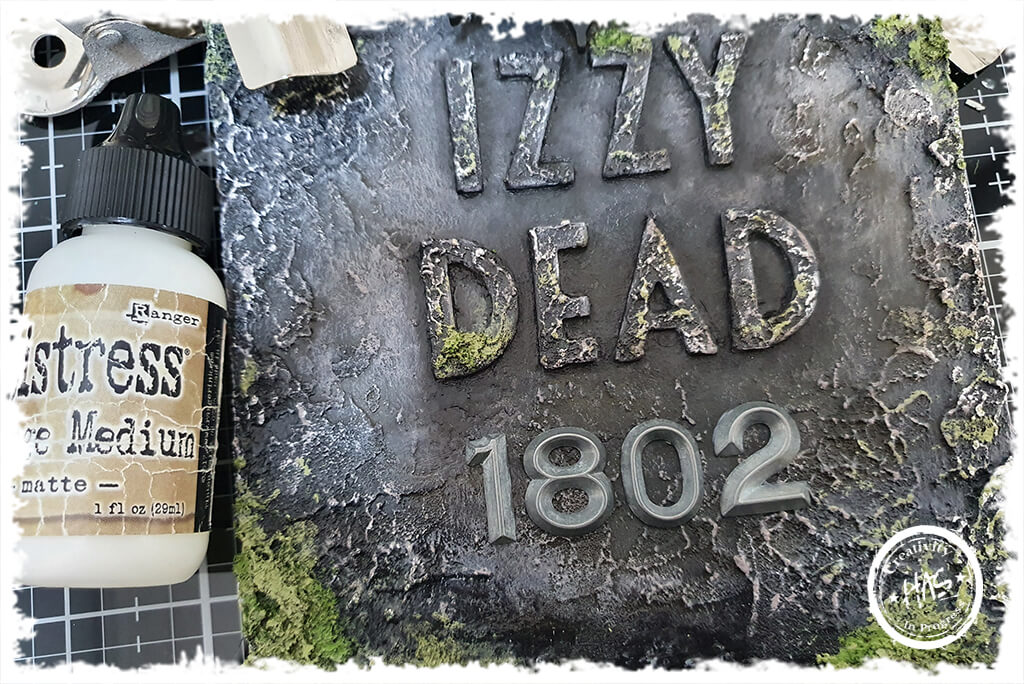
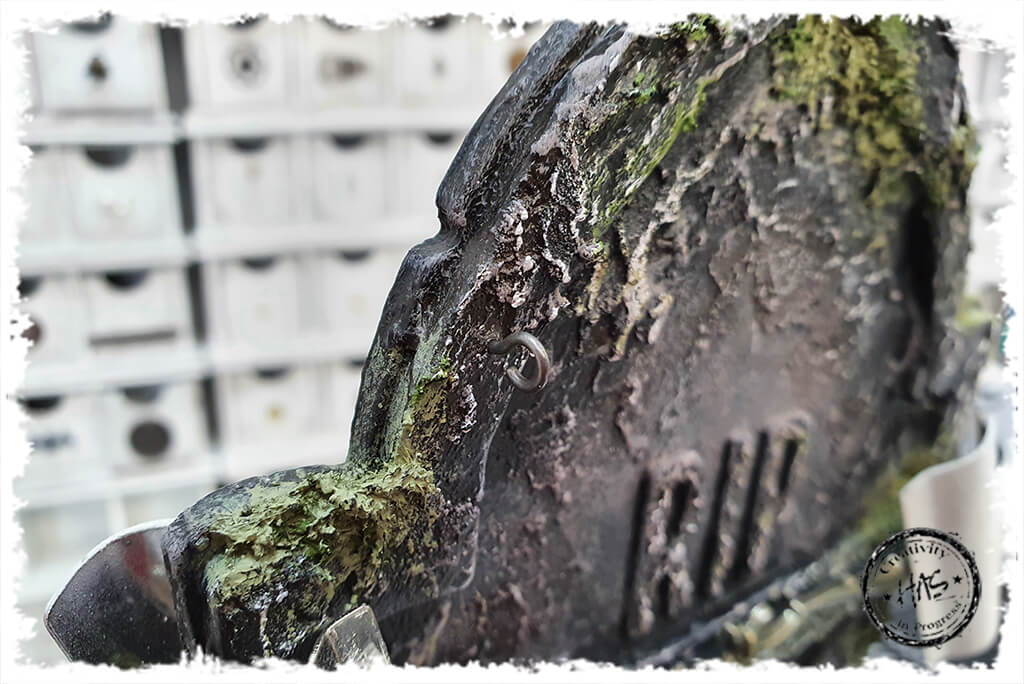
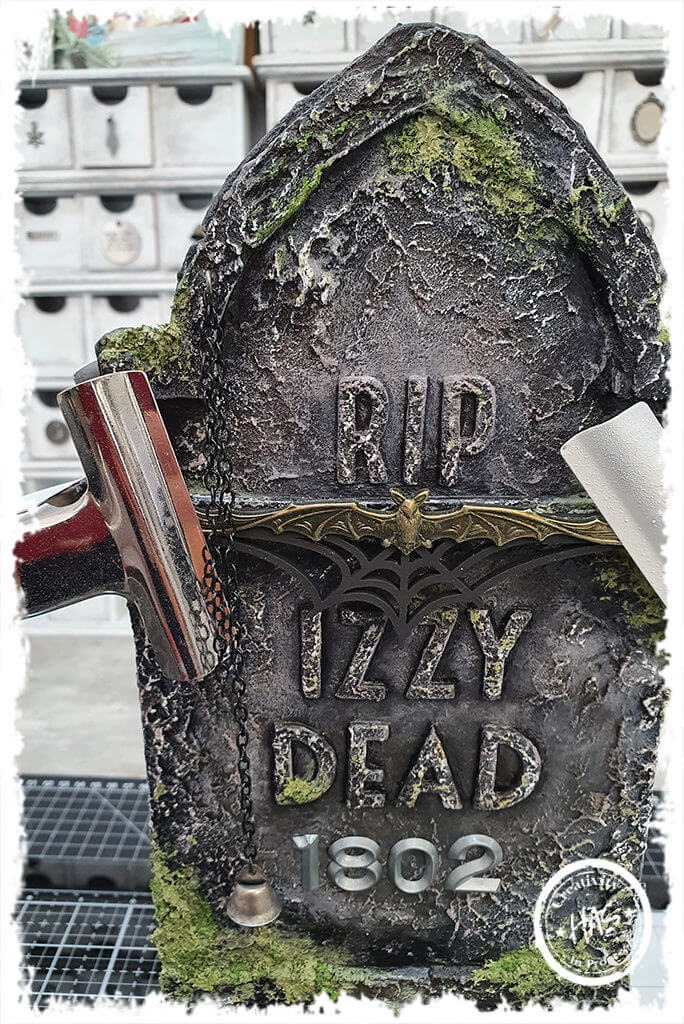
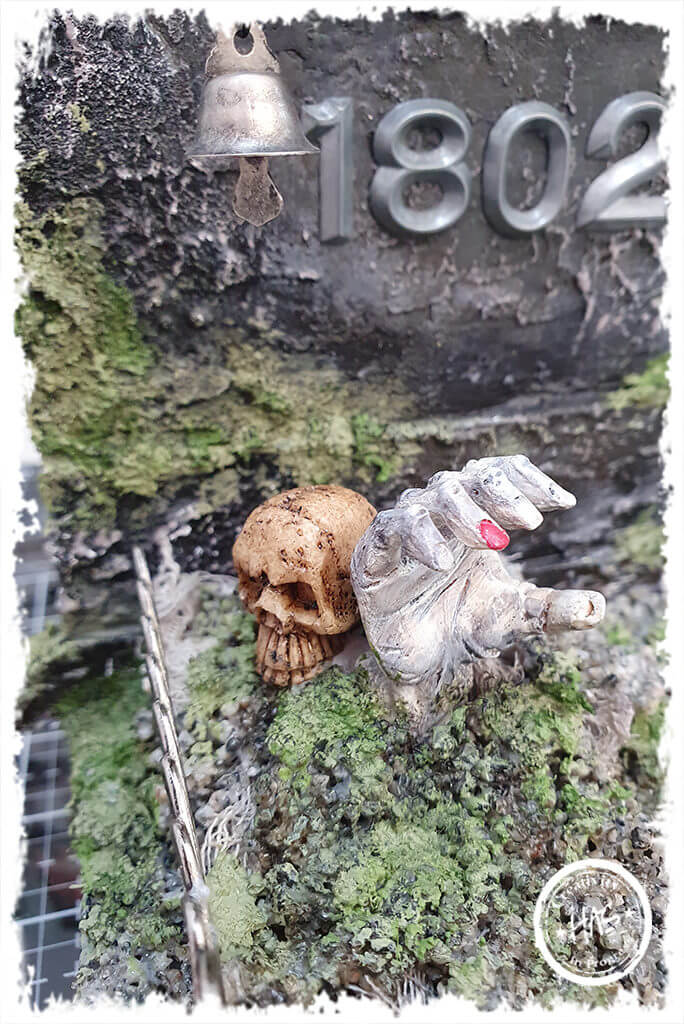
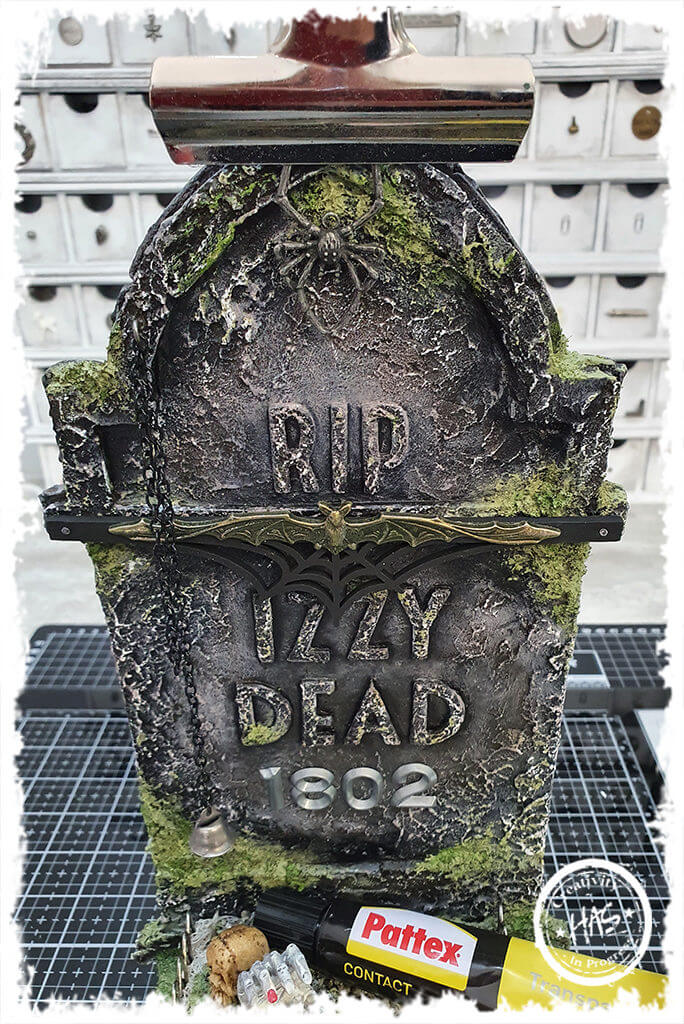
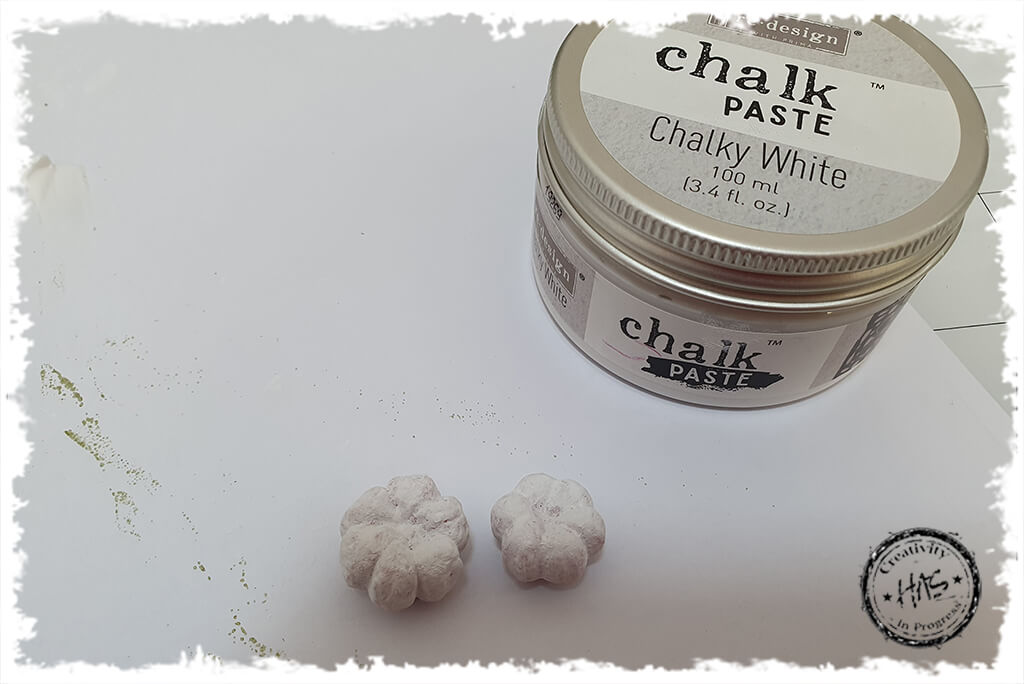
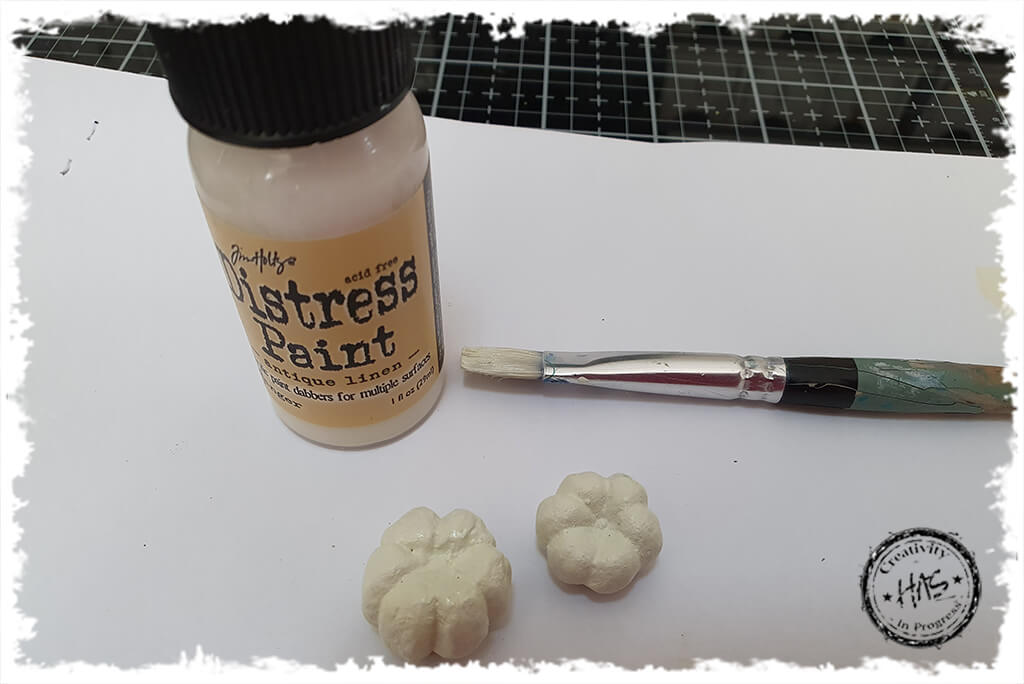
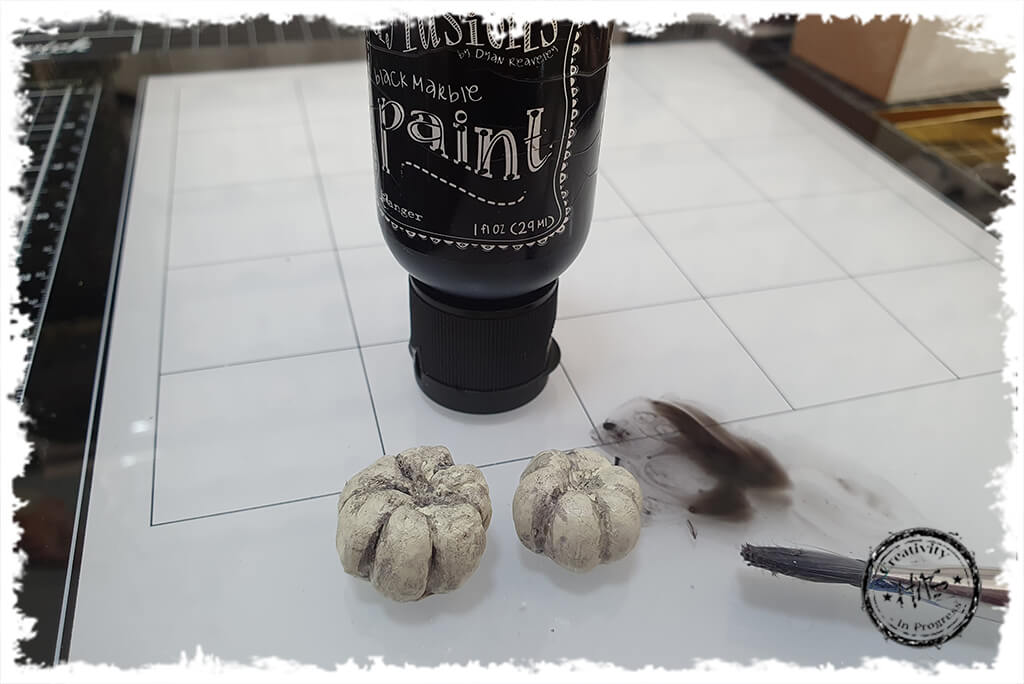
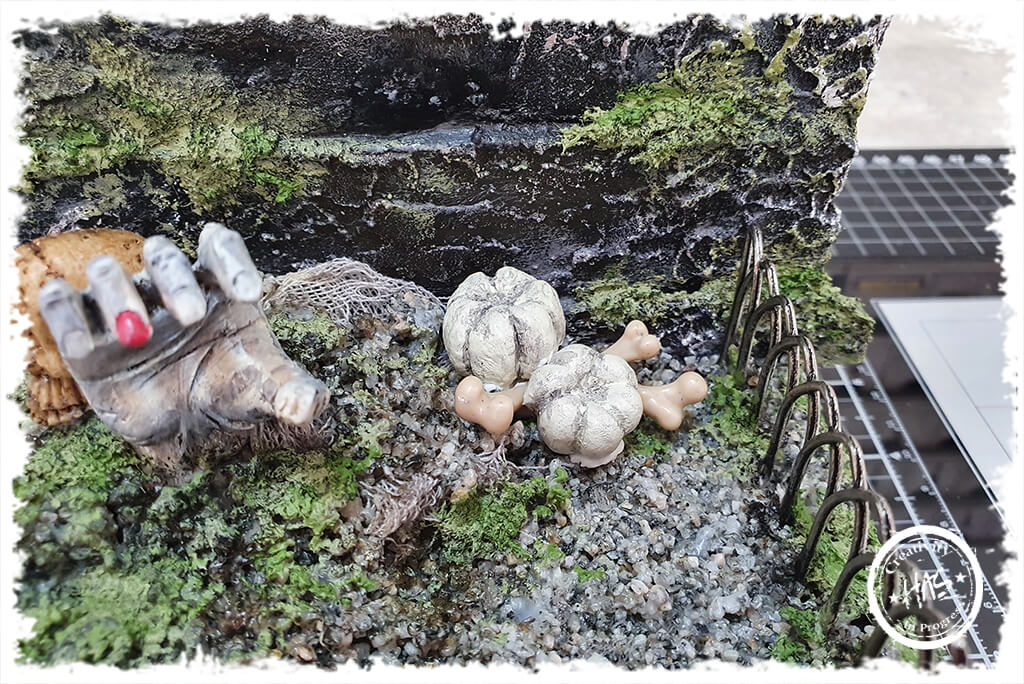
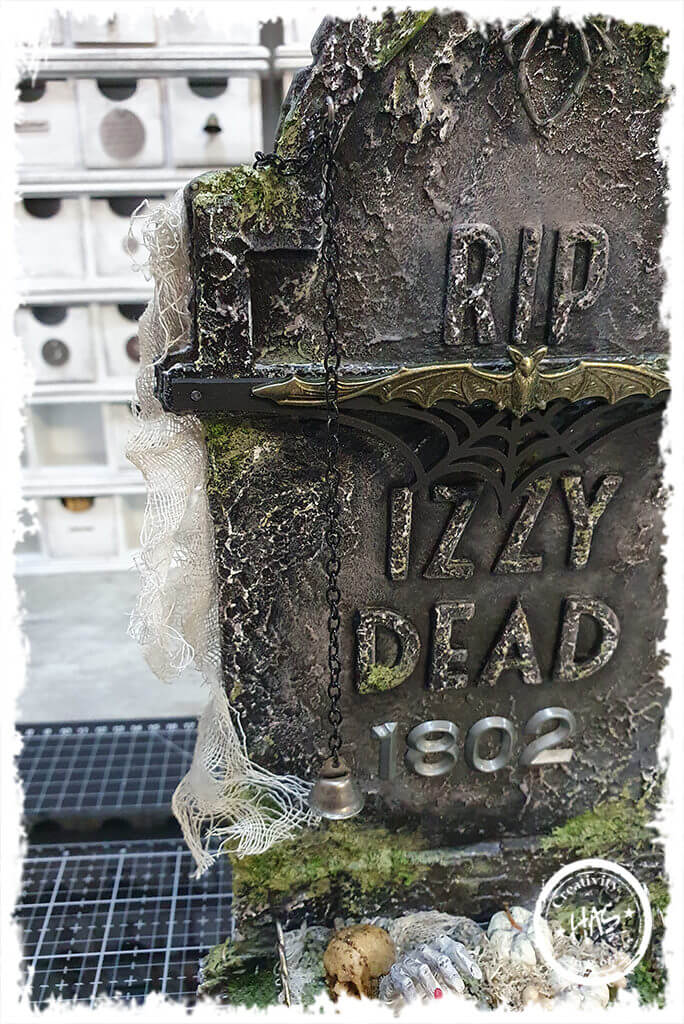
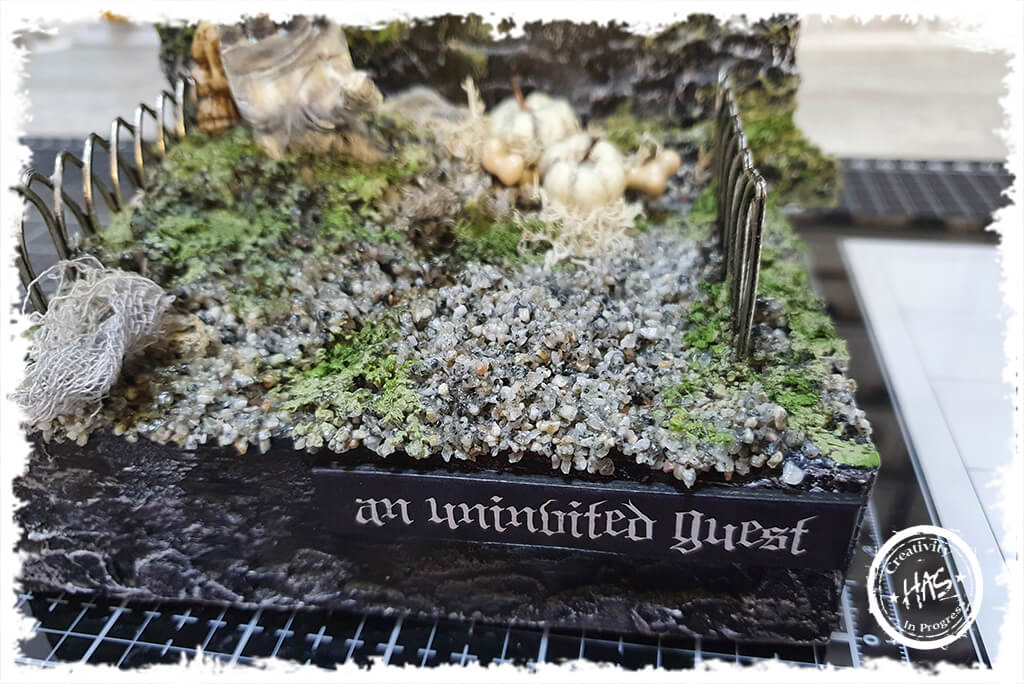
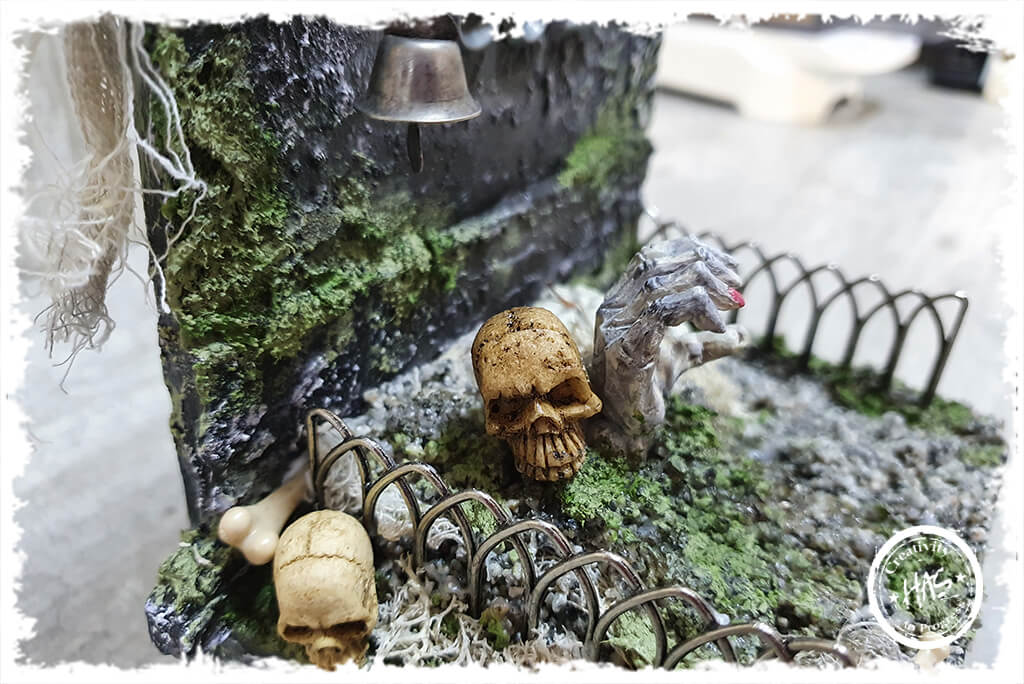
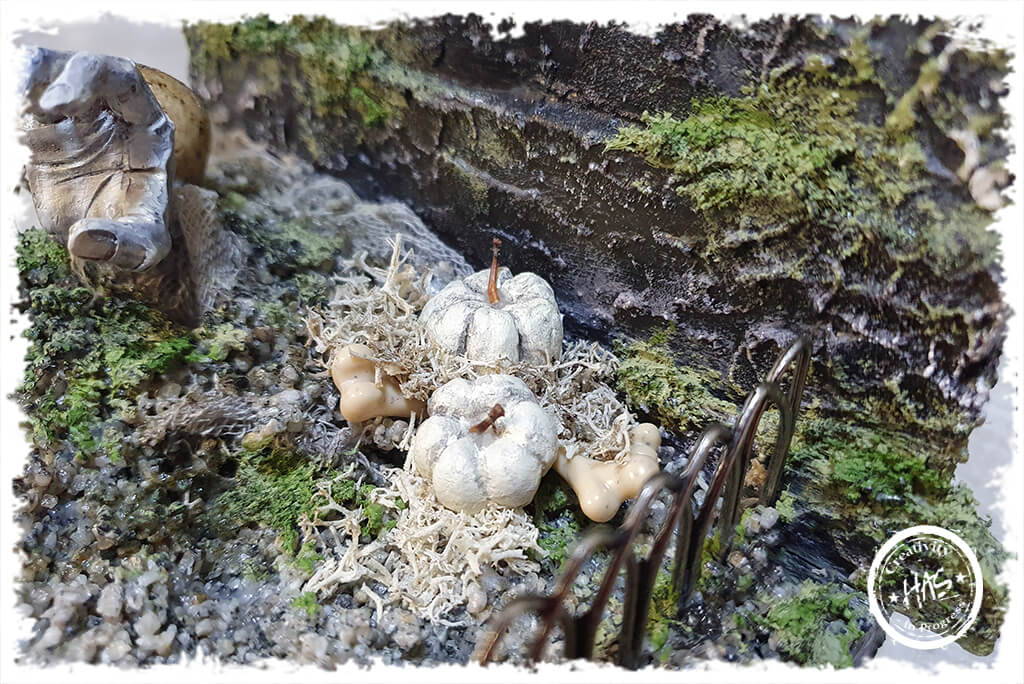
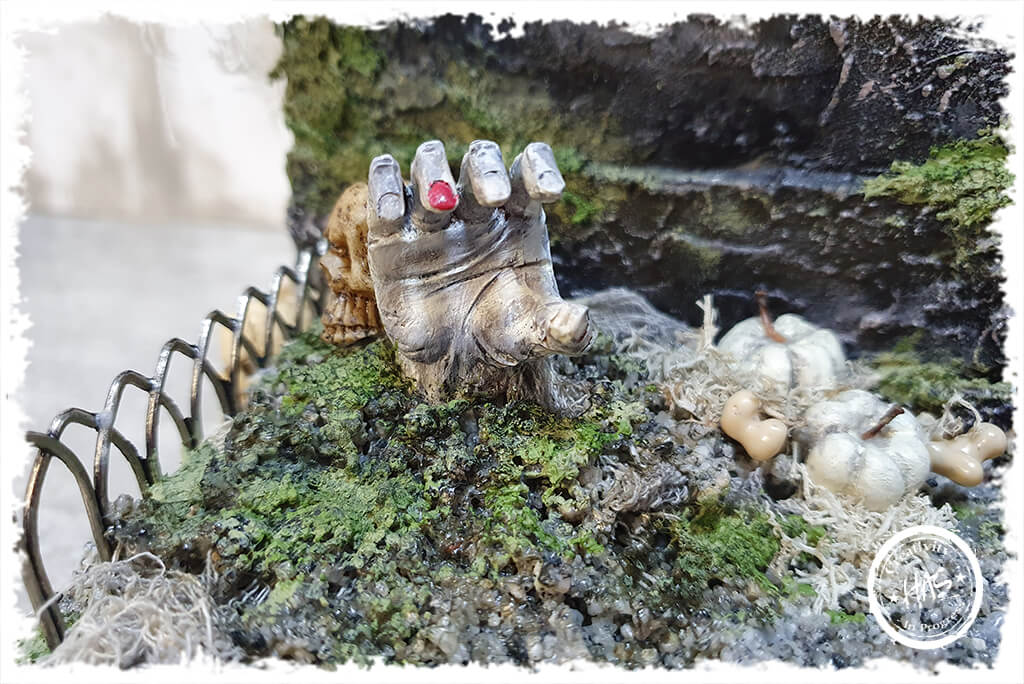
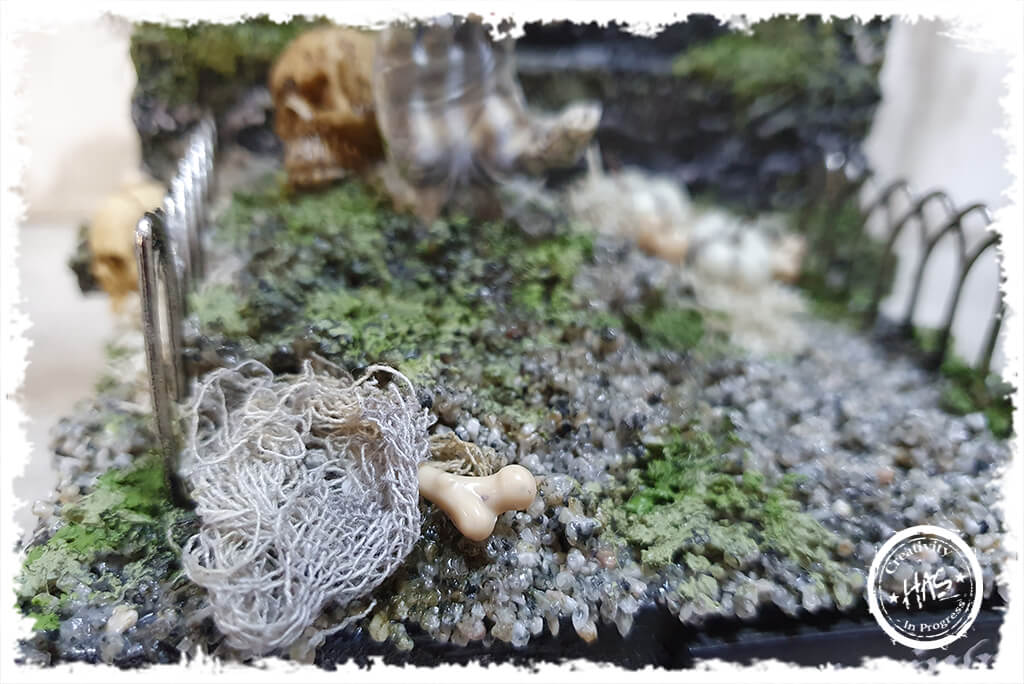
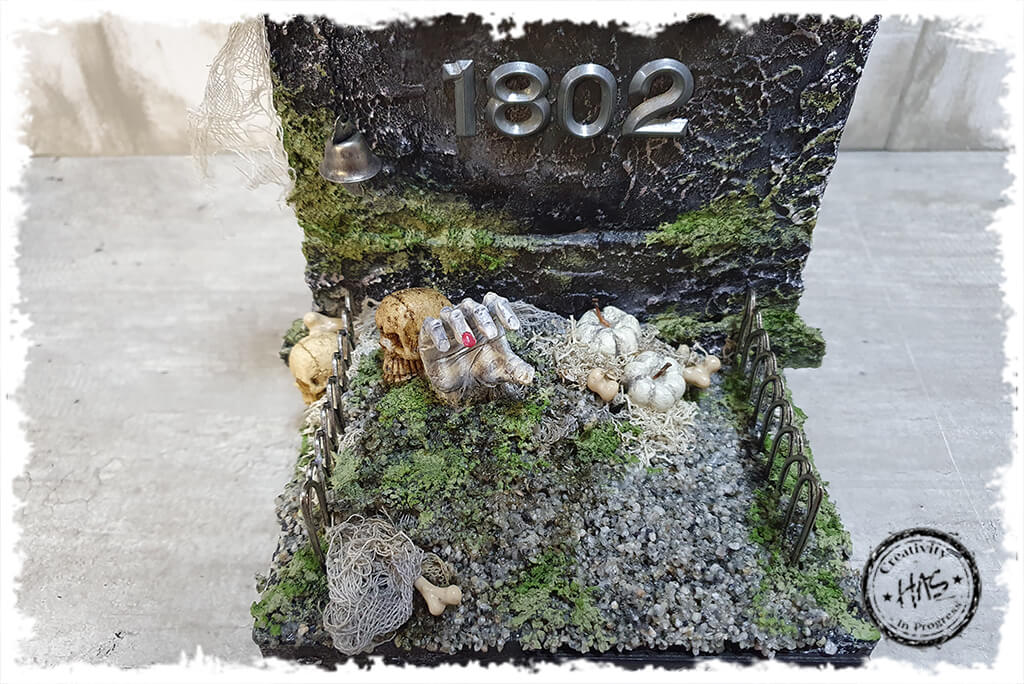
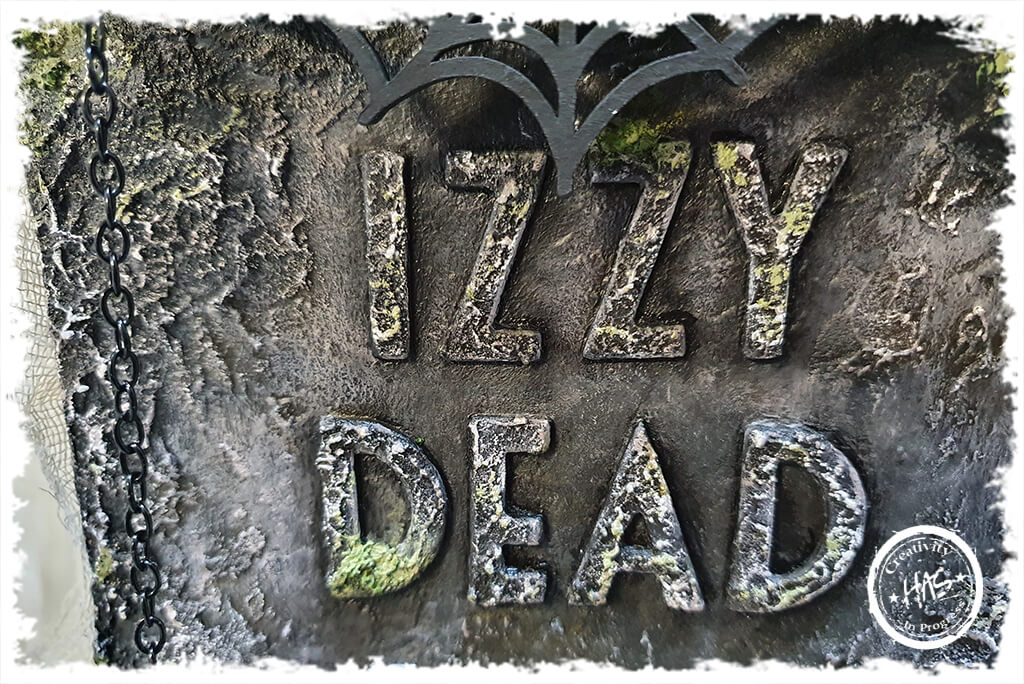
I started off by tacking an Etcetera Tombstone tag to a Vignette box using small, tack nails and a craft hammerThen I used no more nails adhesive to attach the Etcetera elements to the background tagI wanted to be a 100% sure that the elements were attached, so I added some more tack nails after gluingThen I painted the entire piece using black gesso and dried using a heat toolOnce the gesso was dry, I added some Distress Grit Paste randomly using my palette knife and allowed that to air dryI die cut some letters from black cardstock. I cut duplicates so that I could stack them on top of each other to create more height and dimensionHere you can see I adhered them togetherAnd then stuck them in place using collage medium matteThen I painted over everything again using Dylusions Black Marble paint. I like to use the Dylusions on larger areas as I find it dries so much quickerOnce the black paint is completely dry, I used some Prima Chalk Paste (I love this paint because of the gritty texture! It really is more course, like chalk!). I used Chalky White and Turkish Coffee randomly and used a dry brush effect to really mainly hit the raised / textured areas to make them stand outOk… so this next product… OH MY WORD! I am absolutely, 100% in love with this!!! Cadence Moss Effect Paste. It’s changed my world! I used a combination of the light and dark moss randomly across the project. My little tip for using this paste, if you dont want too much of the liquid paint, is to scoop some product onto a piece of copier paper and smash it out across the paper until the paper absorbs most of the liquid paint, leaving behind more of the actual coloured moss. Then I applied the moss to the product using a palette knife. If you are into Altered Arts – then you really have to give this product a bash!I used Dylusions Black Marble paint to tone down areas that I felt were too bright. Simply allow the moss effect paste to air dry first. You can lightly use a heat tool, but if you apply too much heat, you can burn / melt the faux mossThe vignette boxes are pretty thin, so I used my Sizzix Die Pick tool to pierce holes through the box as I only needed small holes to thread some wire throughI attached the Idea-Ology gates with some glue and used wire through the base to secure them into placeHere you can see that the use of the wire is really important to keep them standing straight upwardJust take a moment to appreciate that moss! Isn’t it gorgeous?!I mixed some tiny stones with Distress Collage Medium Matte and applied them to the vignette base. The collage medium dries clear and works brilliantly for adhering the stones to the base and holding them together. The easiest way to do this, is to mix them in a disposable cup to ensure all the stones are well coated with the glueI wanted my Zombie hand to be a slightly different tone, so painted it with Antique Linen Distress Paint and dried using a heat tool. Just a note that the Zombie hands were not available in this last release. I am hoping they make a come back as my personal stash is pretty low! Seasonal releases are often only available for the season and not guaranteed to make a come back. So if you see something you like in a Seasonal release – get it!And used a Distress Embossing Pen to add some ink onto one of the zombie fingernails and then covered in Reg Geranium embossing powder and heat set. I do love this little detail lolI needed to creep the hand up a bit, so dry brushed some Black Marble paint onto the handMummy Cloth! I love me some mummy cloth! I coloured mine using Distress Spray Stain, Hickory Smoke and a little Distress Oxide Spray Antique LinenMummy Cloth! I love me some mummy cloth! I coloured mine using Distress Spray Stain, Hickory Smoke and a little Distress Oxide Spray Antique LinenThen I layed the mummy cloth down with the Zombie HandAnd added the stones around the hand, ensuring that parts and pieces of the mummy cloth was showing. So that it appeared that it was coming out of the groundA good pile of stones holding everything in place. Be sure to wait for the stones to dry properly before going any further. You can use a heat tool, but do not over heat itYup. You guessed it. More moss! And why not right?! It’s just that good!Once the moss is completely dry, you can use some black and brown paint to darken the area of stones immediately around the zombie hand. This really does help create some perception of depth. It’s one of those small details that you only notice how good that little difference makes once you compare it to what it was like before. I used Black Marble Dylusions paint and Ground Espresso Distress PaintThis is another embellishment that wasn’t in this years release which I had in my stash. This metal bat is too gorgeous with her long, ornate wings! I decided to paint on some Collage Medium Matte and then cover with Distress Embossing Glaze Peeled Paint and heat set (be careful as metal gets very hot when heated!). The glaze is SO perfect to use over your metal embellishments! If you haven’t yet tried it, give it a bash!I painted a cobweb Etcetera trim with black gesso and dried using a heat toolAnd used some tack nails to attach it to the tombstoneThen I adhered the metal bat to the cobweb using Collage Medium Mat. I used some bulldog clips to hold it in place until the glue had driedI also decided to add a date to the tombstone using metal numeric piecesI wanted to add a hanging bell, so that it appeared as though the Zombie hand was coming out of the ground to ring the bell. So I inserted a mini cup hook in the top of the Etcetera tombstoneThen I added a bell hanging from a long piece of metal chain. These Tim Holtz bells are too brilliant, they actually make a noise when you ring them!I added a skull to the back left of the Zombie Hand using Collage Medium MatteAnd a Spider to t he top of the Tombstone. I also held the spider in place with a bulldog clip until the glue had dried completelyI wanted to add some pumpkins, but wasn’t feeling the ‘orange’ vibe. So I painted them using Prima Chalky White paint first, to cover the orange and add a little textureThen I added a coat of Distress Paint Antique LinenOnce the paint is dry, dilute some Black Marble Dylusions paint with a little water and paint over the whole pumpkin. Then, while the paint is wet, remove some of the paint using your fingers or a dry cloth. This will allow the paint to adhere to the recessed areas more and create awesome depthI added the pumpkins and some bones to the right of the Zombie handsAnd the last little touch I added was a piece of mummy cloth hanging from the left hand side of the tombstoneAnd a Halloween quote chipAnd that’s it! Izzy Dead Tombstone all done! I really hope you enjoyed the tutorial. I have taken some extra, close up images so that you can really get a feel for the texture and details and of course – that moss!!! Happy Halloween!