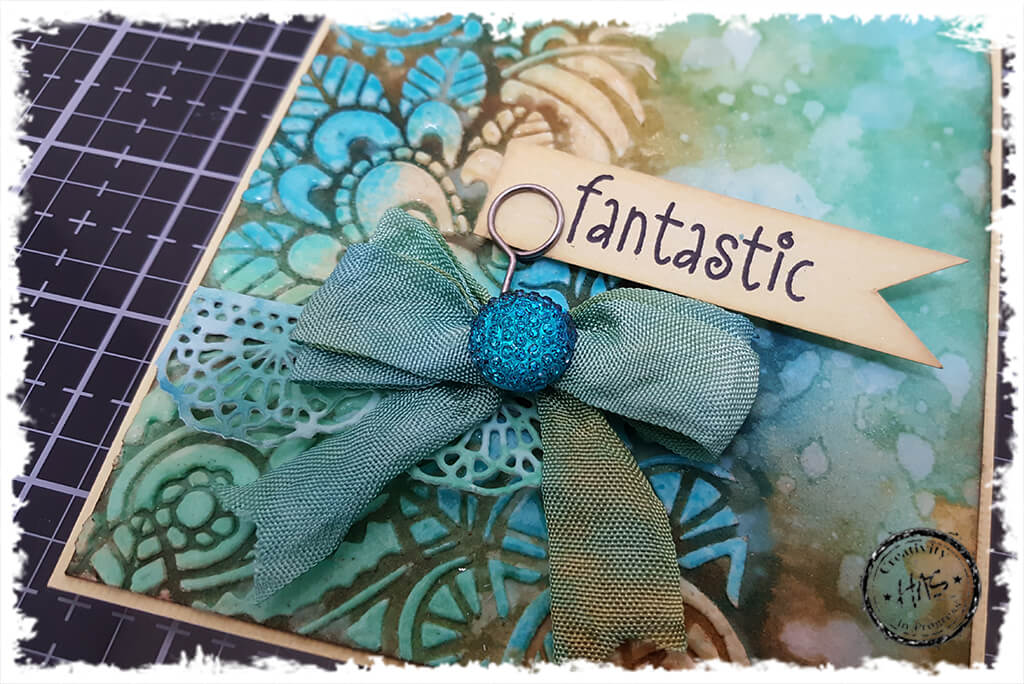
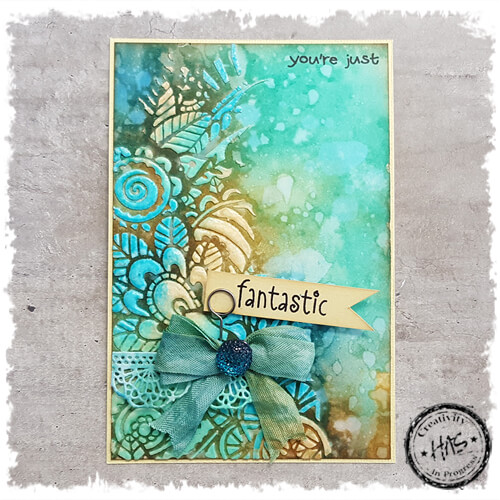
Texture Paste with Embossing Glaze… a match made in heaven!
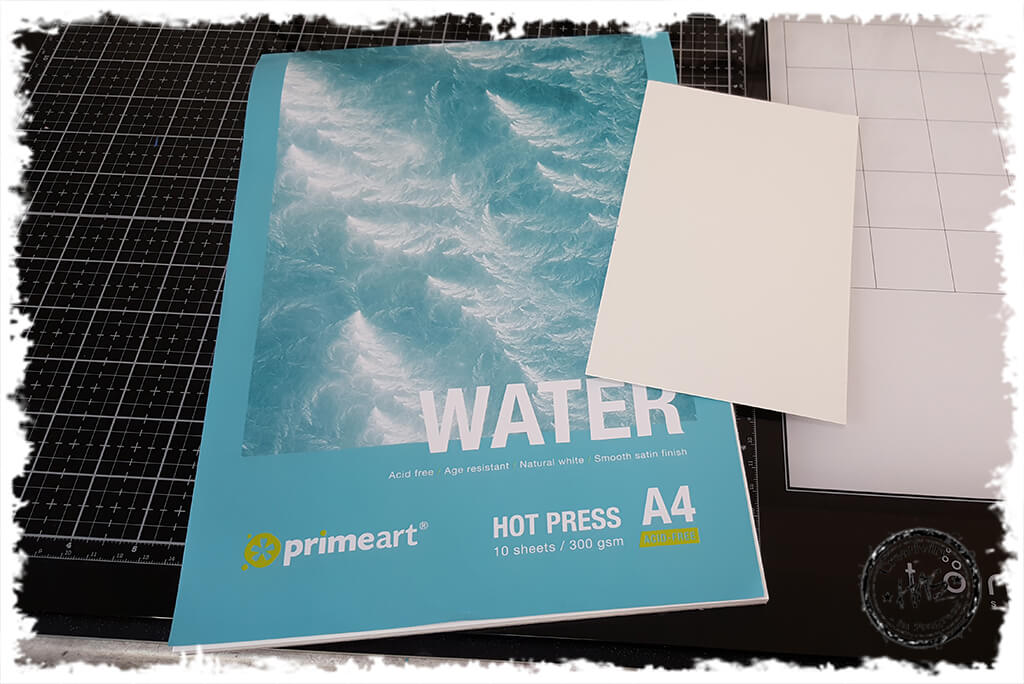
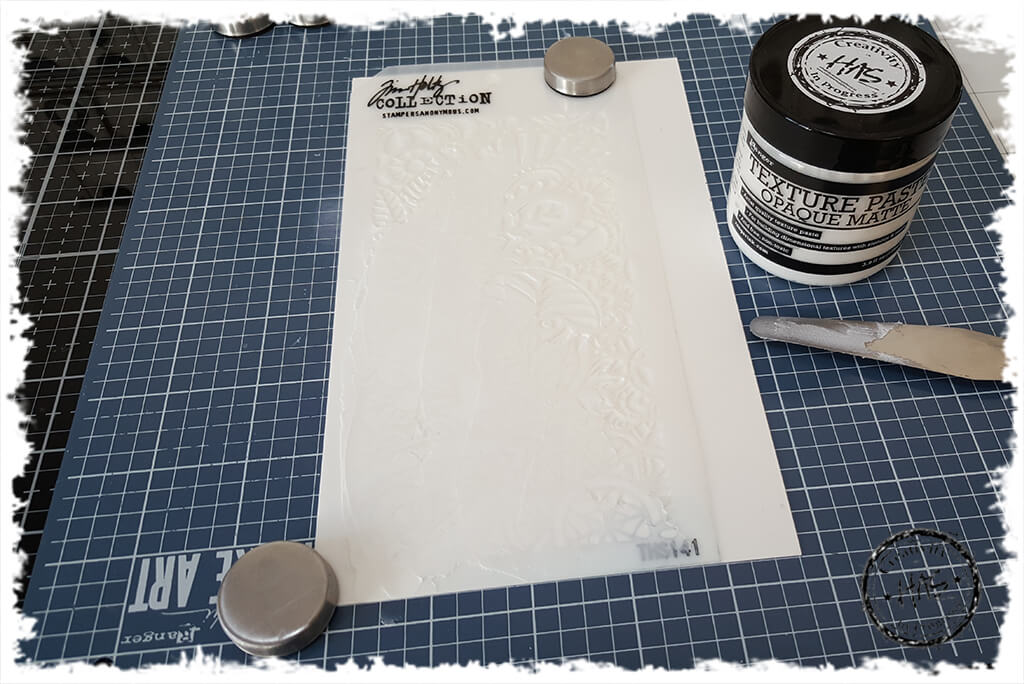
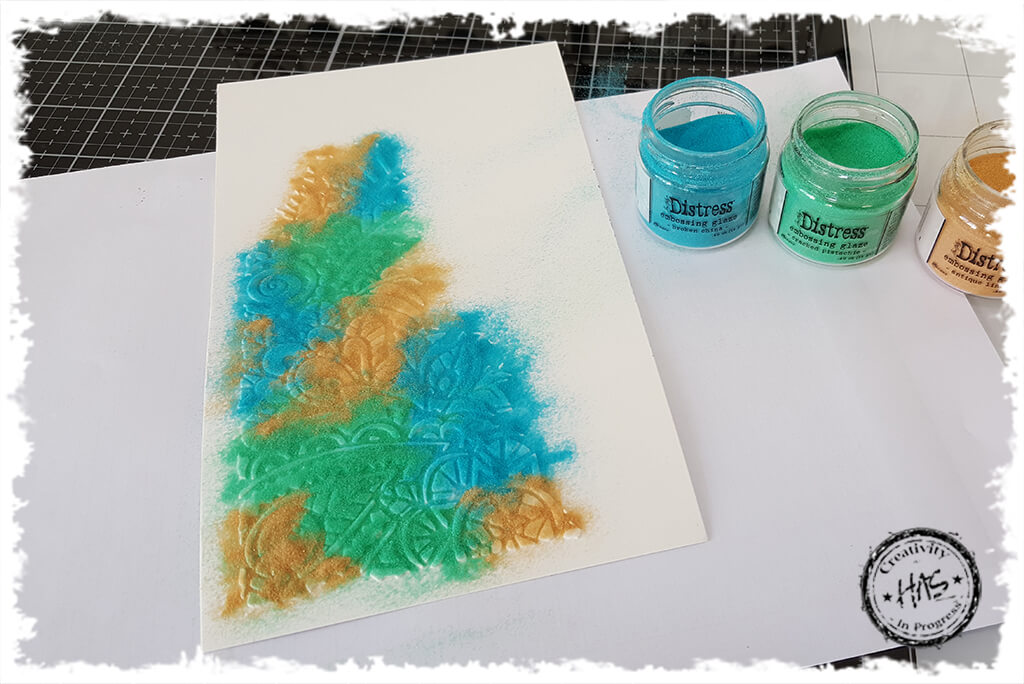
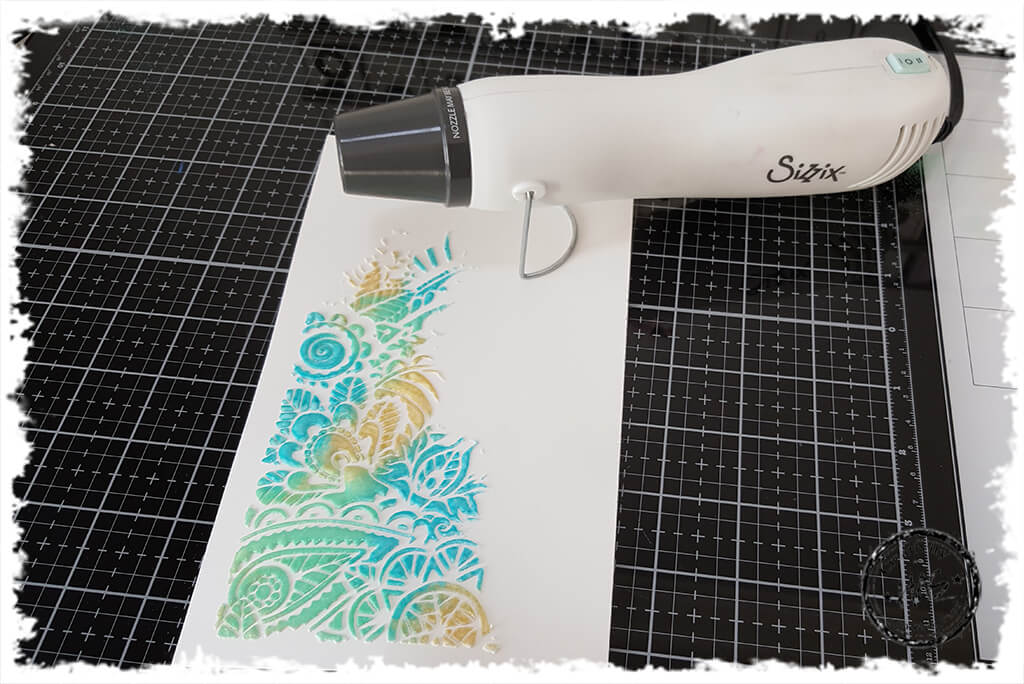
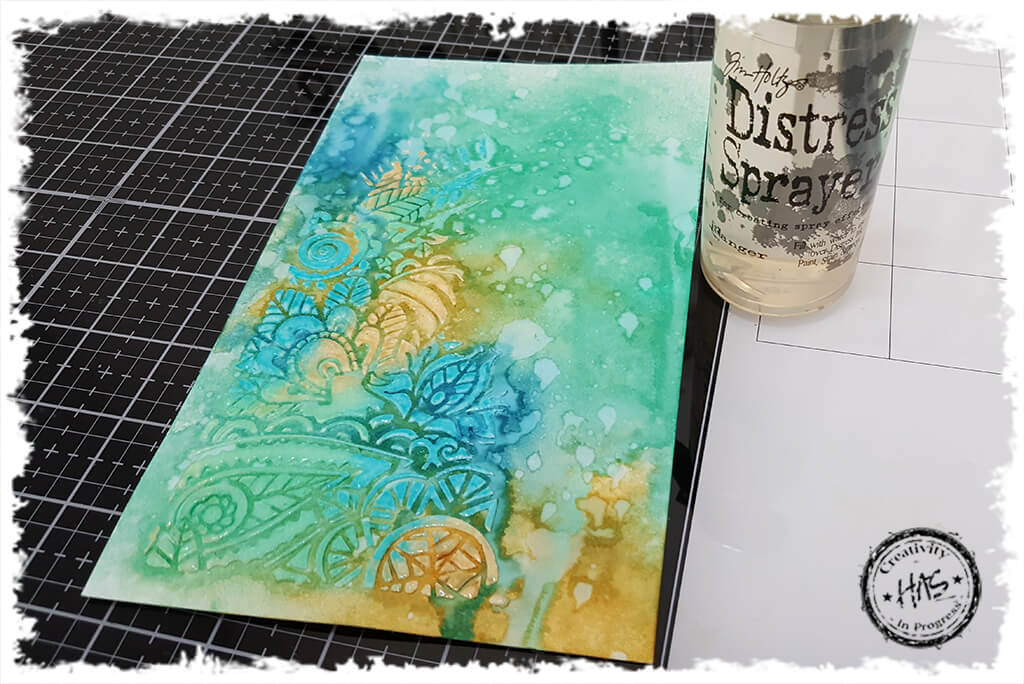
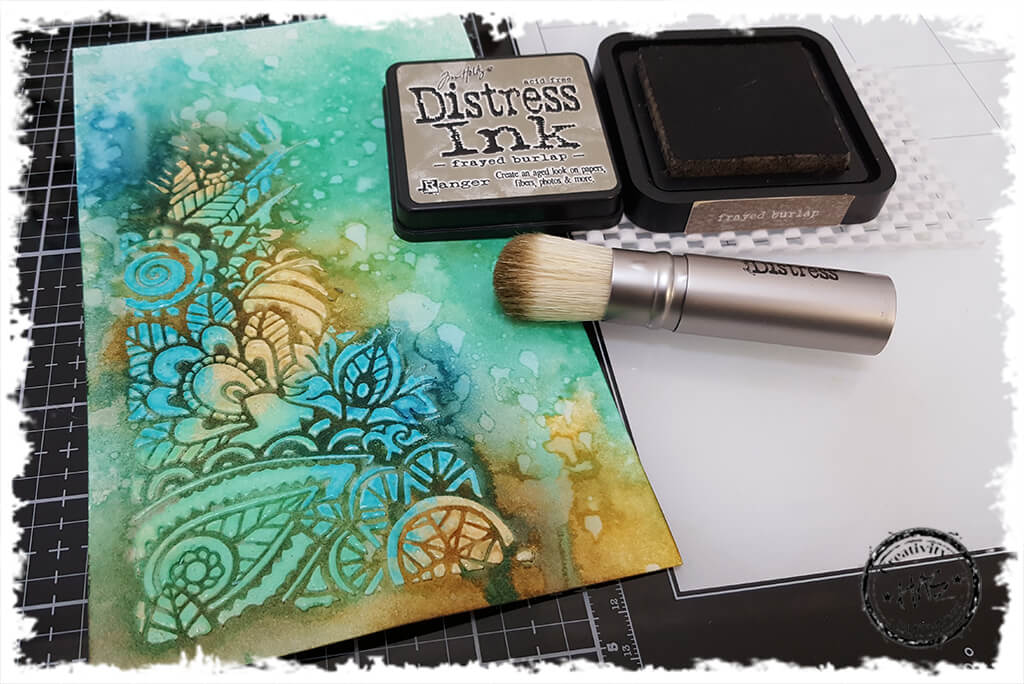
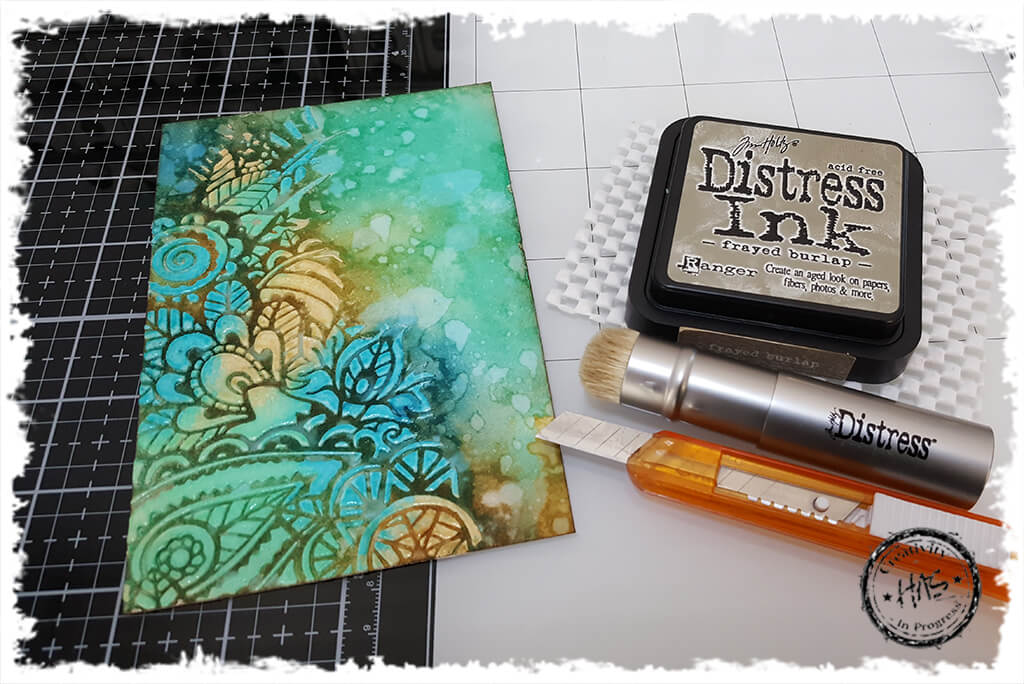
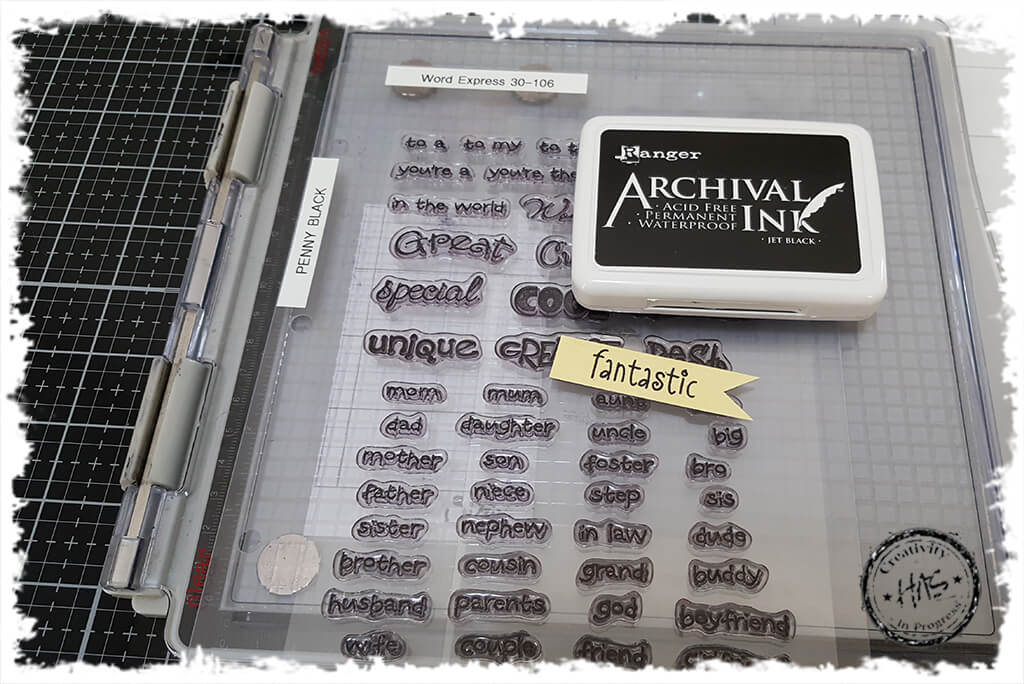
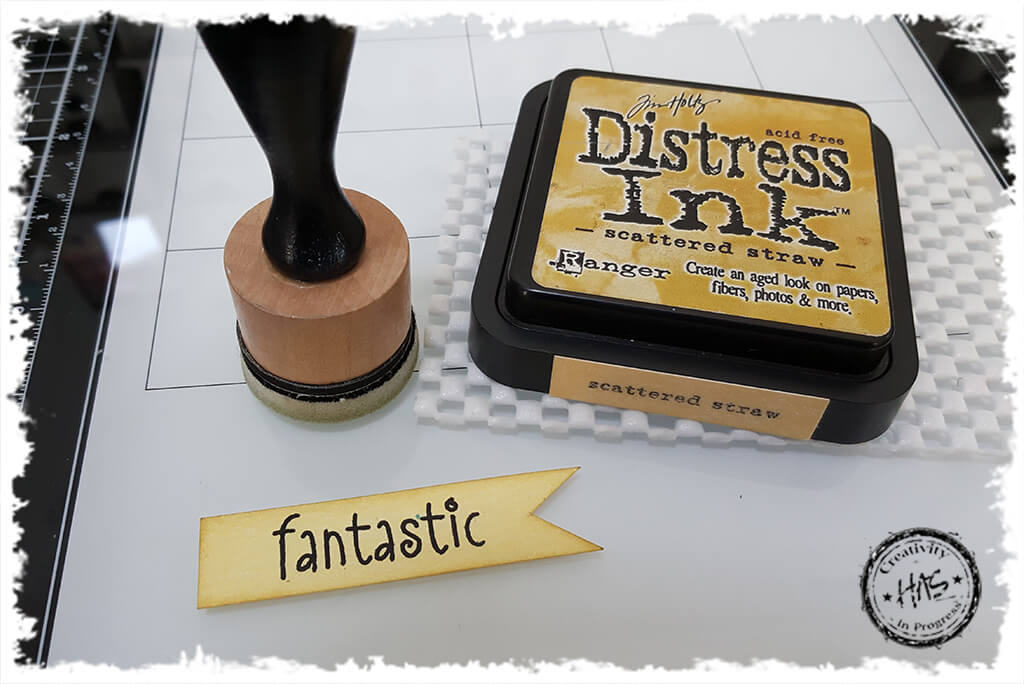
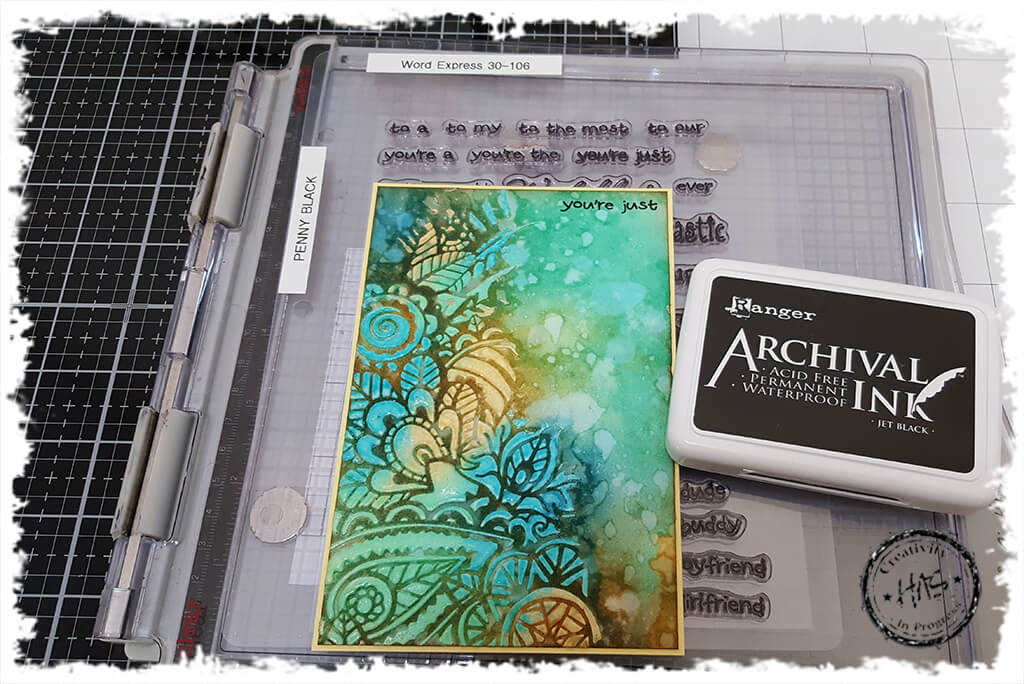
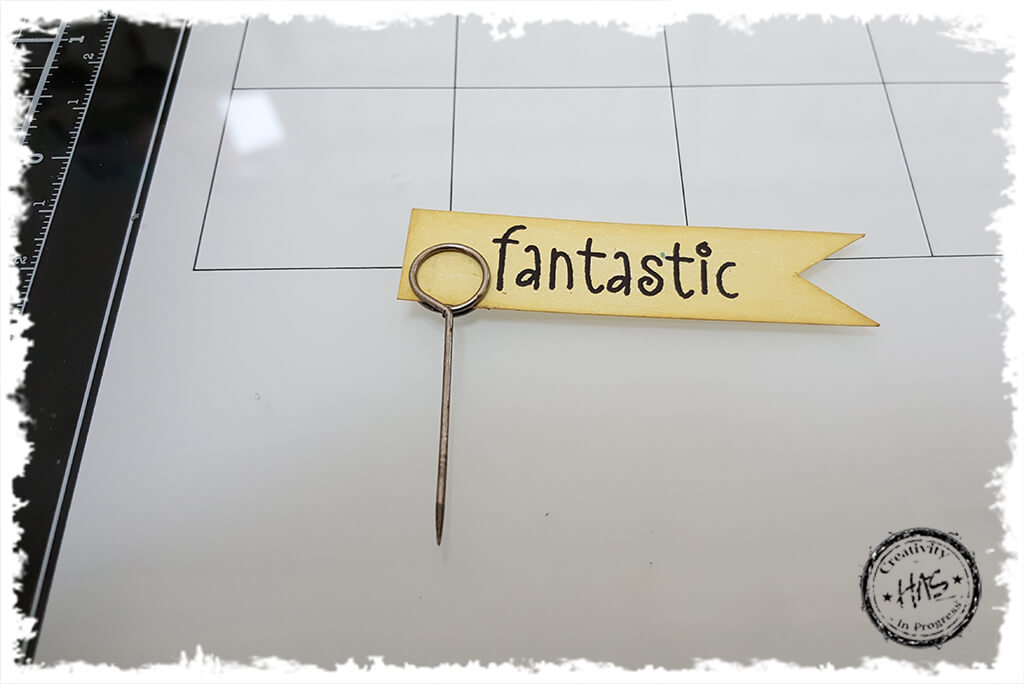
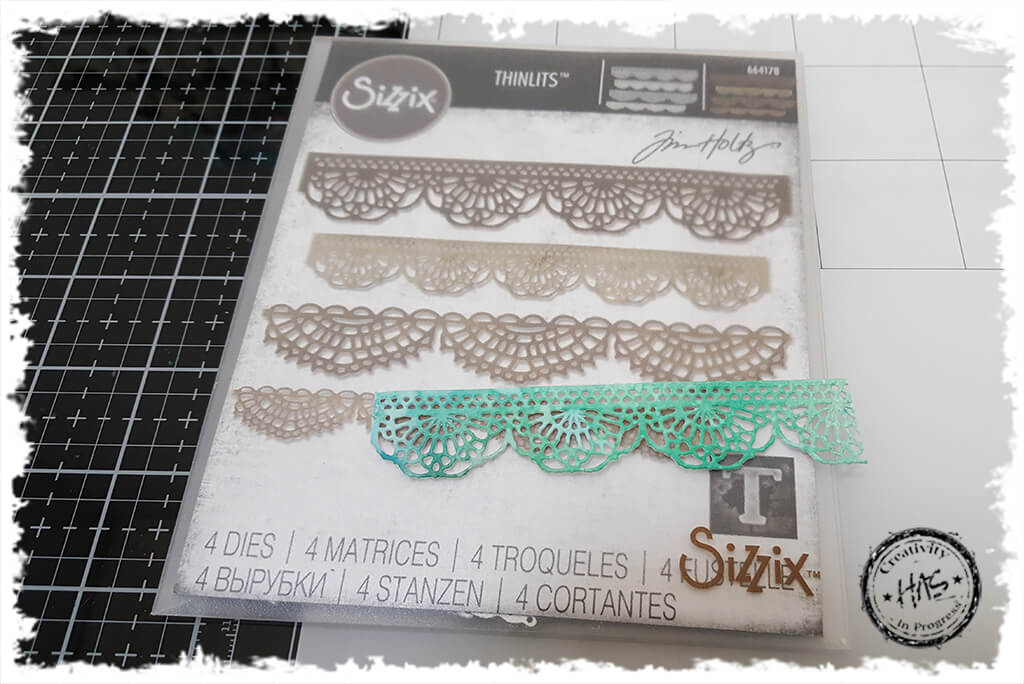
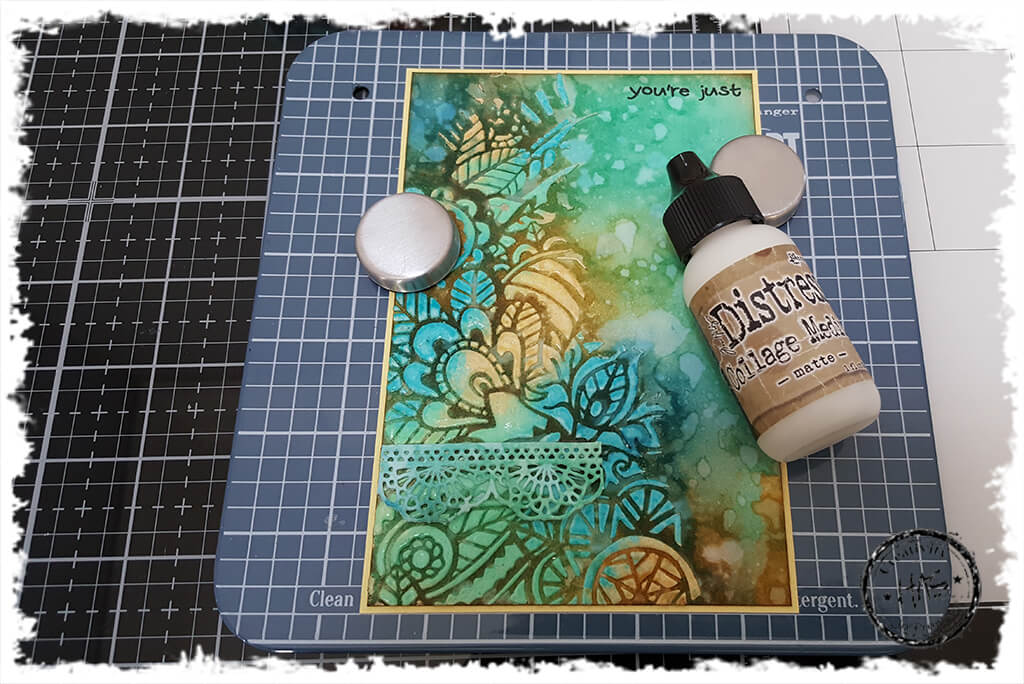
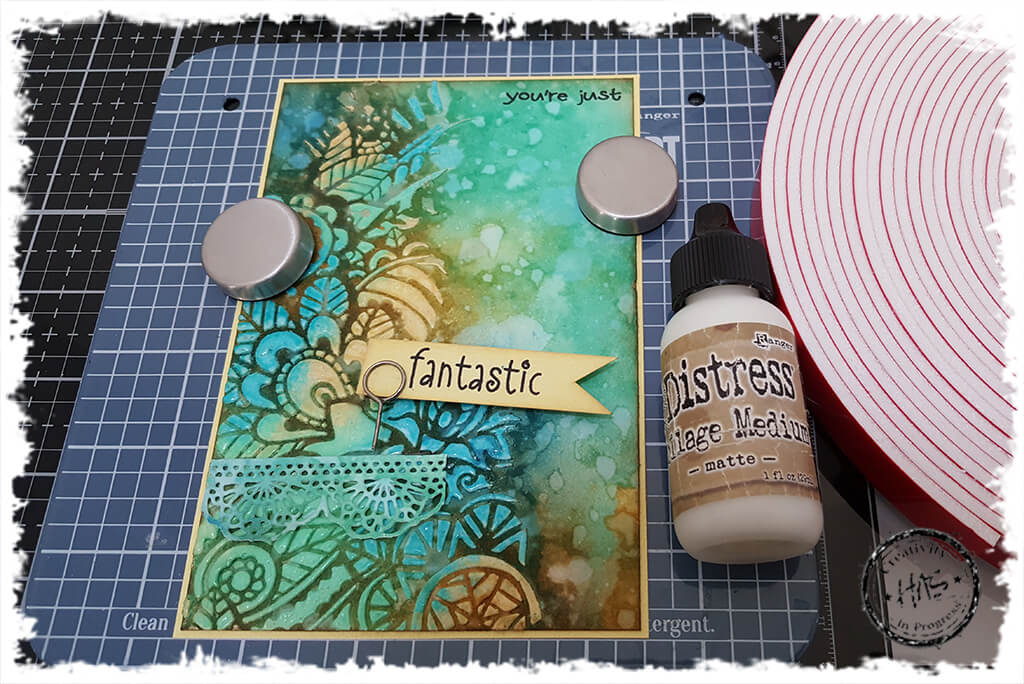
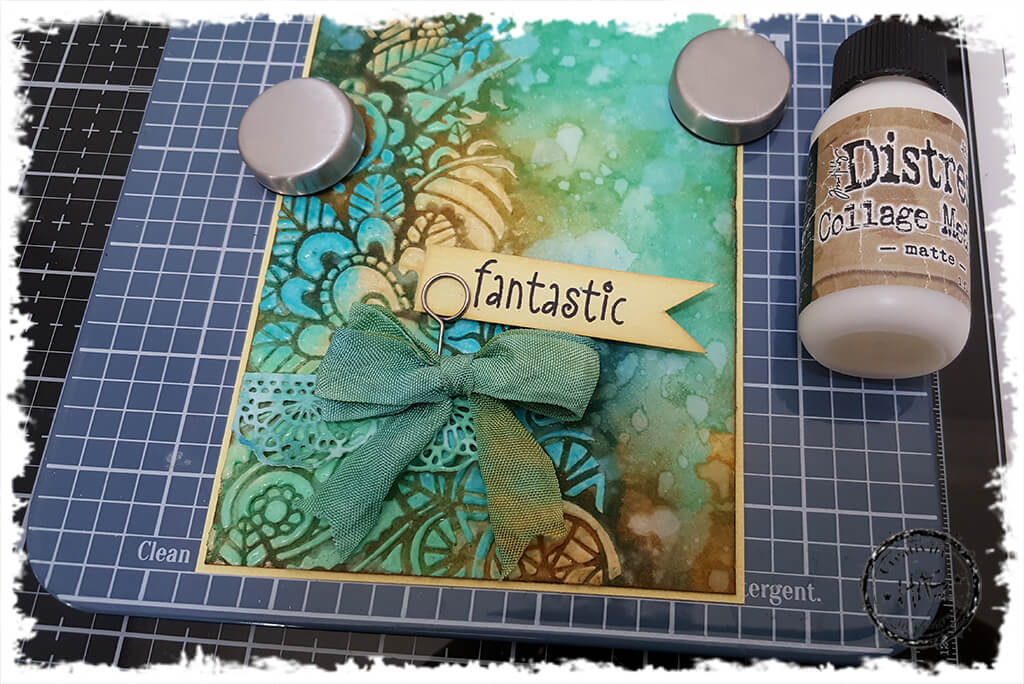
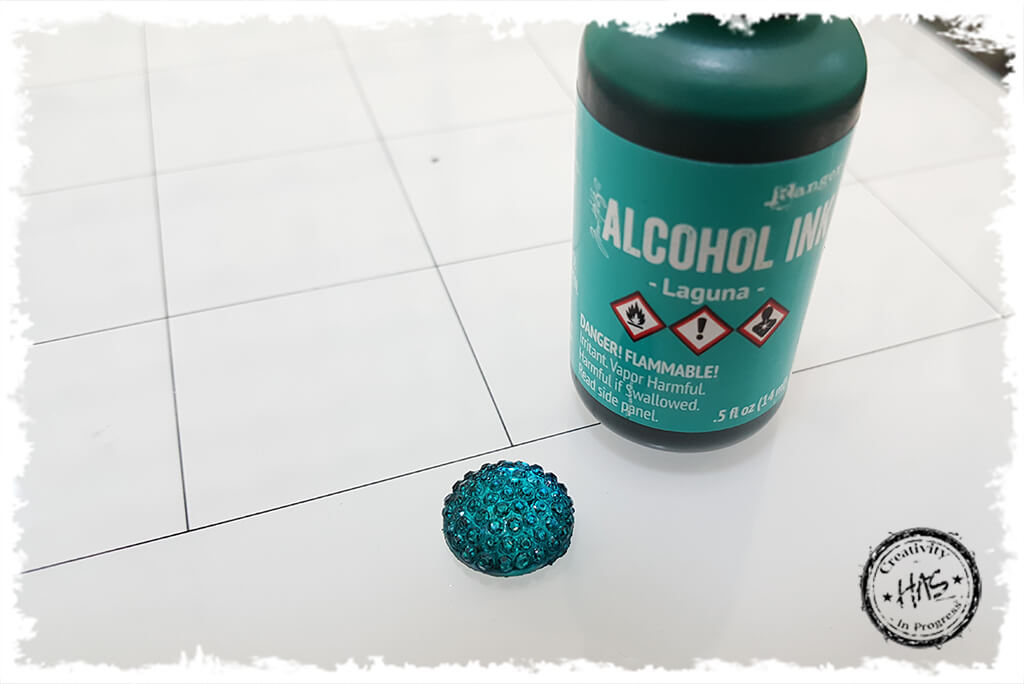
My paper of preference is usually Hot Pressed Water Colour Paper 300gsm, as I know that it accepts a lot of liquid without buckling and is a nice smooth surface to work onI placed my Doodle Art Stencil onto my mini Wendy Vecchi Make Art Stay-tion and held it in place using the magnets, then smeared a layer of Ranger Texture Paste over the top using a palette knife. Remember you still want to see the stencil through the paste, so don’t add to muchNest step is to sprinkle some Distress Glazes over the surface of the texture paste, Use you fingers to ‘twist’ the colour onto the paste and be sure to overlap the colours so that the create a more organic look. Once you have covered your surface, tap the back of the cardstock using your fingers to allow the powder to ‘jump’ around the paper which will also assist in creating an organic look to the colourIf you are not a fan of the paste bubbling when heated, then allow the paste to dry before heat setting the embossing glaze. I prefer to heat it while the paste is still wet as I like the additional texture and height the bubbles createLook at that great texture!Once the glaze is set and cooled, apply some Distress Sprays to create the background. I used Broken China, Scattered Straw, Tumbled Glass and Cracked Pistachio to match the colour of the glazes. Dont forget to spritz with water to create an interesting inked backgroundI wanted the water droplets effect in the background, so once I had dried my colour, I dripped on some nice sized droplets of water and removed the colour with a paper towelNow to make the embossed image really pop! Using a blending brush and some Frayed Burlap ink, I lightly inked around the embossed image. Adding this slightly darker colour really elevates the image, and I prefer to use my blending brush for this as it really gets into the finer details around the embossed imageThen I cut my piece down to size and edged using Frayed Burlap inkMat onto some coordinating cardstockI thankfully still have some crinkle ribbon in my stash, and couldn’t be sadder that this product has been retired! But you can use seam binding as a replacement. I coloured the ribbon using my distress spray stains and dried the ribbon and made a bowThen I stamped a sentiment onto some of the coordinating cardstock using Jet Black Archival InkI inked around the sentiment using a blending tool and Scattered Straw ink – just to edge it offUsing my stamping platform and Archival Ink Pad Jet Black, I stamped a smaller sentiment in the top right hand corner of the card topperMemo Pins are a great way to hold a smaller sentimentI cut a small strip of lace from the the left over inked cardstock I cut off – LOVE these crochet die sets!Using my trusty mini Wendy Vecchi Make Art Stay-tion, I attached the lace to the card topper using Collage Medium – a nice trick here is to use the magnets to hold the element in place until the glue has driedThen I adhered the memo pin sentimentAnd the crinkle ribbon bow using Collage MediumI used some Laguna Alcohol Ink to colour my gum drop (I love gum drops! I think they are so versatile and can be used as a filler in so many ways)Adhere the gum drop to the centre of the bow using Collage MediumAnd that’s it! Embossed Glaze over Texture Paste! Couldn’t be easier and couldn’t be more effective! I hope you get your glazes out and give them a go!