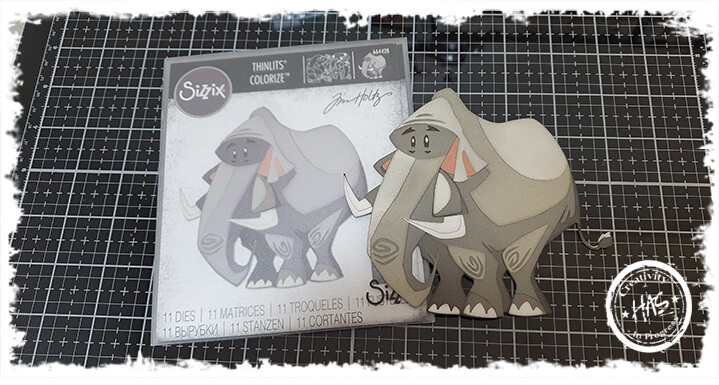
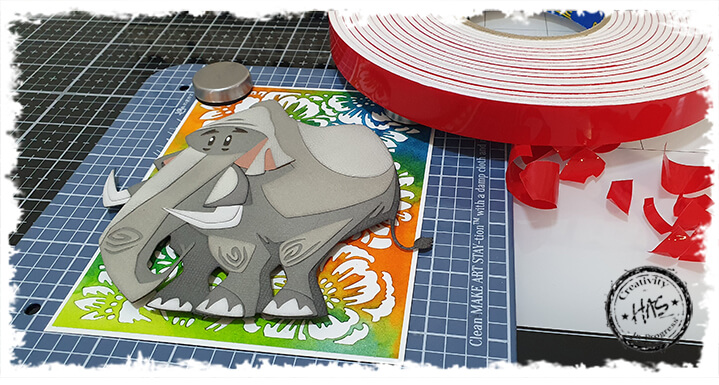
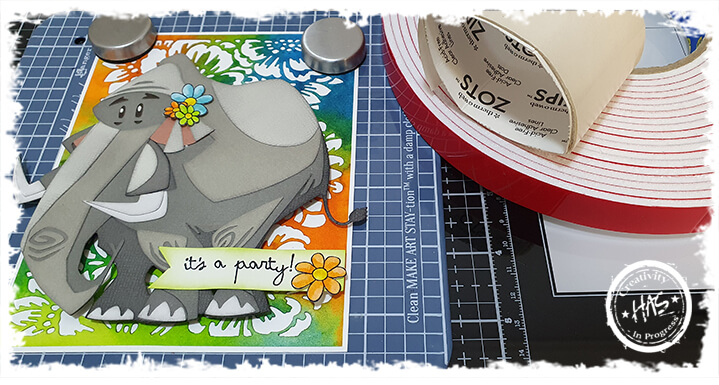
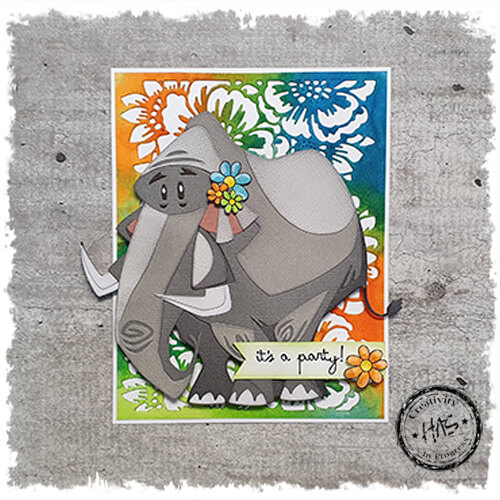
Here’s a simple card topper using the new Clarence Colorize die set. This colourful backdrop really lets Clarence shine. Here’s how I did it…
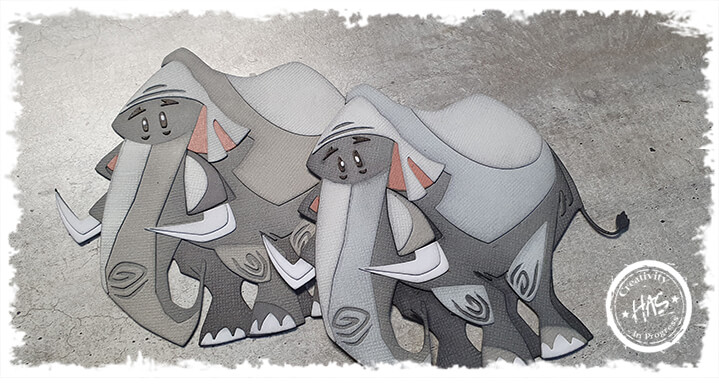
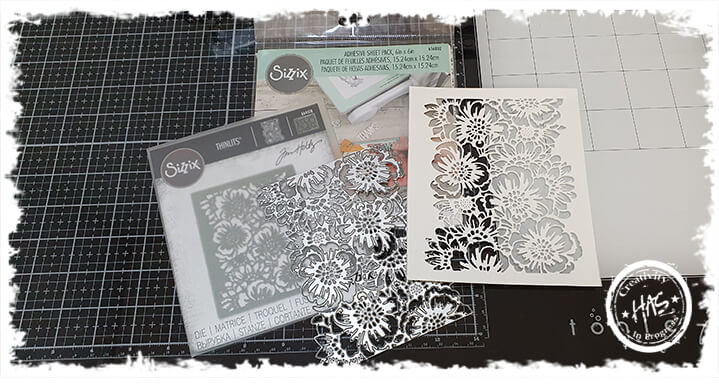
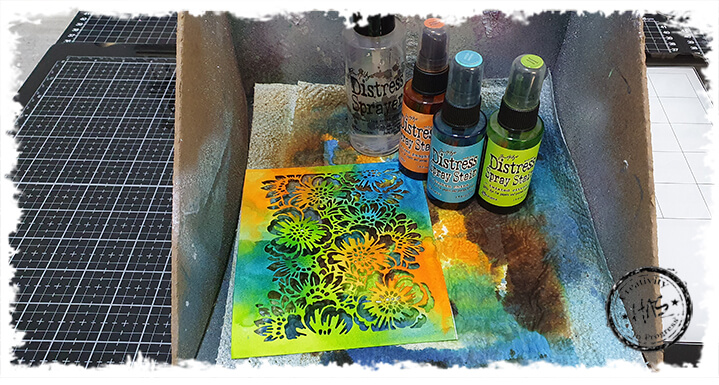
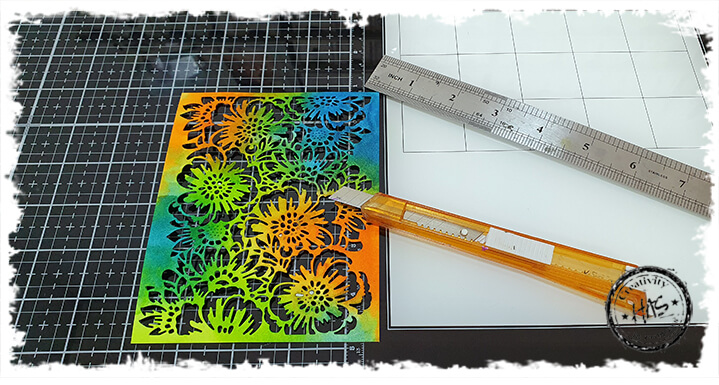
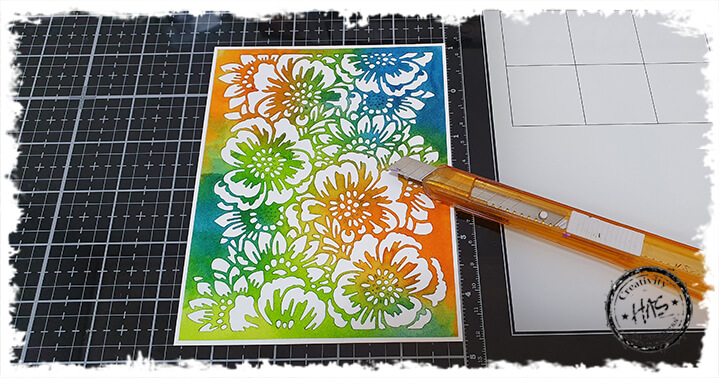
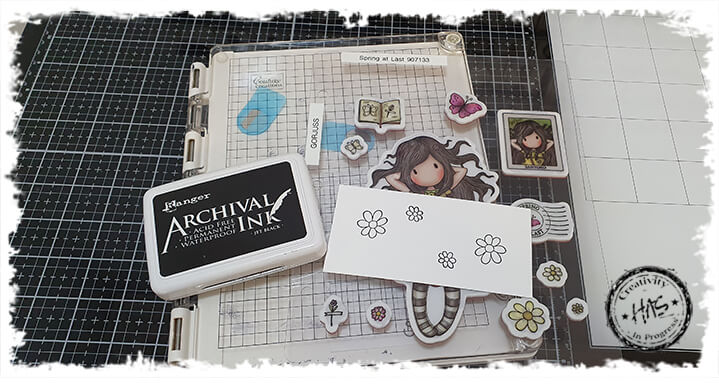
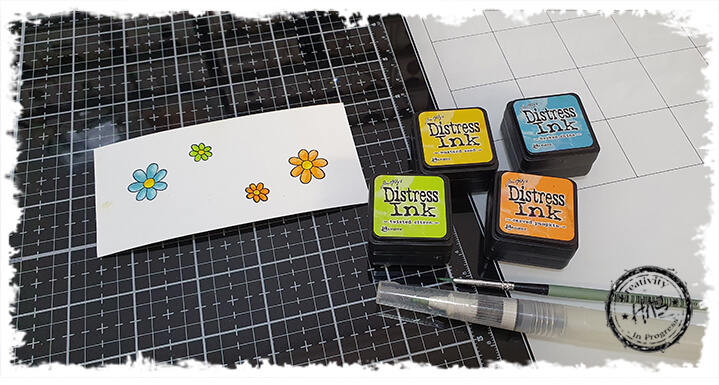
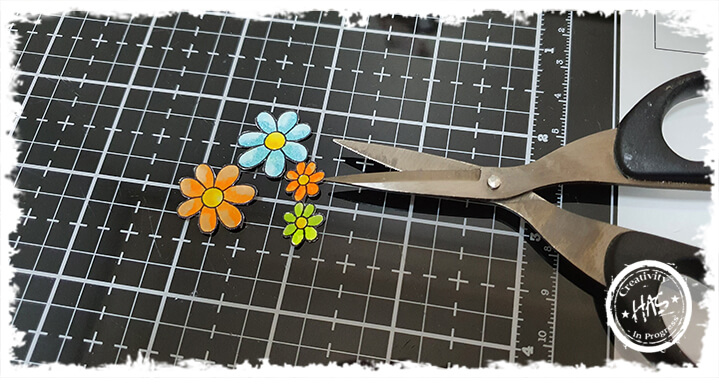
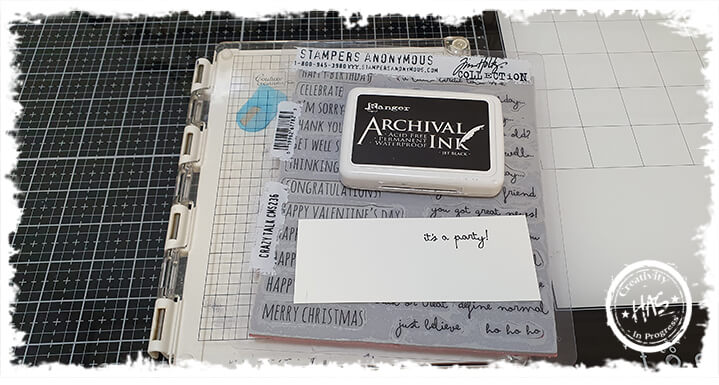
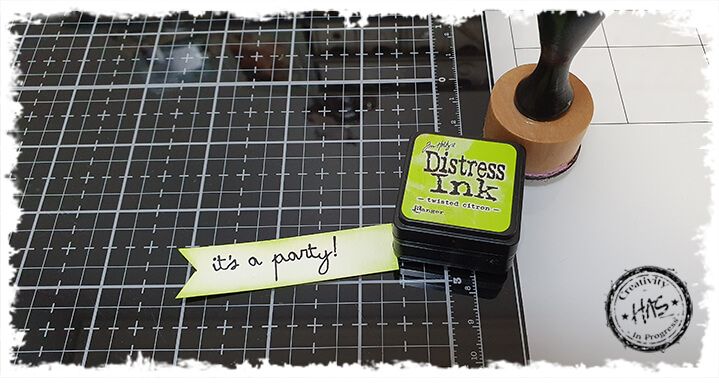
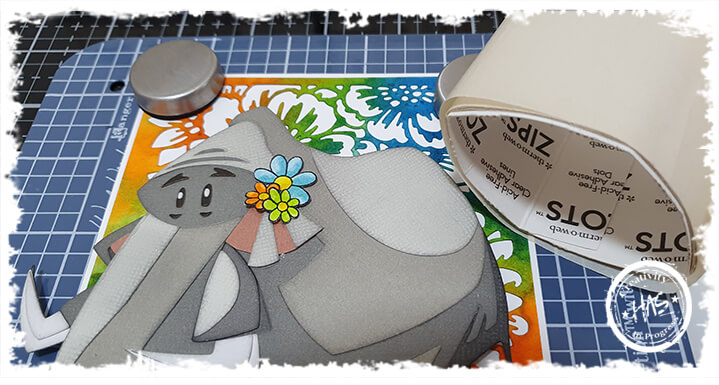
Sizzix has an easy step by step video for every Colorize die set.I always prefer to make a couple at a time, this way I have some at the ready for when I feel like creating again. I actually have some Christmas plans for the other ClarenceNow this is an absolute favourite die set of mine! I started off by adding some adhesive to the back of the cardstock before I die cut it. It just makes life SO much easier in the long run! I used a sheet of Mixed Media Cardstock for this, as I knew I wanted to add ink, so wanted the cardstock to remain stableOut came the Splatbox (never spray without it!), and I sprayed the cardstock with water first and then added my colour. Here I used Carved Pumpkin, Broken China and Twisted Citron. Then I dried the ink using my heat toolOnce the ink was completely dry, I cut the piece down to sizeAnd matted it onto a piece of white cardstock for a gorgeous transferThen I stamped some cute little flowers from a Gorjuss stamp set onto a piece of Hot Pressed Watercolour Paper using Jet Black Archival Ink PadI was too lazy to get up and get my Distress Markers lol, so I just used the ink from my ink pads to colour the flowers using my water brush and a fine detail paint brushAnd cut the flowers outI wanted a small sentiment, so stamped ‘It’s a party’ onto some Hot Pressed Watercolour paper using my Couture Creations Stamp PressAnd inked around the edges using my blending tool and Distress Ink Pad, Twisted CitronAs always, I used my Wendy Vecchi Mini Make Art Stay-tion to line Clarence up on the card topper, and stuck him down with double sided foam tape for a little dimensionI added some flowers to his ear – too cute!And attached the sentiment! Super easy!Isn’t she lovely?! Such a happy card!