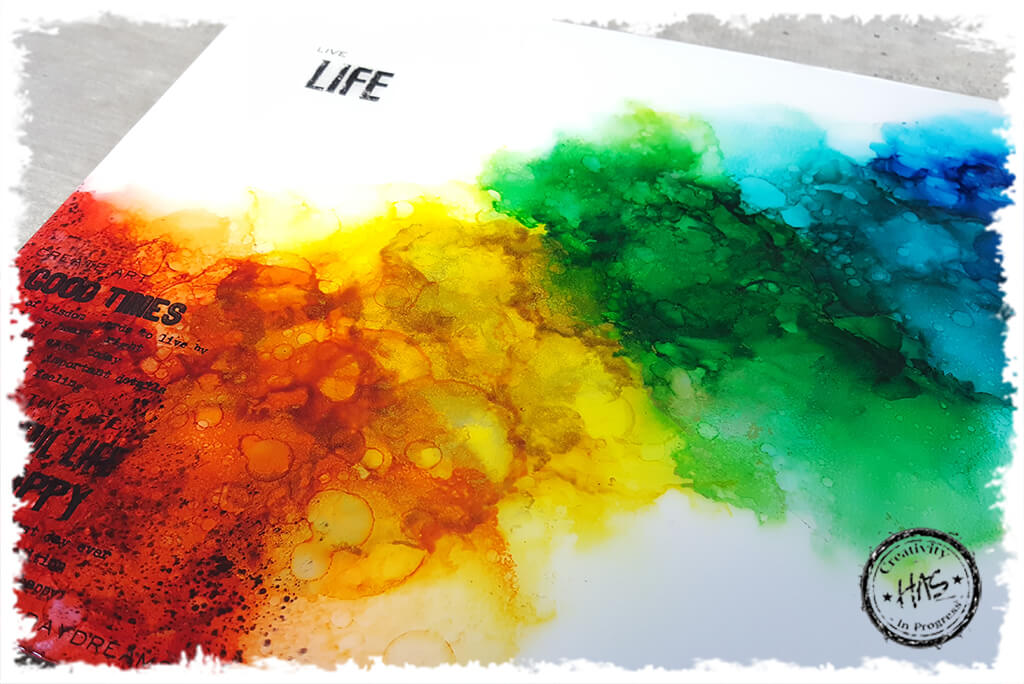
Nothing better than playing with your Alcohol Inks to make you smile. Hope you gets yours out and get creative!
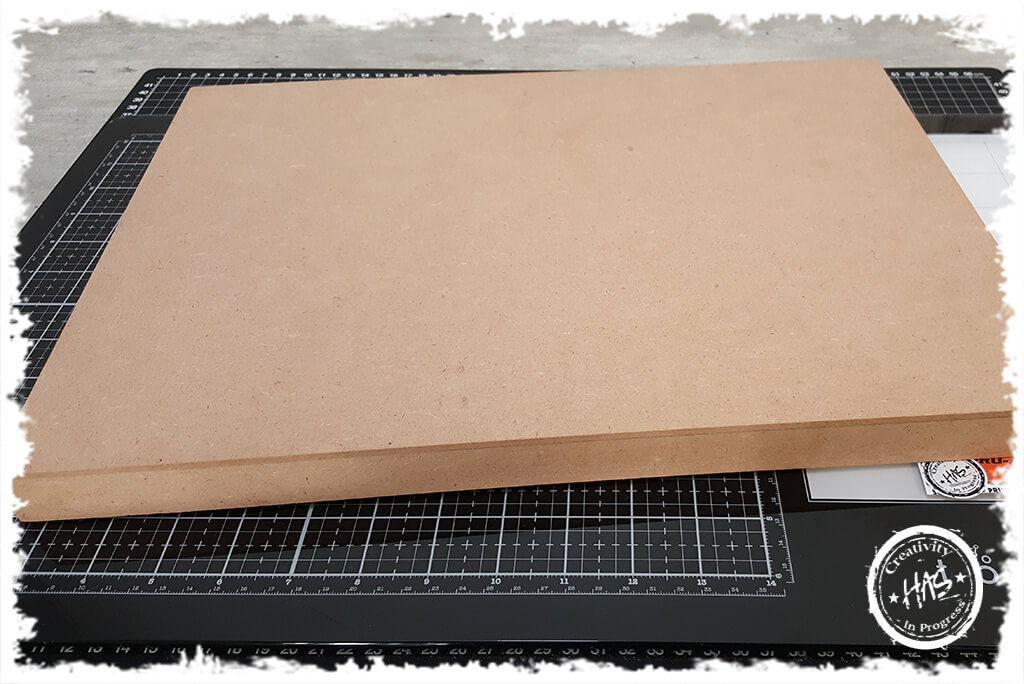
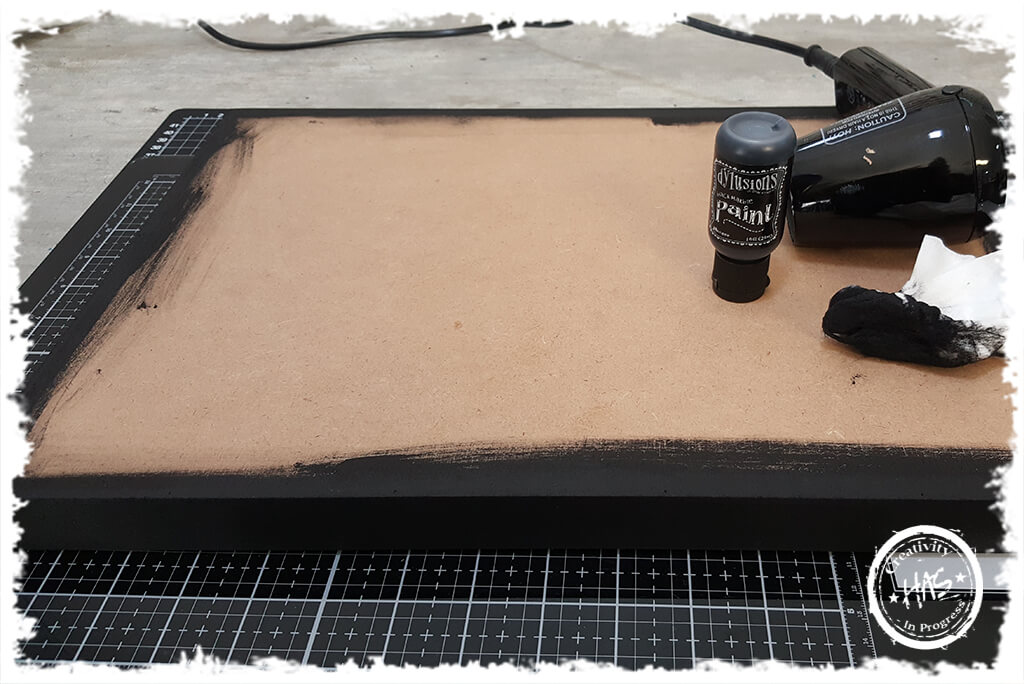
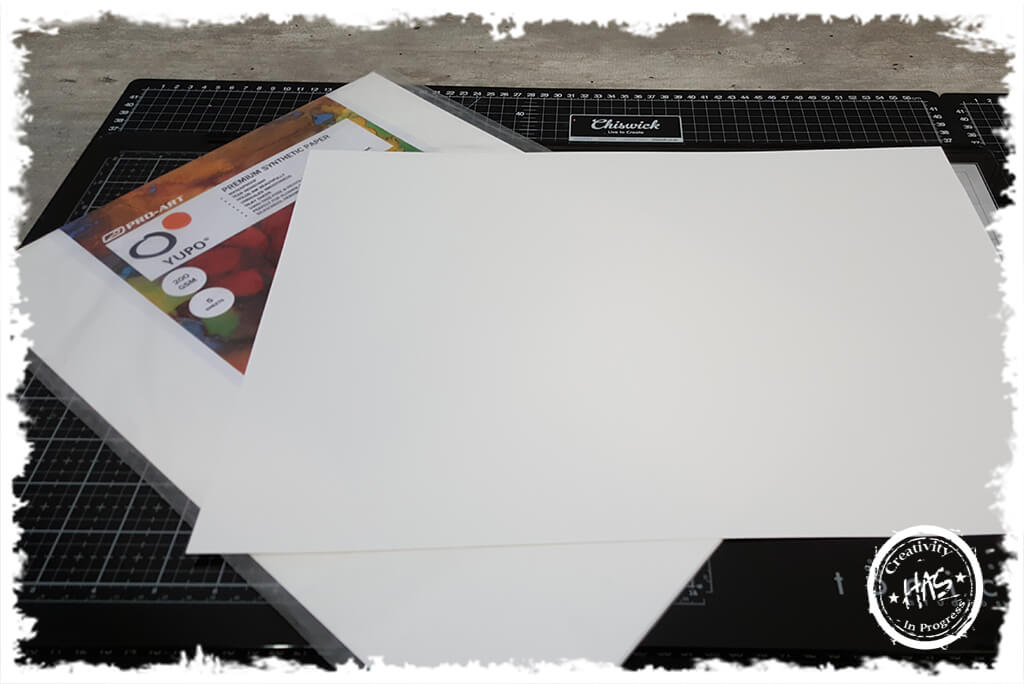
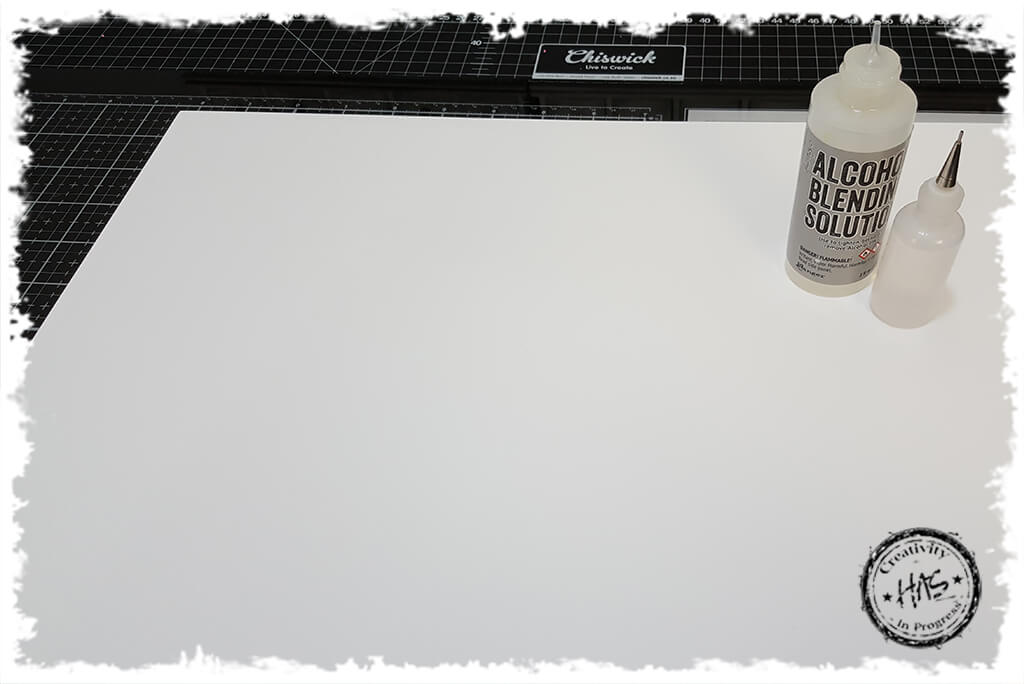
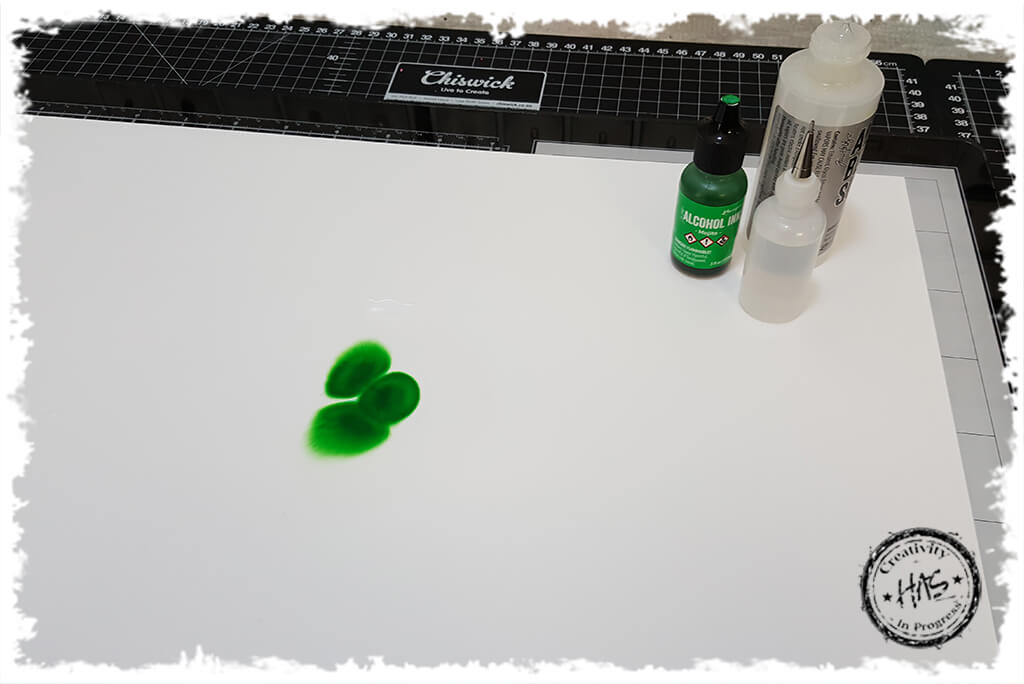
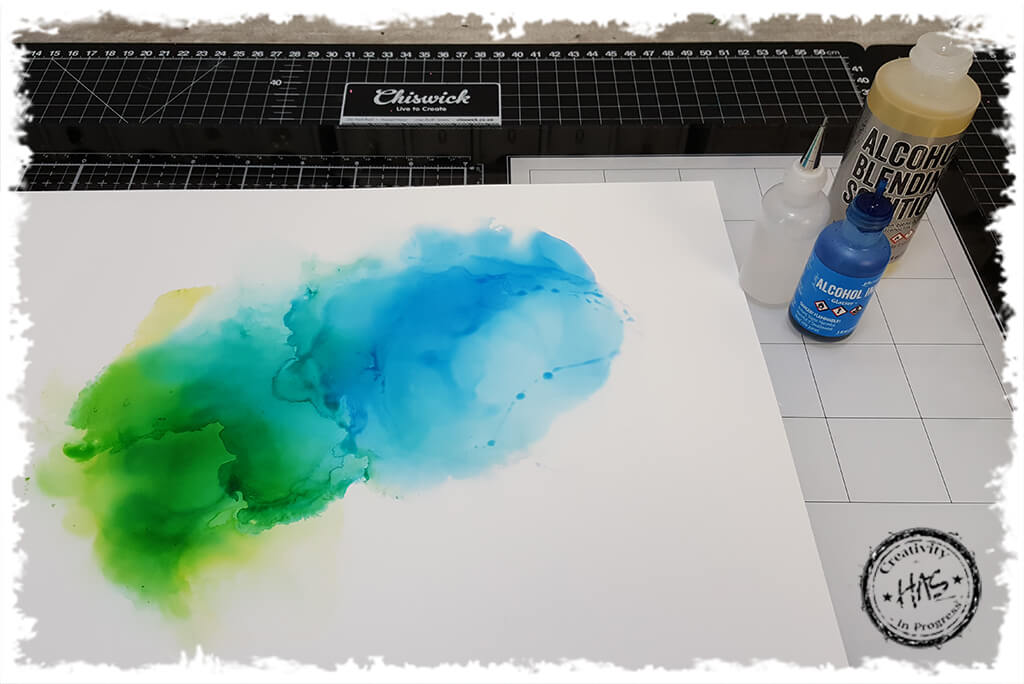
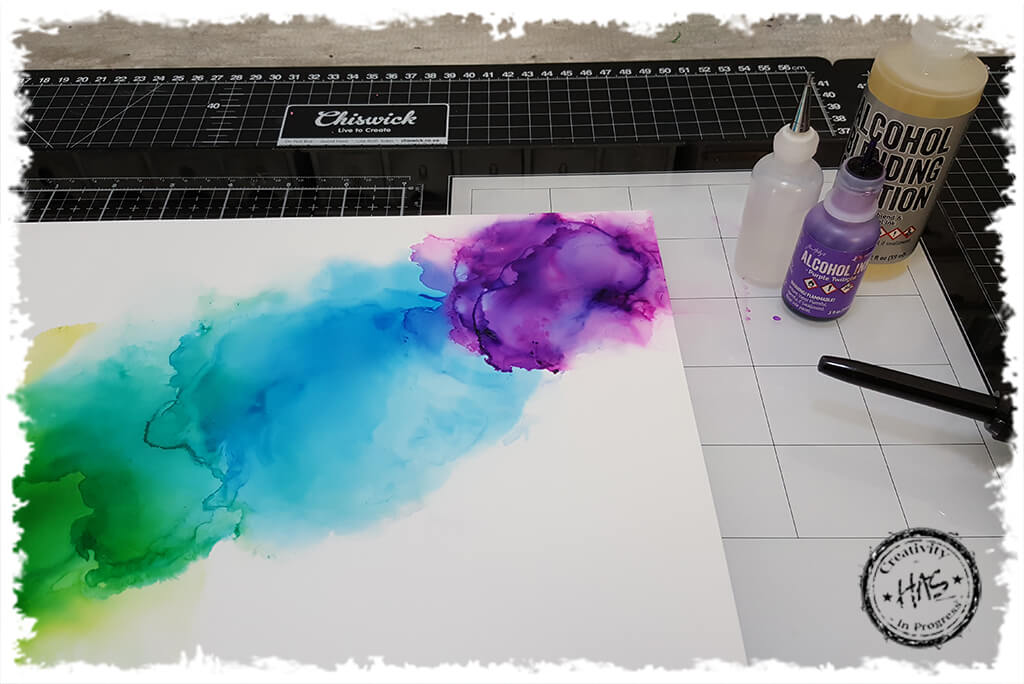
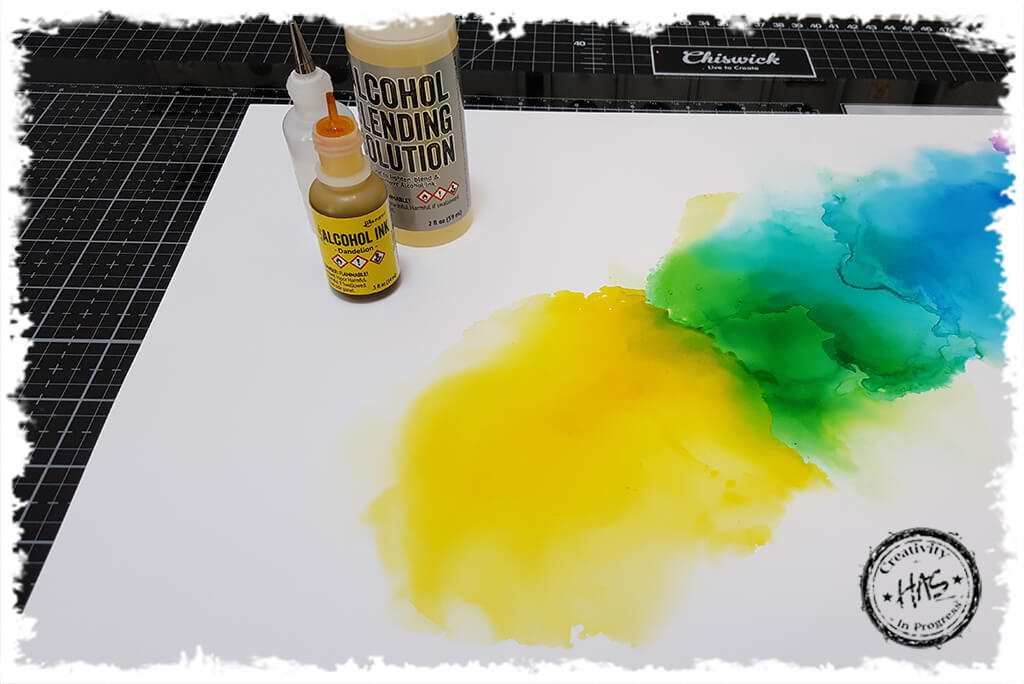
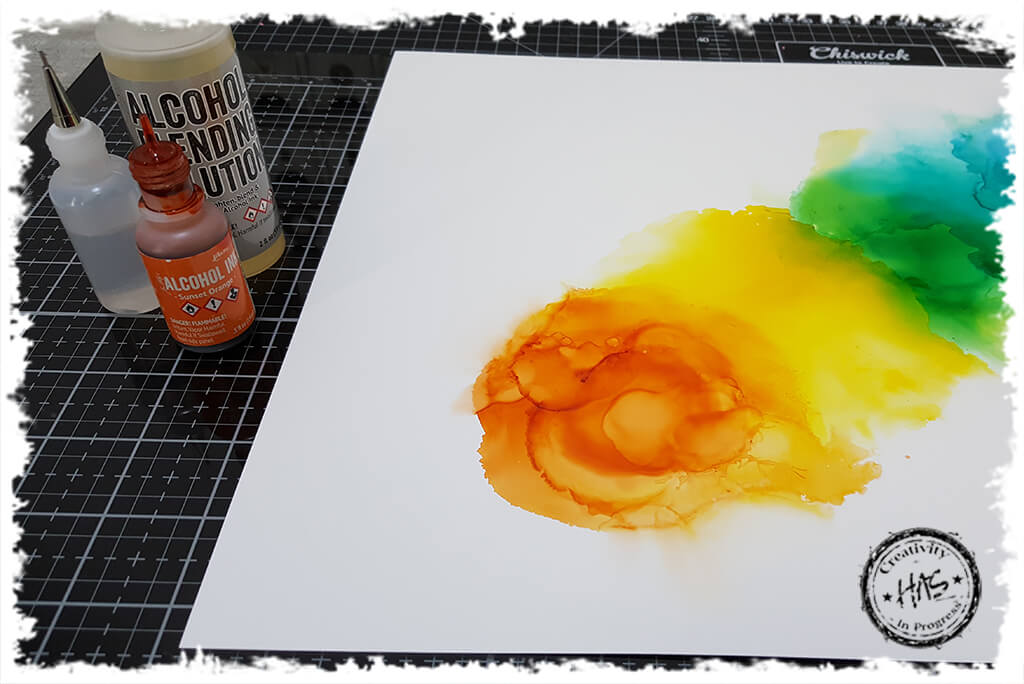
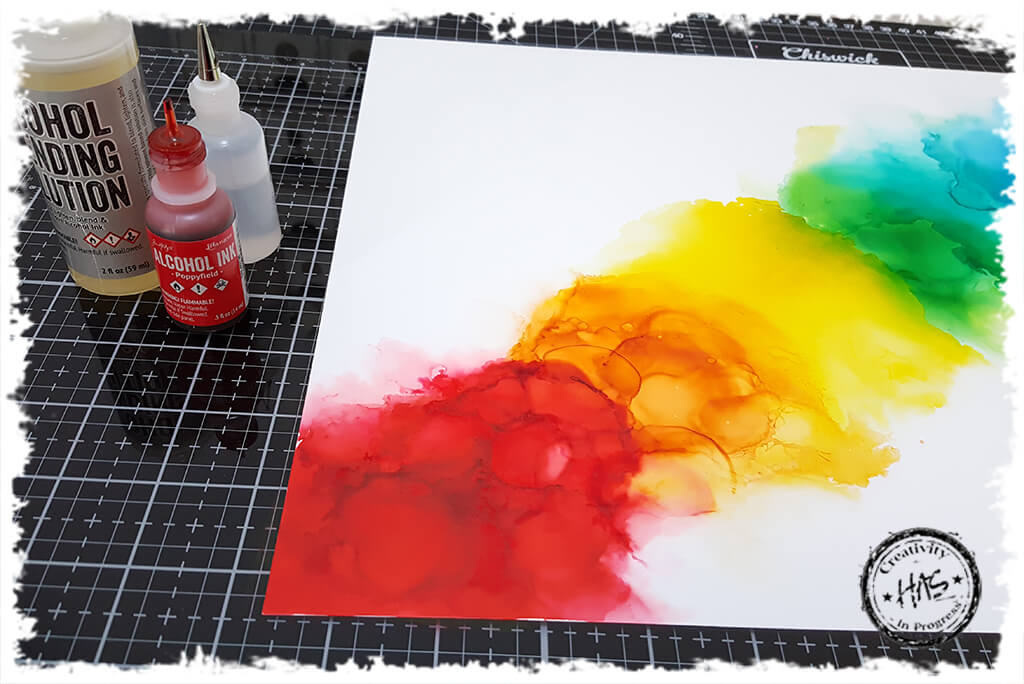
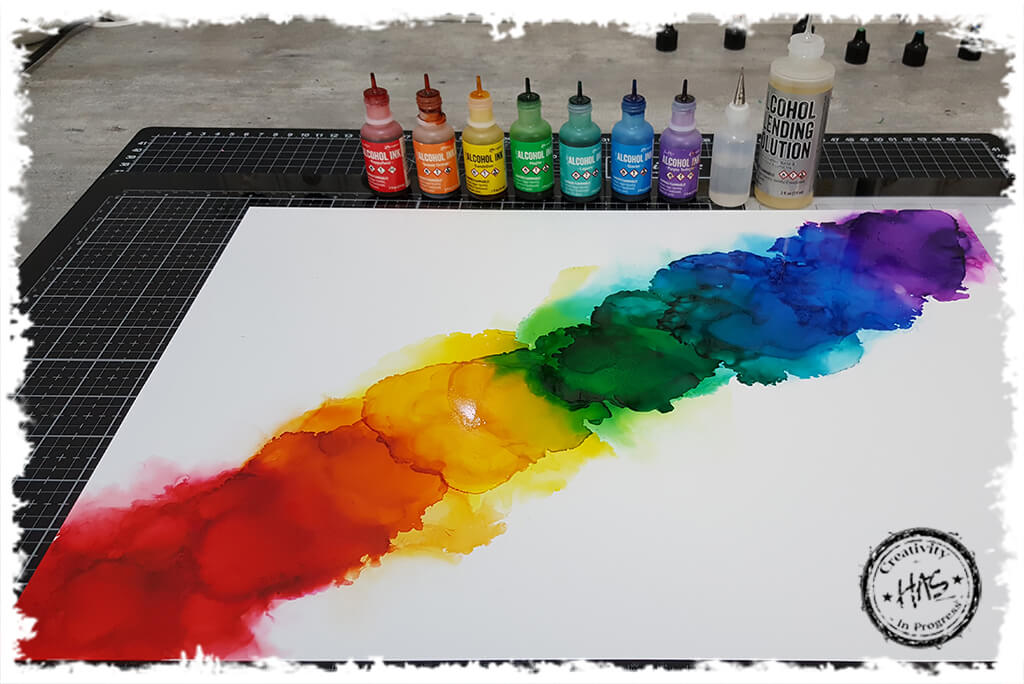
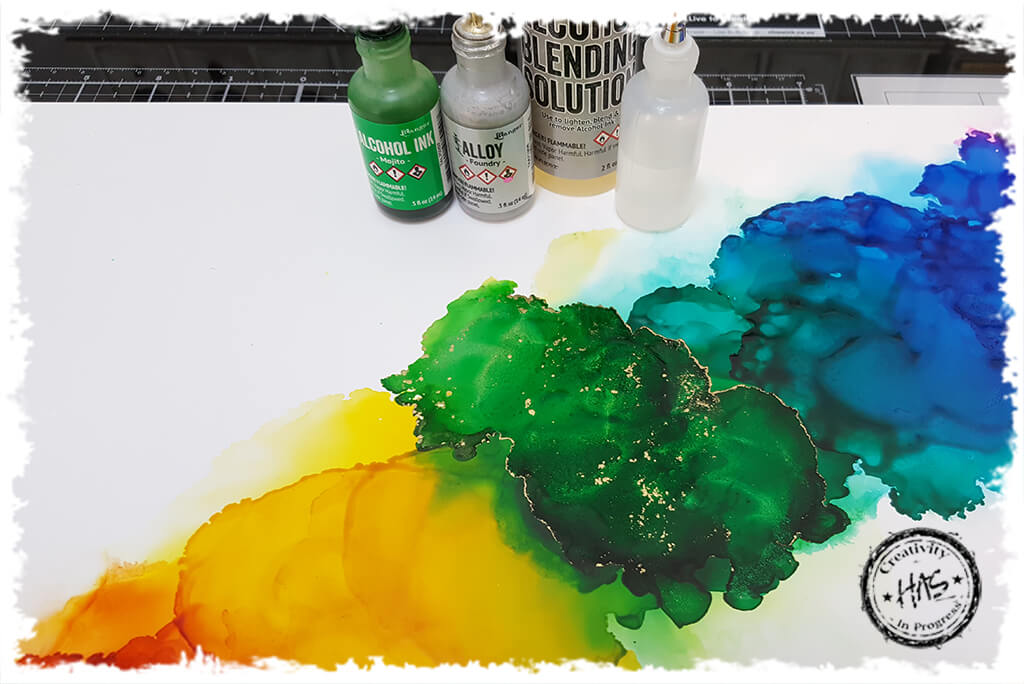
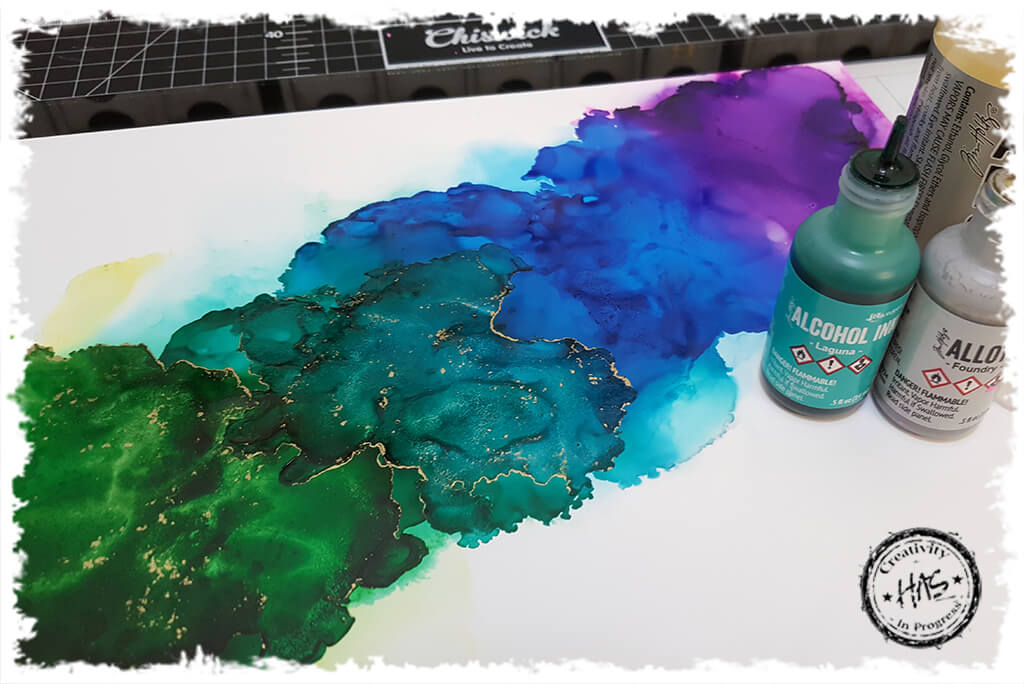
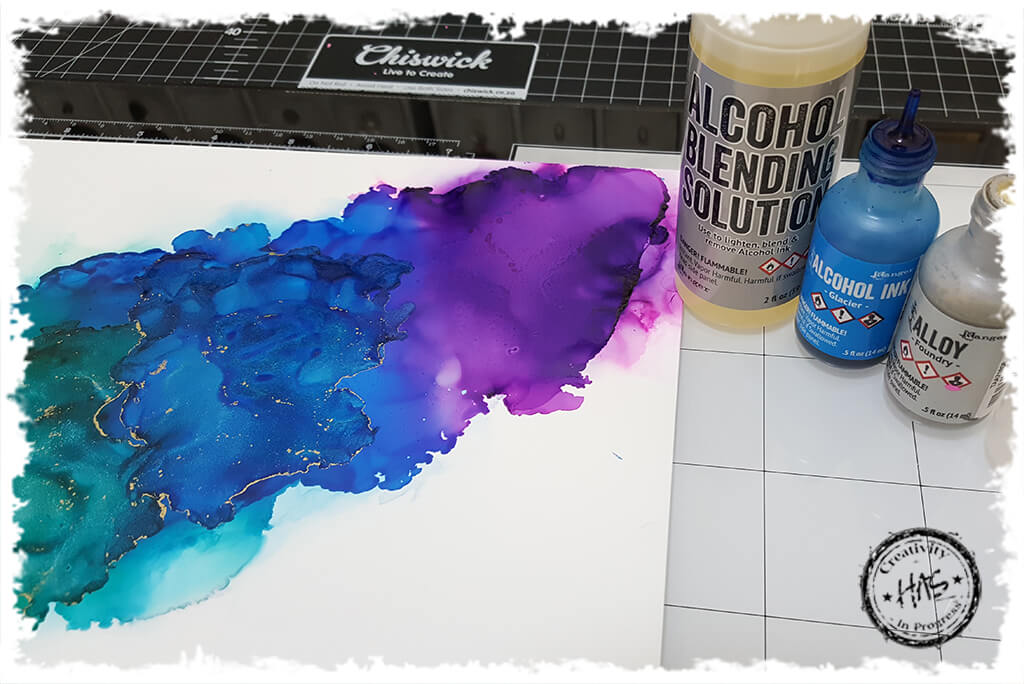
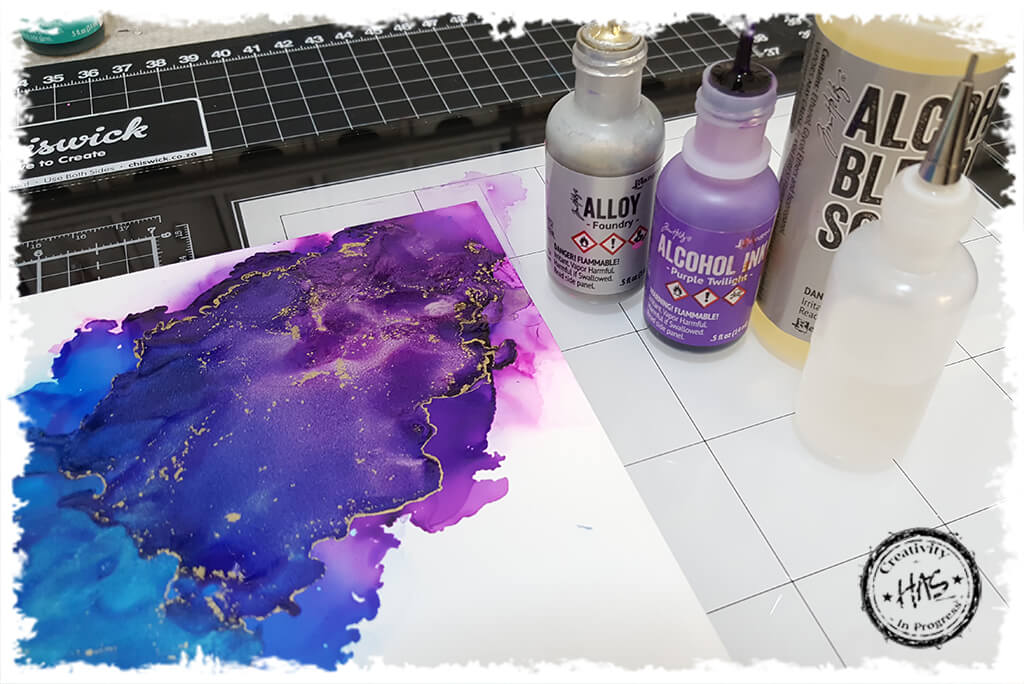
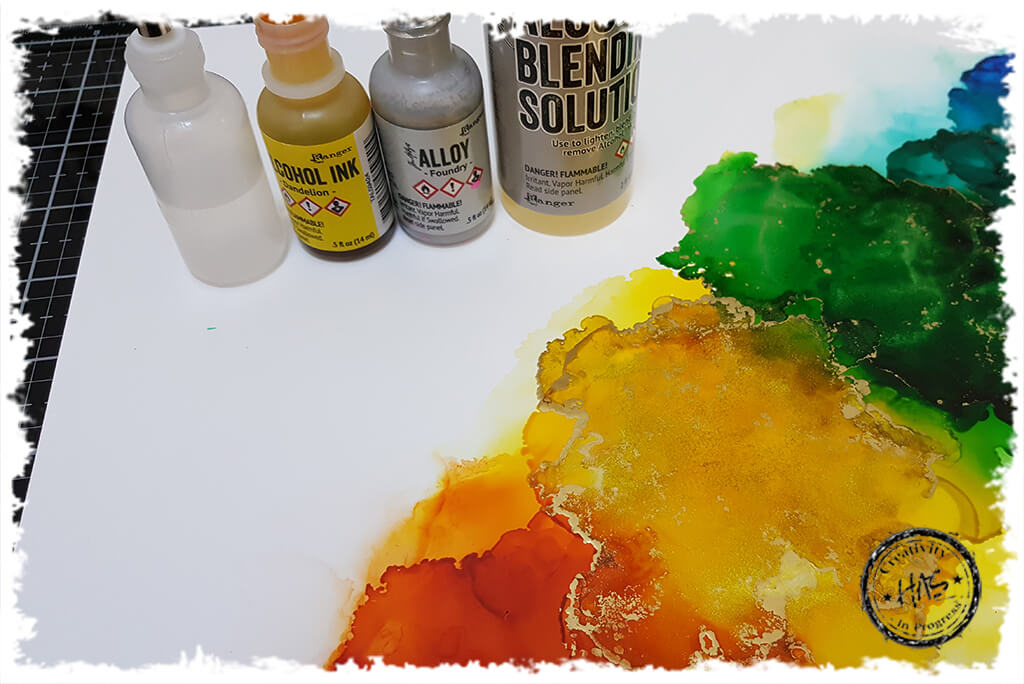
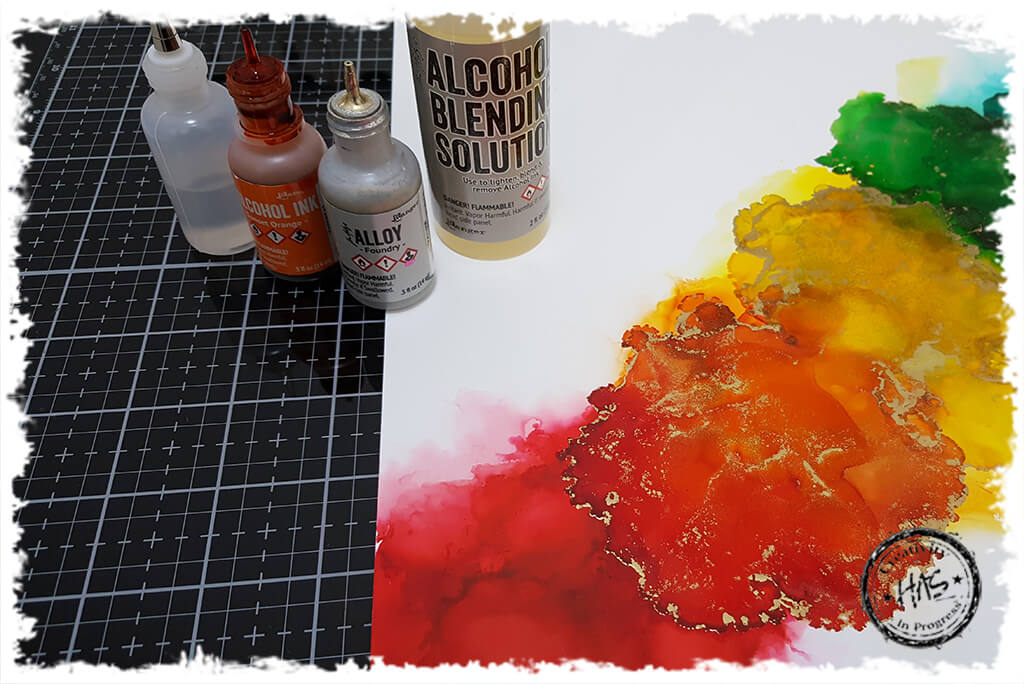
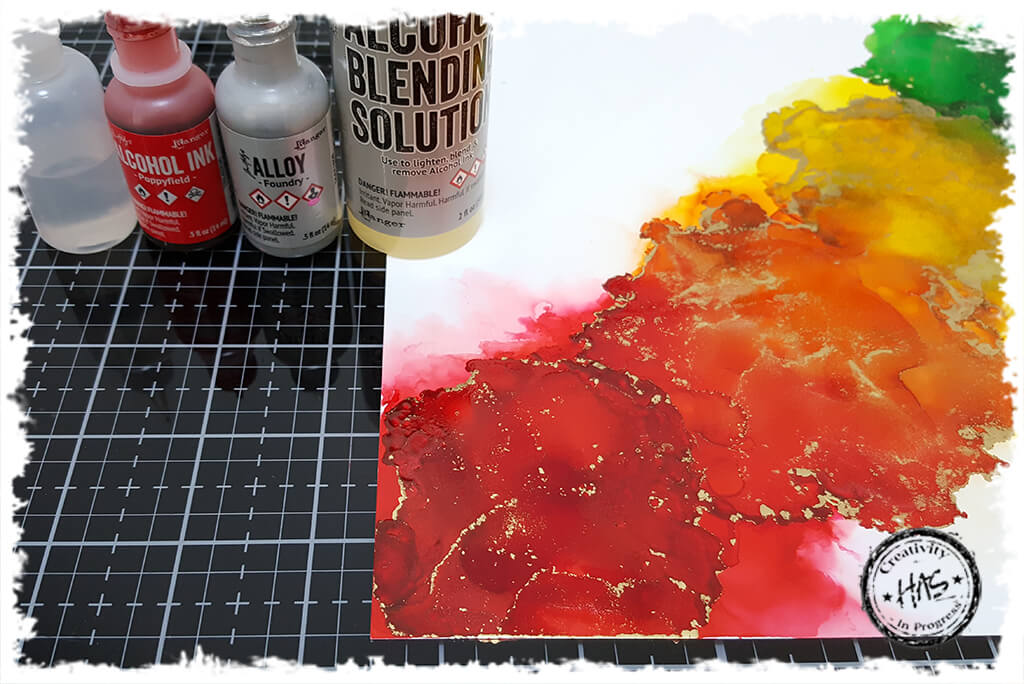
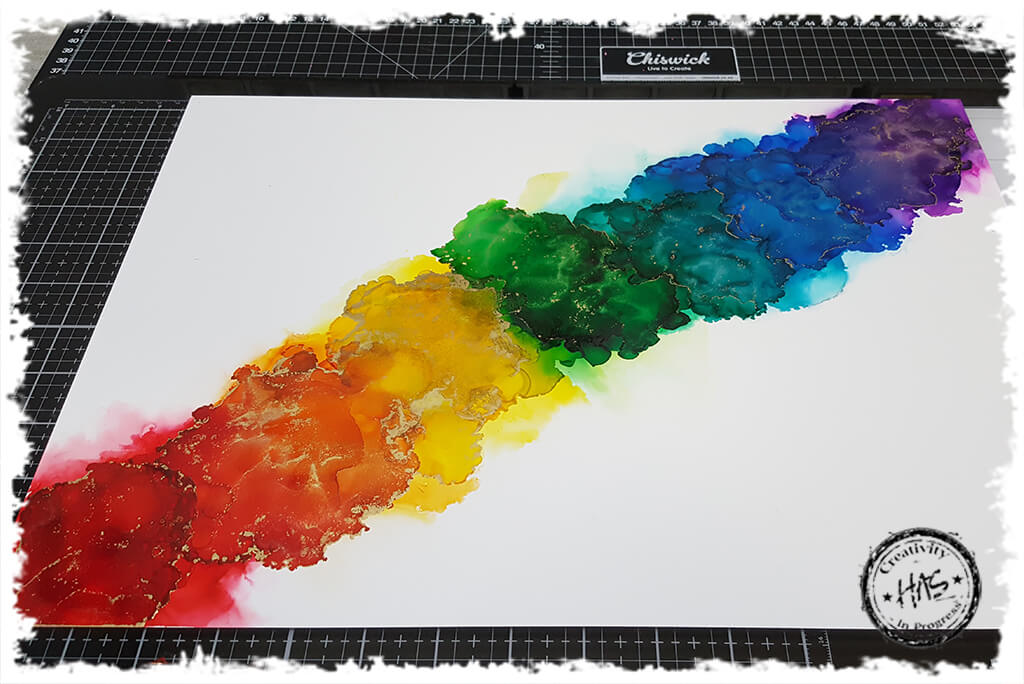
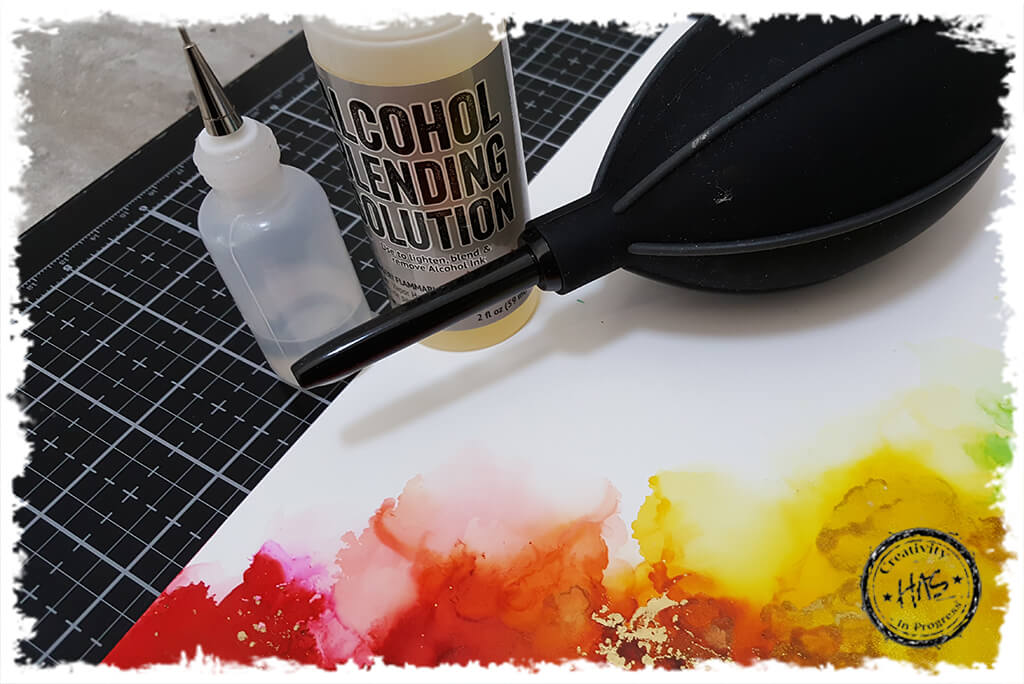
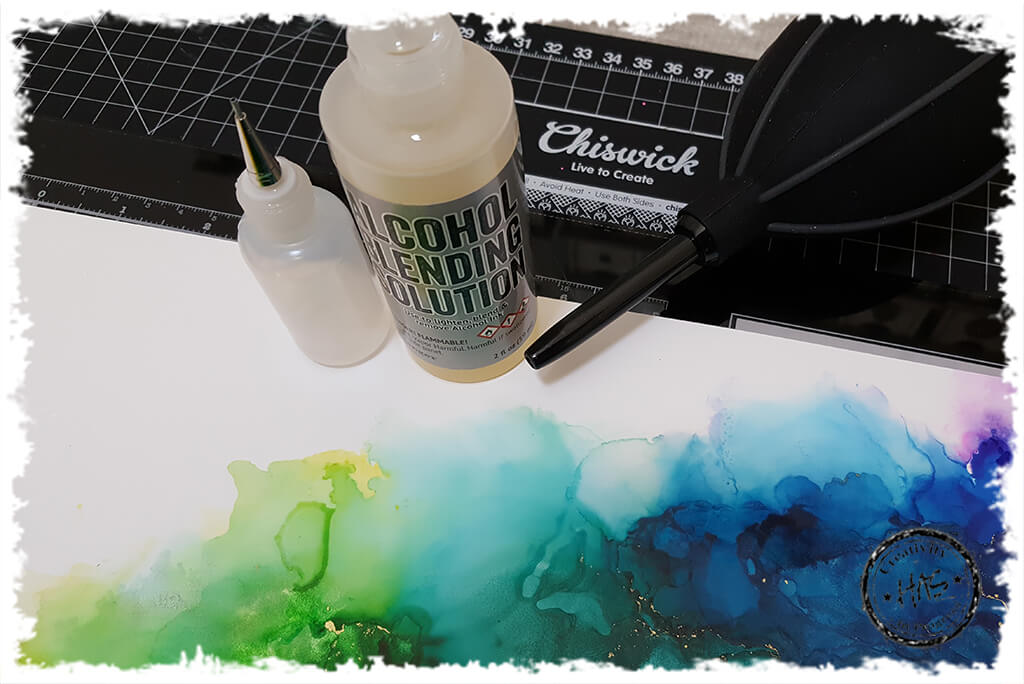
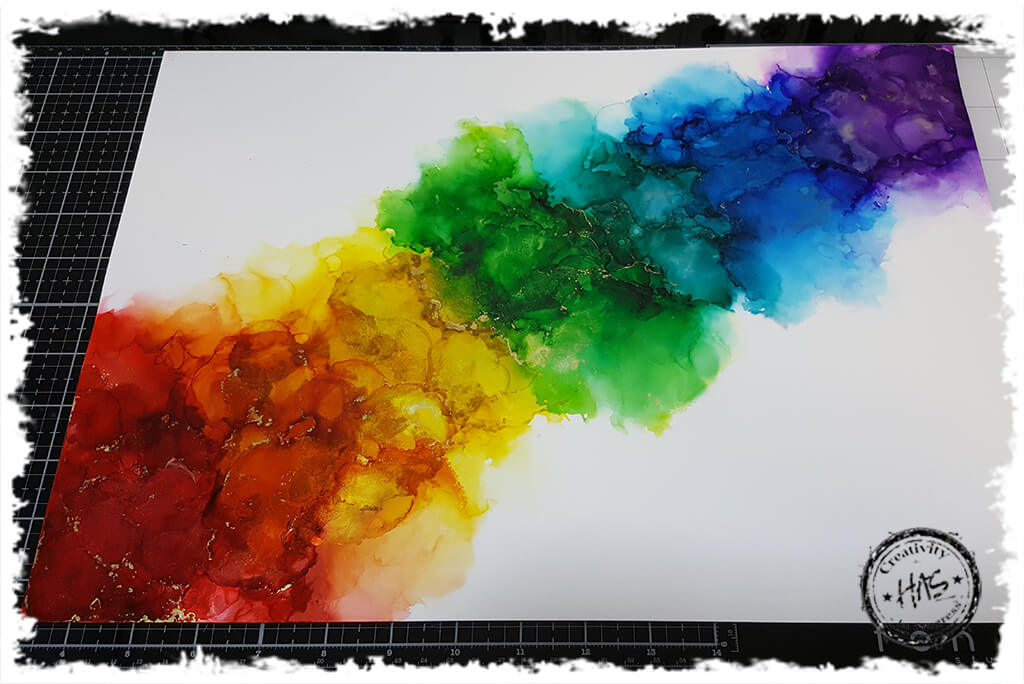
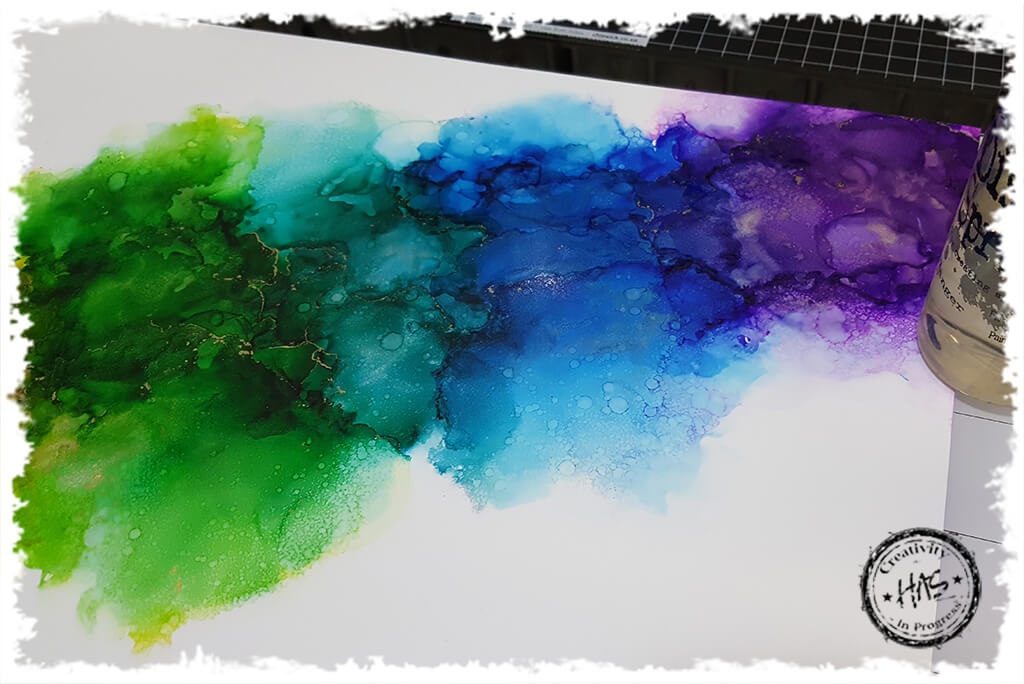
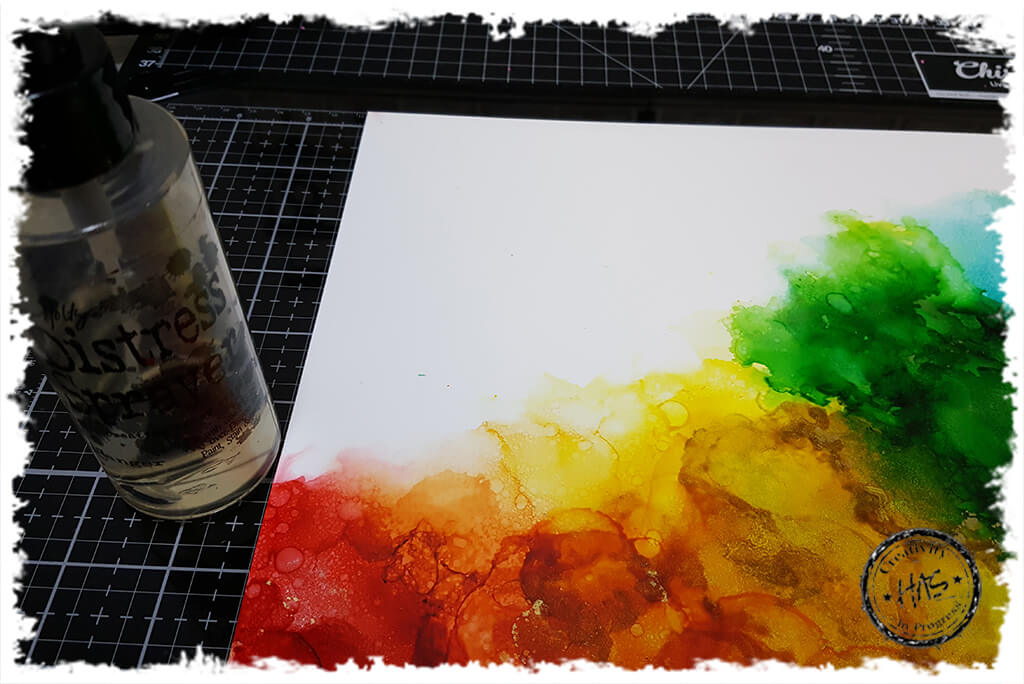
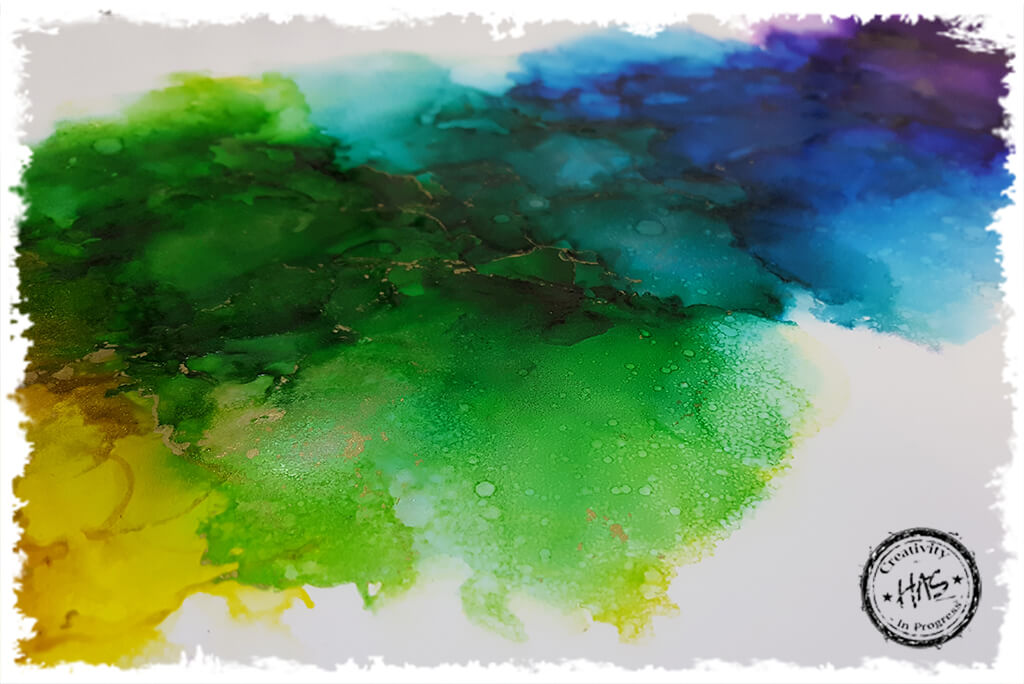
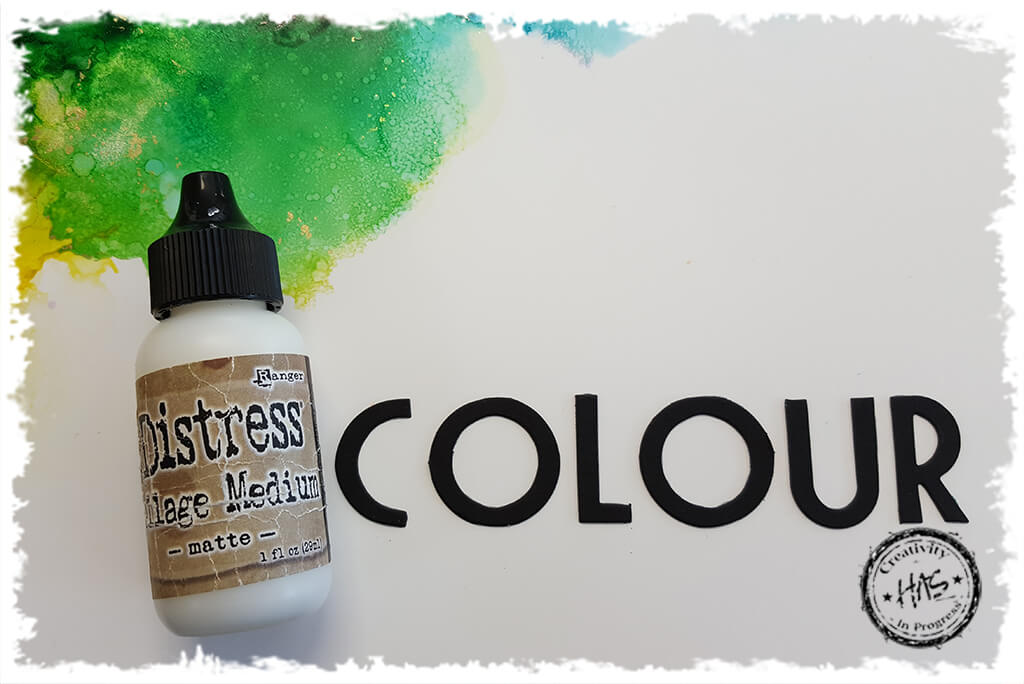
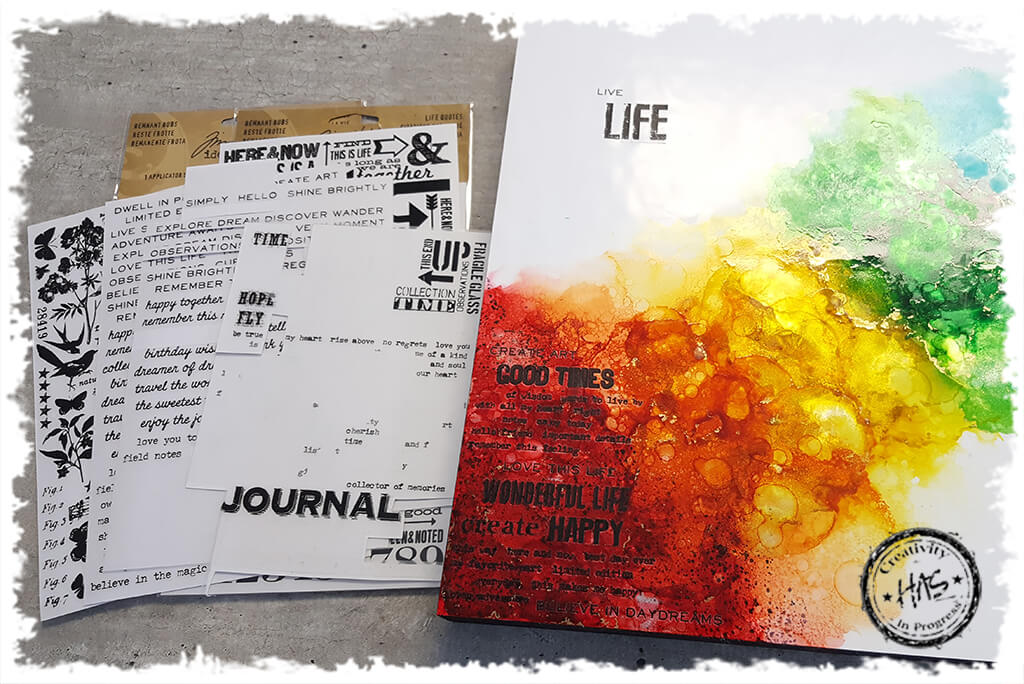
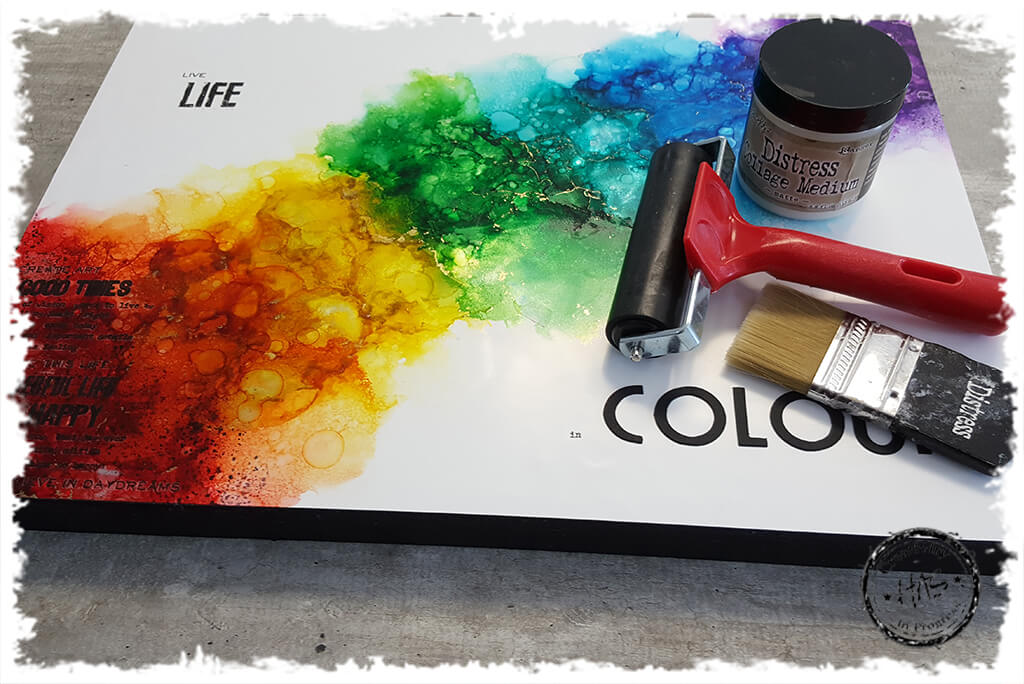
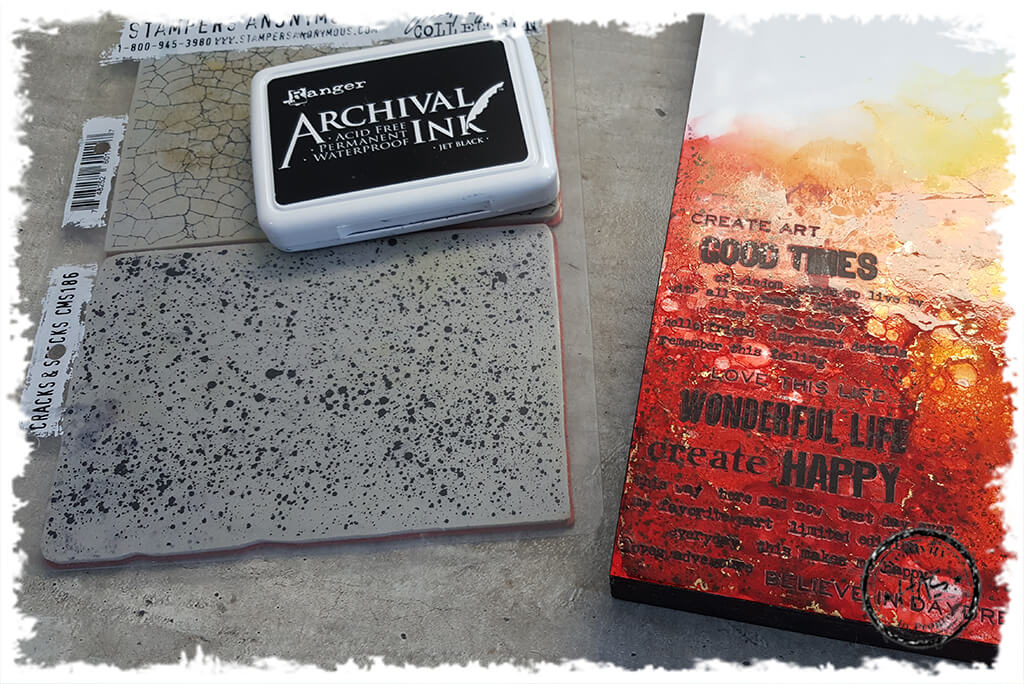
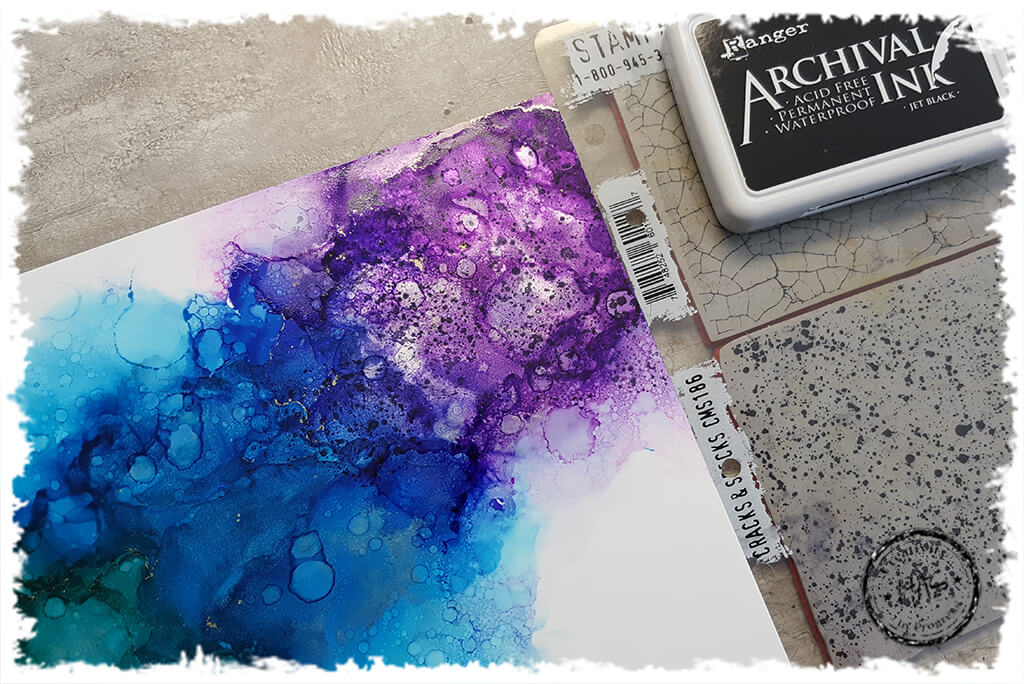
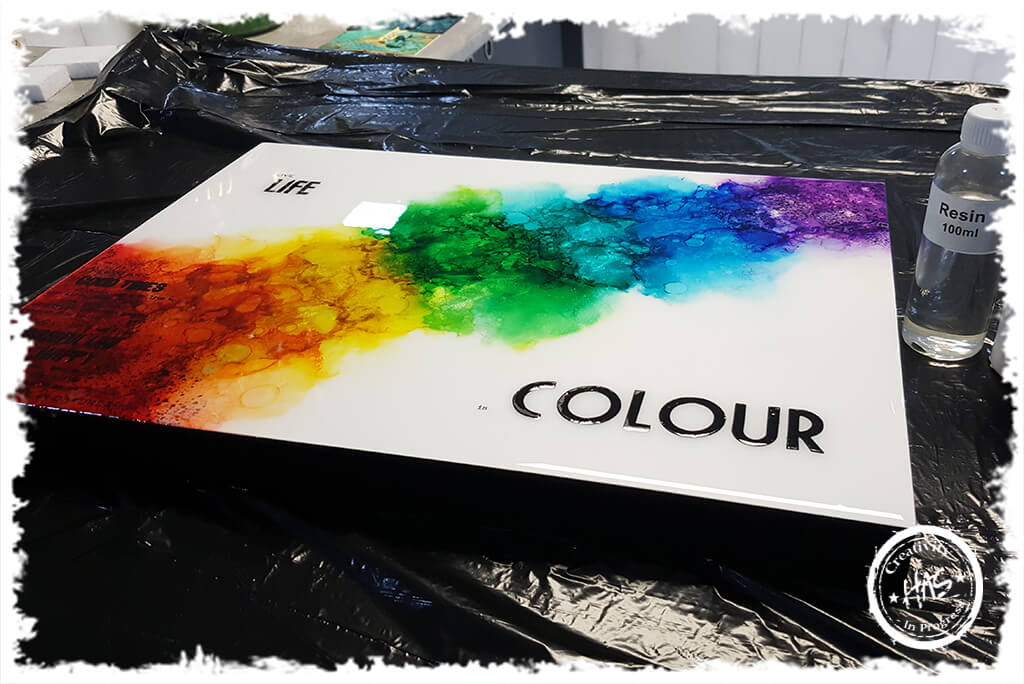
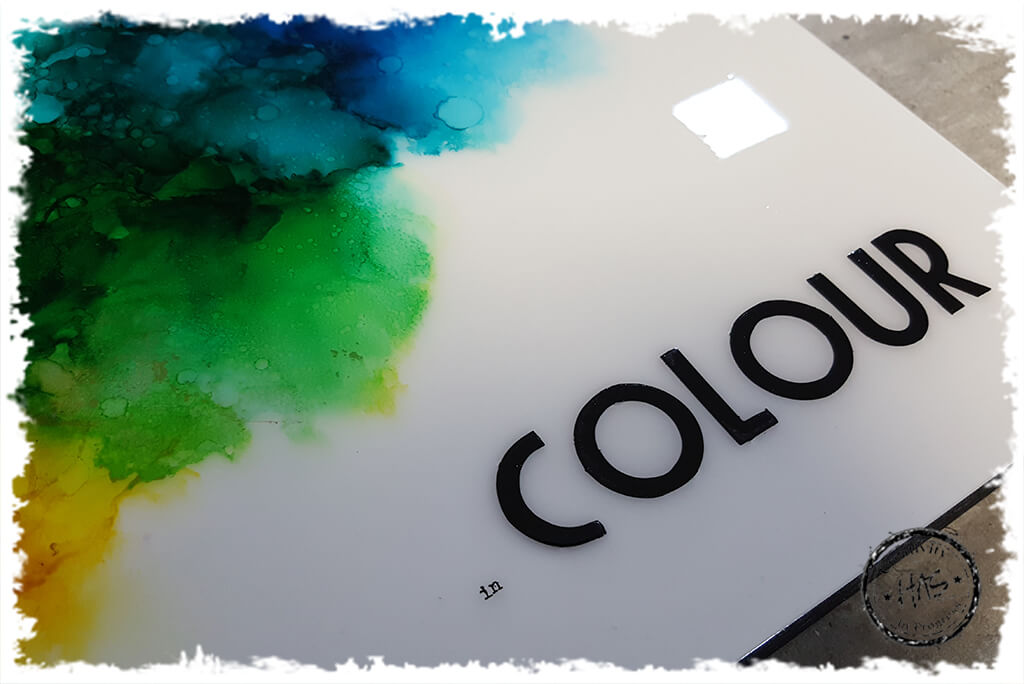
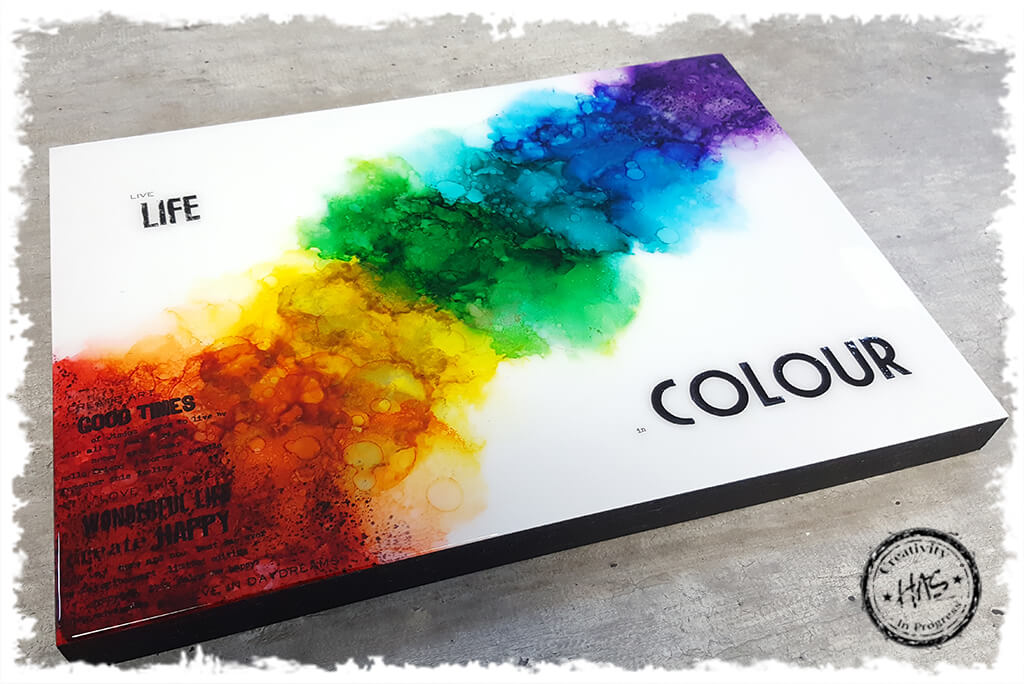
I started off with an A3 Wooden Canvas BoxAnd painted the sides using Dylusions Black Marble Acrylic Paint using a damp wet wipe. I love that the Dylusions paints dry so quickly and have a satin finish – perfect for around my frame!Because my panel was A3 in size, I worked on an A3 piece of Yupo paperI almost always start off by adding a mix of Alcohol Blending Solution and Isopropyl Alcohol Ink to my surface before I add my alcohol inks. I think it’s gives you a better flow of colour. I also like to decant my Isopropyl Alcohol into Flowline bottles with a fine nozzle tip as I find I get better controlI decided to start in the middle of my yupo using Mojito Green alcohol ink. I also added a little more blending solution and isopropyl alcohol to get a good flow of colour and then I pushed the colour outwards using my Air Blower (a tool that as far as I am concerned, its an essential item when working with alcohol inks!). Make sure you don’t pump the air blower too hard or you will get splatters of ink. Instead, you want to gently push the blower and direct the colour in your desired direction. Small pumps works best!I repeated this process with every colour I used. I added one of my new favourite colours, Glacier after the Laguna.Up in the top right corner I added some Purple Twilight., also using blending solution and isopropyl alcohol to move the colour and blend them in together with the Air BlowerMoving back to the other side of the Mojito green, I added some Dandelion yellow. I have to say that I think this is the brightest, most pure yellow in the alcohol ink range, and works beautifully for rainbow effects. Same process with adding blending solution and isopropyl alcohol to move and blend the colour and using the air blower to direct the colour in the desired directionSunset Orange is my orange of choice for rainbow effects! I added that to the other end of the Dandelion yellow colourLast colour in my alcohol ink rainbow was Poppyfield redOnce I had my base layer of ink down and dried (you can use a heat tool to dry the ink if you like, but as Yupo is plastic and not paper, be careful not to over heat the paper or it will buckle!), I added a little more colour as desiredThen it was time to add a little ALLOY! My absolute favourite alloy to work with is Foundry. It is somewhere between a gold and a silver. It’s FAB! Remember that when you use Alloys, you MUST add some Blending Solution to allow the alloy to bond to the surface. Otherwise it will ‘flume’ (wipe off once dry). I added a little more colour every time I added some alloy, along with a little blending solution and some more isopropyl alcohol, and moved the alloys and the colour around using an Air Blower until I had the alloys settled in a position I wanted them inRepeat the process with every colour.You will notice when working with the alloys that they almost appear magnetic in their movement as they keep trying to reunite when moved around with the air blowerProcess repeated with Purple Twighlight and Foundry AlloyProcess repeated with Dandelion and Foundry AlloyProcess repeated with Sunset Orange and Foundry AlloyProcess repeated with Poppyfield and Foundry AlloyAt this stage I had a good amount of colour down, but I wanted the colour to almost appear to bleed out. With the deeper, richer colour being in the centre and a lighter ‘bleed out’ around the deep colourThis is when I grab more Blending Solution and Isopropyl Alcohol! I add both liquids and use the air blower to move the colour out from the deep, rich centre, outwards. This dilutes that colour as it bleeds outwards. You can always add more alcohol inks along the way if you want more colour or if you feel you have shifted your colour too much. Alcohol ink is super forgiving. Just dont give up on it – keep playing until you have the desired effectI worked the colours out along the entire rainbow using the Blending Solution and Isopropyl alcohol. Something to remember is that the isopropyl alcohol actually lightens the colour tremendously, whereas the blending solution is better at blending the colours (although it does also lift colour, but in my opinion, the isopropyl is better at lightening the colour). Also, if you get some unwanted colour on your open white areas, use a soft paper towel or coth and some isopropyl and blending solution to remove the colour immediately. Just a note that reds or colours with red as a base, are more difficult to remove entirely – so be more careful when using those colours if you are wanting white spaceYou can see that I moved the colour out quite a bitI love this part… I also keep a spray bottle of Isopropyl alcohol. I prefer it in a spray bottle as I use a lot when I am working with alcohol inks. But you can add some to a mini mister if you only plan on using a small amount. I gently spritzed the alcohol ink background with the isopropyl alcohol to create small little droplets. This is where you can really see how the isopropyl alochol works like a bleach. As it hits the alcohol ink, it moves it outwards.I repeated some sprays over the whole piece. You can control the size of your droplets with your Tim Holtz Sprayer.I tried to keep smaller droplets around the lighter edgesAnd added some bigger droplets in towards the centre of the rainbow, in the deeper, darker colour. Once you have the rainbow as you want it – leave it aside to air dry until the ink is completely dryI cut some letters out of a favourite XL Bigz die of mine ‘Deco’. I adore this font! Because it is a stell rule die, I could cut my letters using a thick (580gsm) Black Album board. I adhered the word in to the bottom right hand corner of the piece using Distress Collage MediumIf you are anything like me, then you probably have a drawer full of Remnant Rubs! Get them out and add them randomly to your background. I found the words ‘Live life in’ and used those as my main words and added other random words to the bottom left hand corner of the piece. Remnant rubs stick incredibly well and easily to almost any surface, so be careful when working with them as I often lose a lot to my media mat lolUsing a collage brush and Distress Collage Medium Matte, I attached my A3 Yupo to my wooden canvas box and used a brayer to ensure I had the entire piece stuck down with no air bubbles caught underneath. Trim off any excess paper if you haveI wanted to add a little more subtle depth to the darker colour of the red and purple. So I used Jet Black Archival Ink on a Speckled Stamp (I think Cracks and Specs is my most used stamp set ever!), and instead of using an acrylic block, I placed the stamp in my hand and rolled the stamp over the areas I wanted the effect. This create a random effect and ensures you don’t get any hard, straight edgesMore jet black specs in the top right hand cornerA new favourite thing of mine… RESIN! I just cant stop with this stuff. I want to resin everything lol! Be sure to cover your surface in case you drop any resin. Then mix the resin as per the resin instructions and spread over the piece. I used a heat tool to remove any bubbles in the resin and set it aside to dry for a good 24 hours.It’s just incredible the effects of resin over alochol ink. I think they are a match made in heaven! You can actually see how the light above this photo is reflecting in the resin – super high gloss – super awesome!A fun, colourful, happy piece!I hope you get your Alcohol Inks out and start playing!