I love the traditional feel to this card topper. This Santa colorize die is so simple to assemble and really makes an impact on the front of any card!
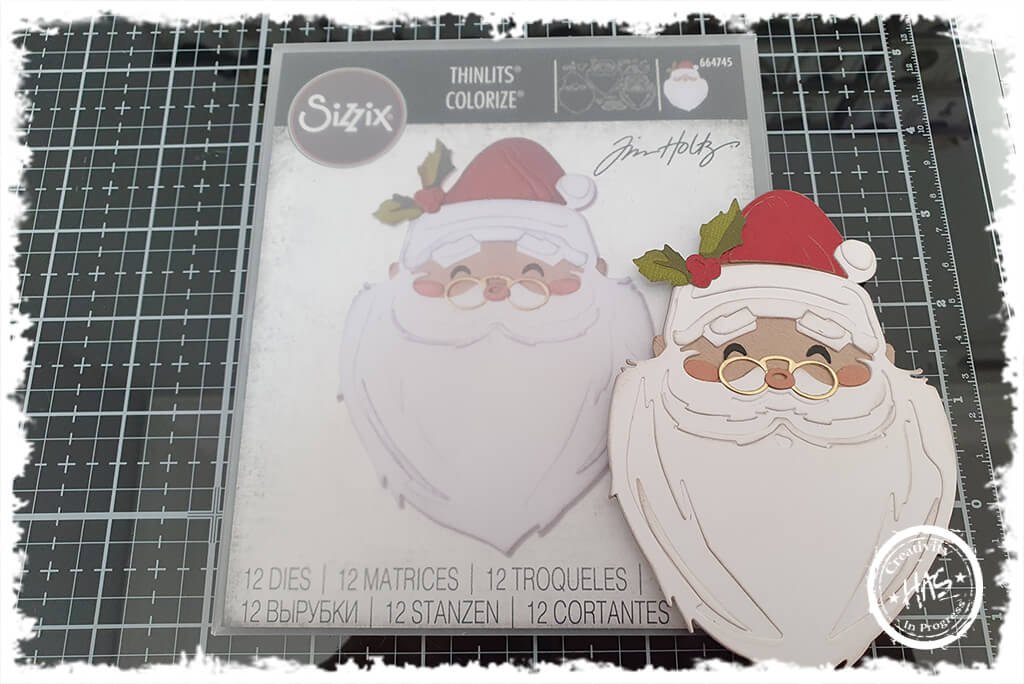
I started off by making a few Colorize Santa’s. I always like to make a few at a time, that makes assembling them super easy and feels more productive. I always add adhesive to the back of my cardstock before I cut the pieces, that way I just peel off the tape and stick the elements together. I also find it keeps my pieces cleaner as there always seems to be some mess when using a liquid adhesive. Seriously though… how awesome is this Santa?!?
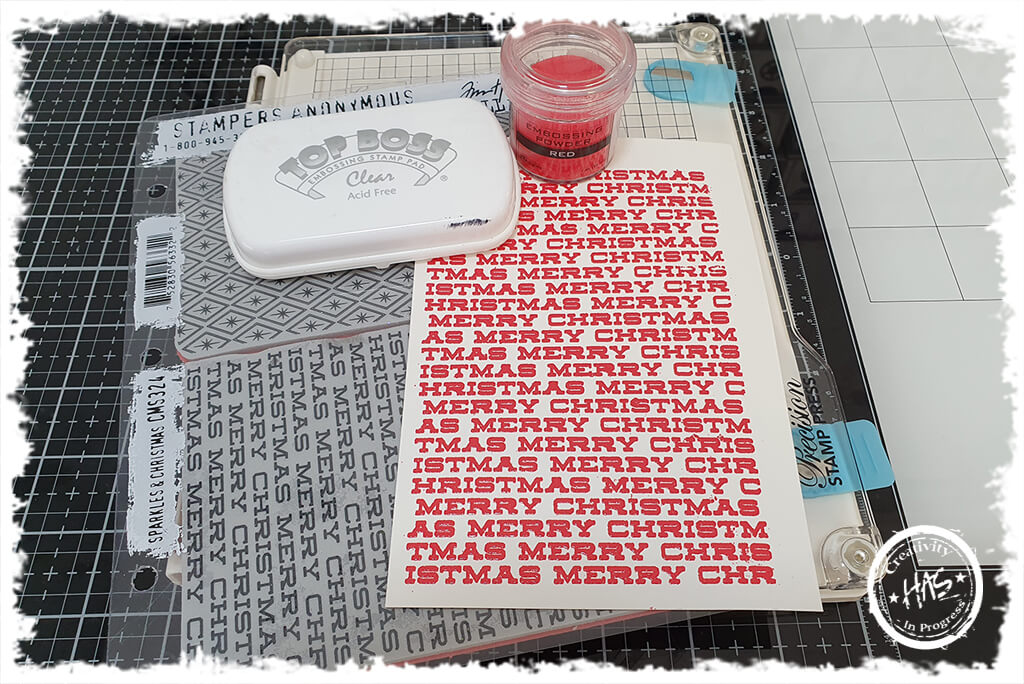
This is one of my favourite Christmas background stamp sets, I use it every year!
I stamped the Merry Christmas text onto cardstock using my Couture Creations Stamp Press and clear embossing ink.
Then I covered with Red Embossing Powder and heat set it
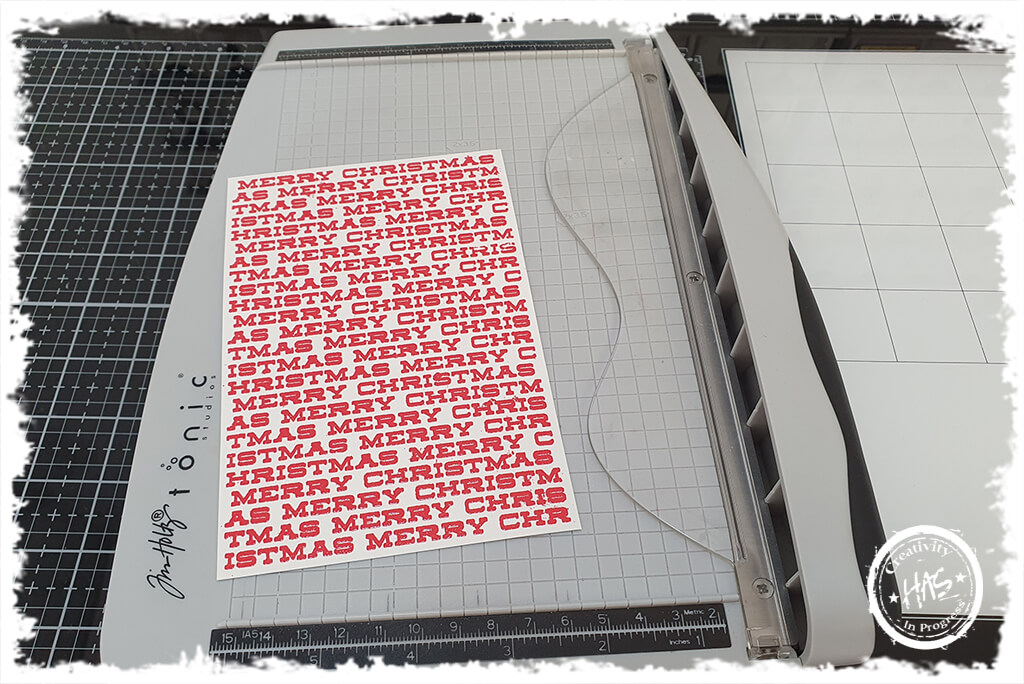
I trimmed my cardstock down to size
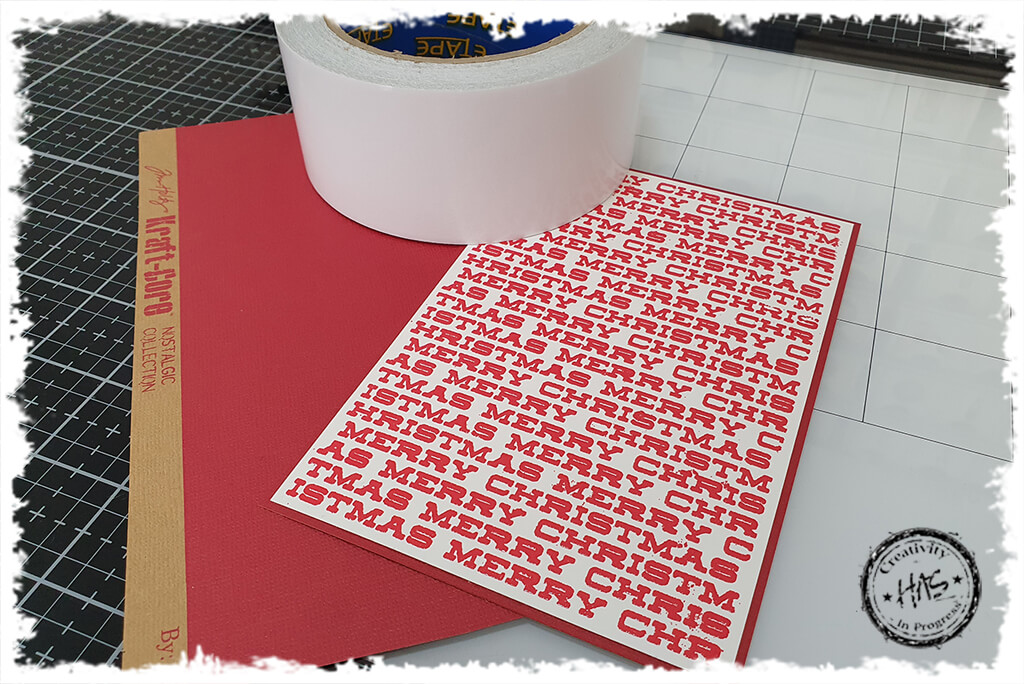
And matted it onto some red cardstock for a great contrast
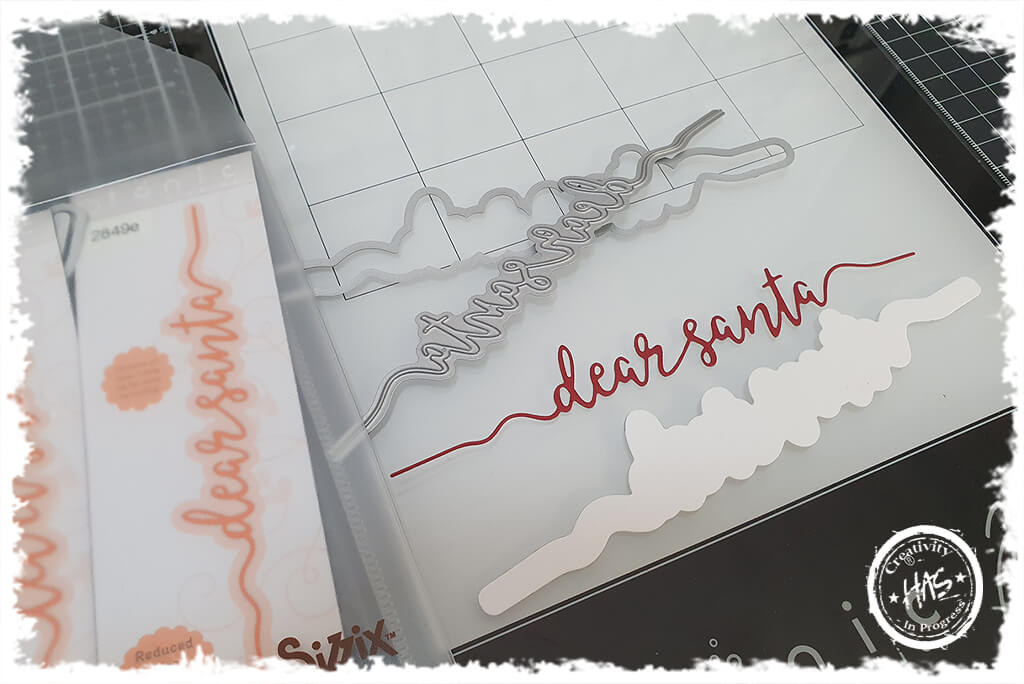
I am a massive fan of these Tonic dies. They are absolutely perfect if you love to make cards!
Here I cut the dear Santa from red cardstock and the shadow from white cardstock
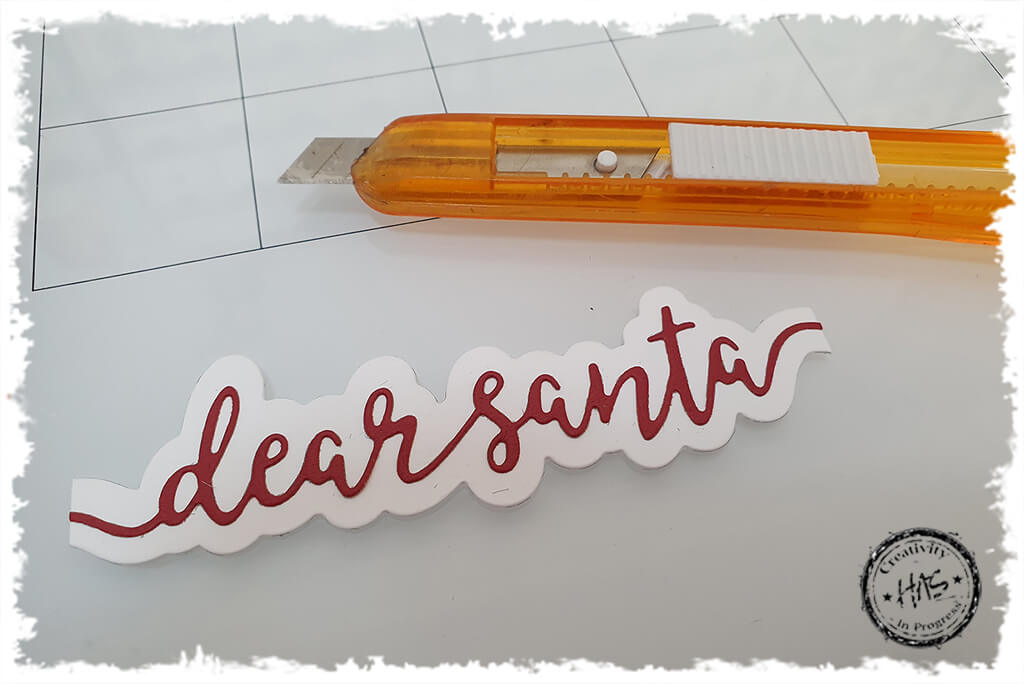
The I stuck them together and cropped off the edges so that it ran flush with the edge of the card
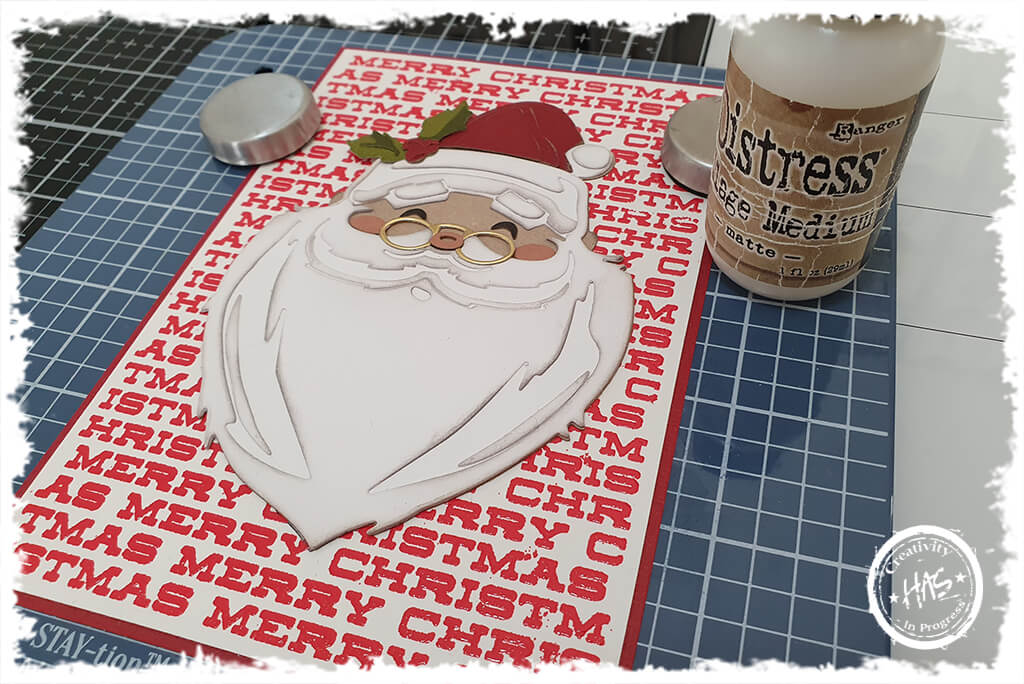
I used my Mini Wendy Vecchi Make Art Stay-tion to line Santa up and then glued him into place using my Collage Medium Matte
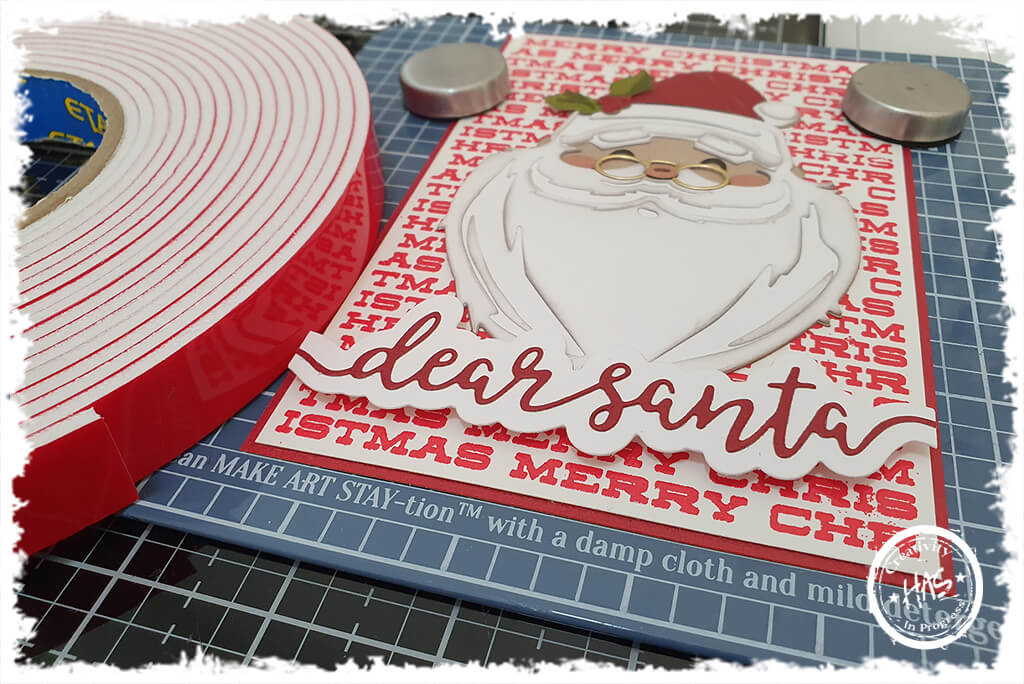
And used double sided foam tape to stick the Dear Santa to the bottom of the card as I wanted some dimension
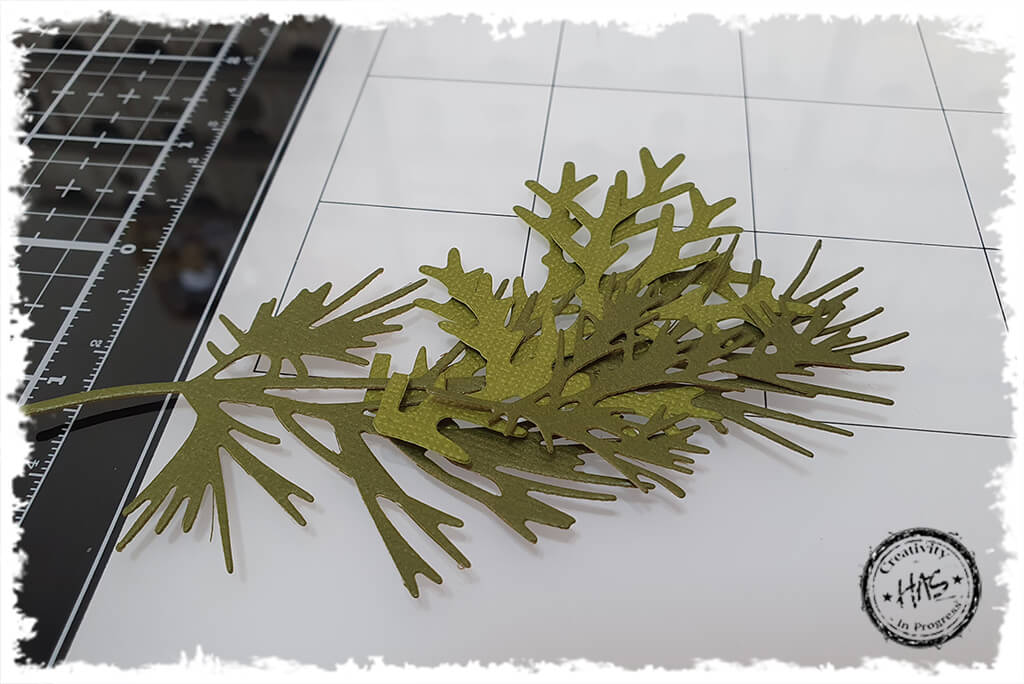
I cut some greenery from various green coloured cardstocks
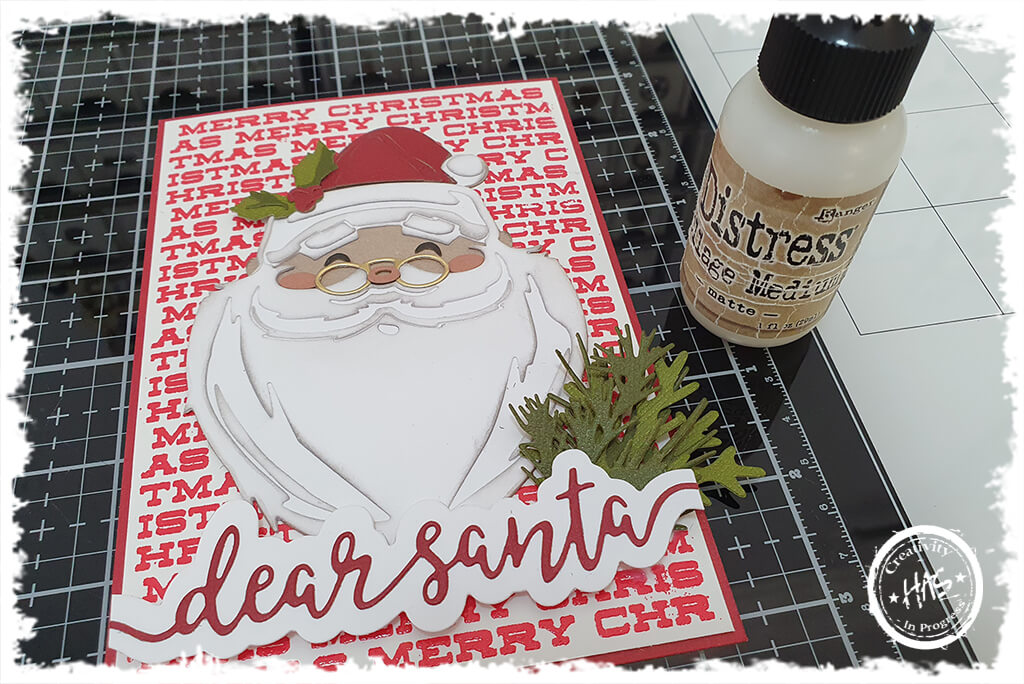
And tucked them into the back of the Dear Santa strip and stuck them down with Collage Medium Matte
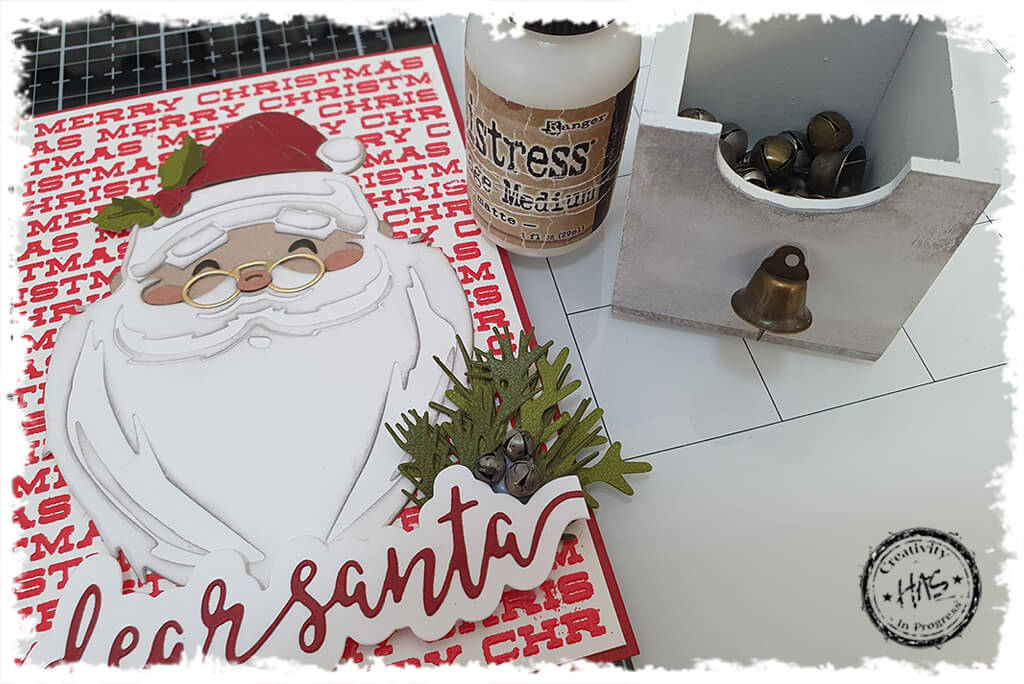
I added some mini bells for festive cheer
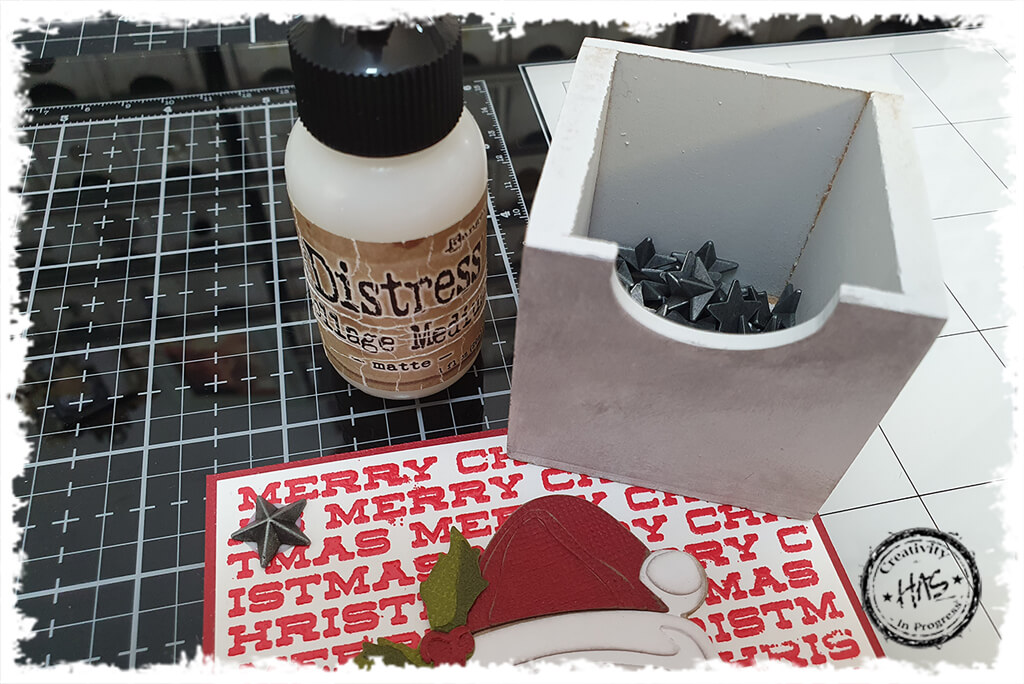
And a Christmas star in the top left hand corner of the card
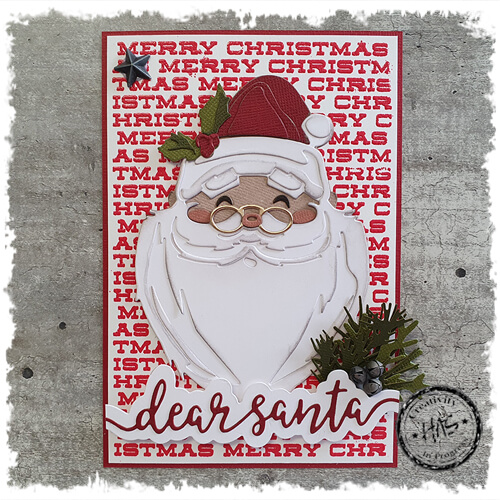
I very simple card, but a very effective one too. I love the traditional feel to this card. That red really pops!
[/fusion_text][fusion_woo_shortcodes]
-
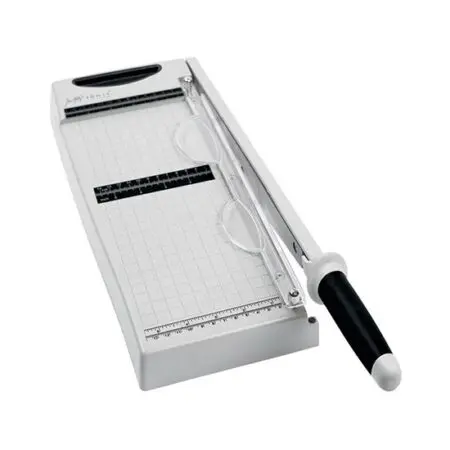
Tim Holtz Maxi Guillotine Comfort Paper Trimmer
R1,495.00 Add to basket -

Distress Collage Medium Matte 1oz
R99.00 Read more -
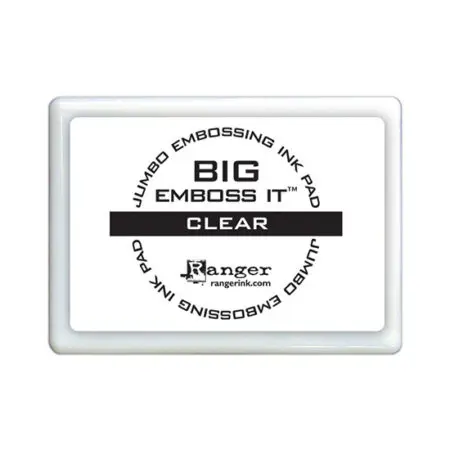
Ranger Big Emboss It Pad (big and bossy)
R365.00 Read more -
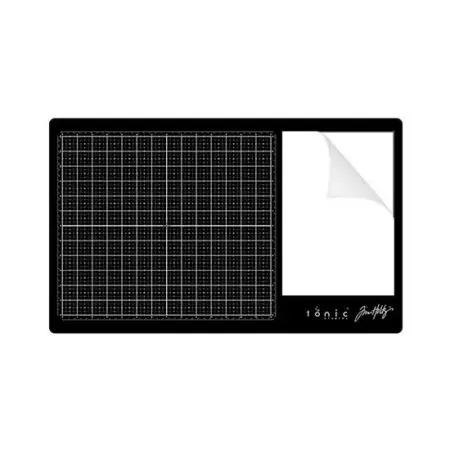
Tim Holtz Glass Media Mat
R950.00 Add to basket -
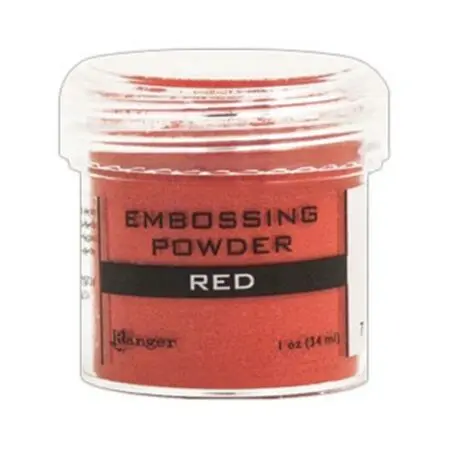
Red Opaque Embossing Powder: Ranger
R160.00 Add to basket -
48mm x 30m Tape Wormz Double Sided Tape
R245.00 Add to basket -
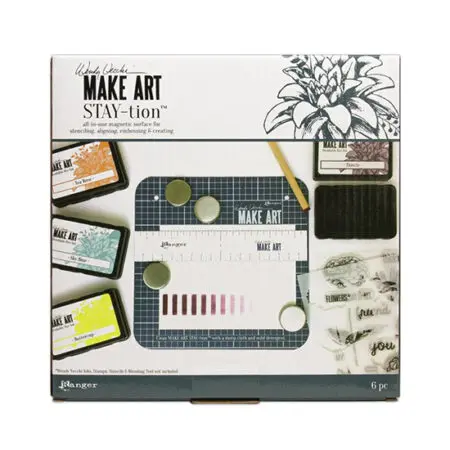
Wendy Vecchi Make Art Stay-tion 7″ x 7″
R350.00 Add to basket
