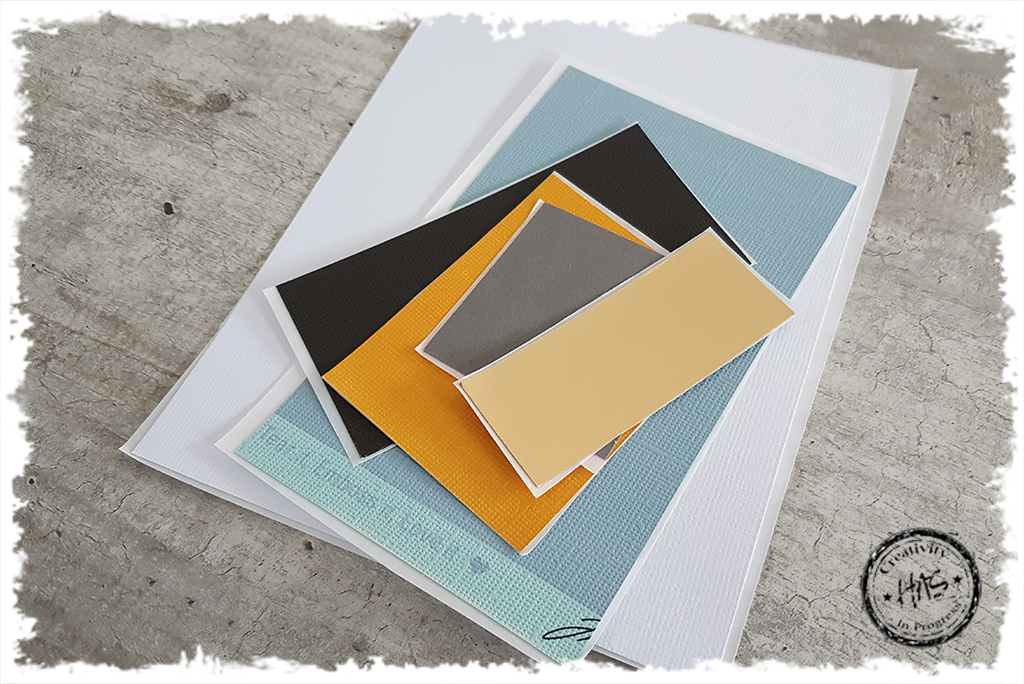
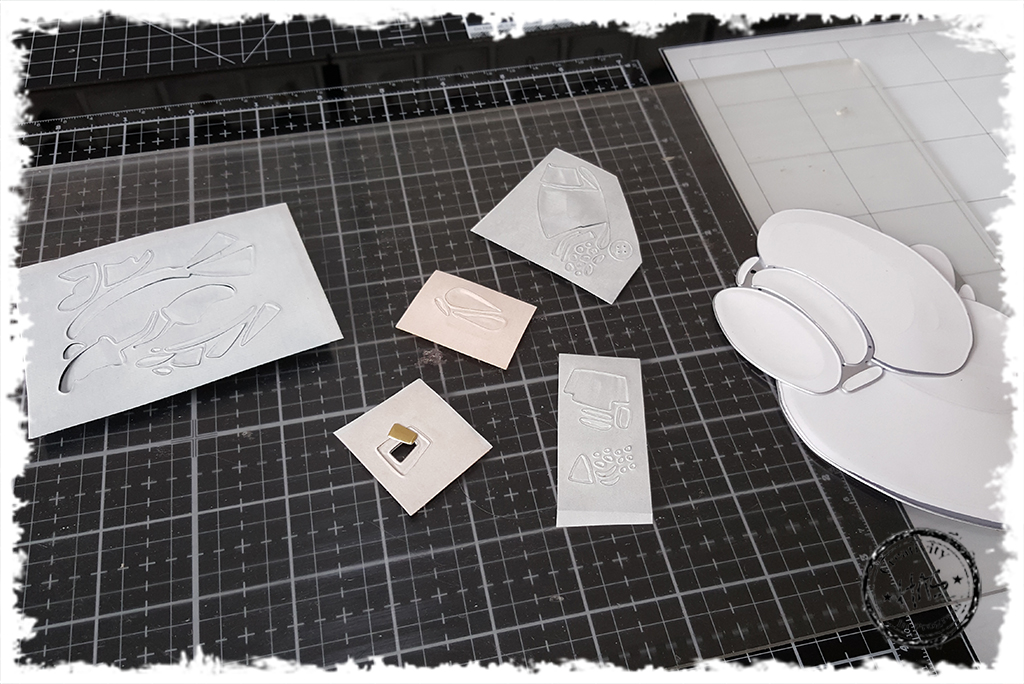
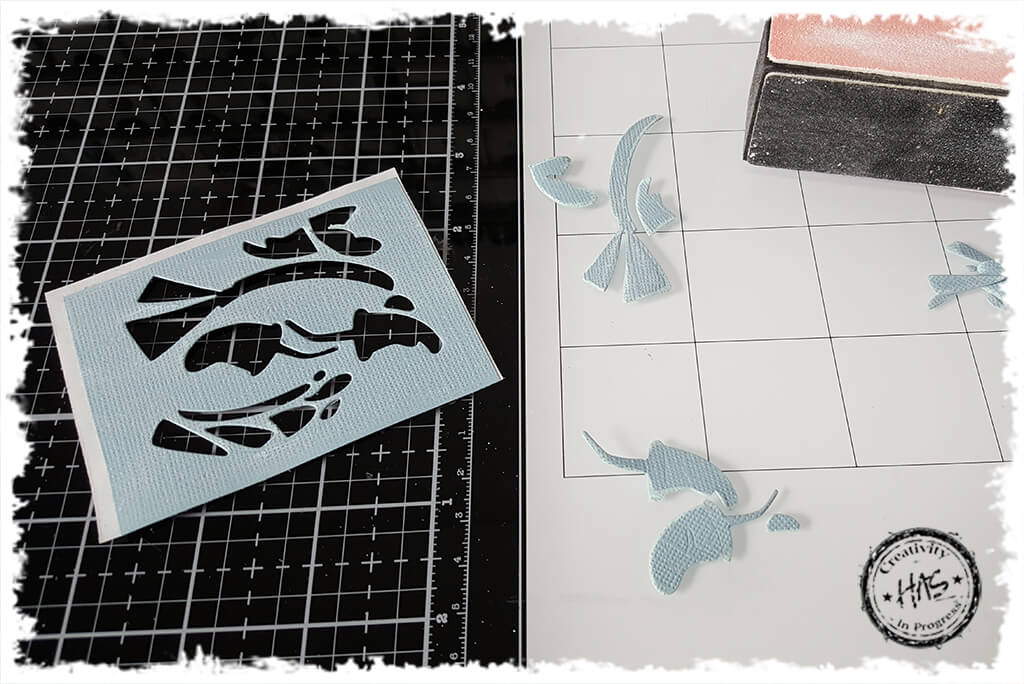
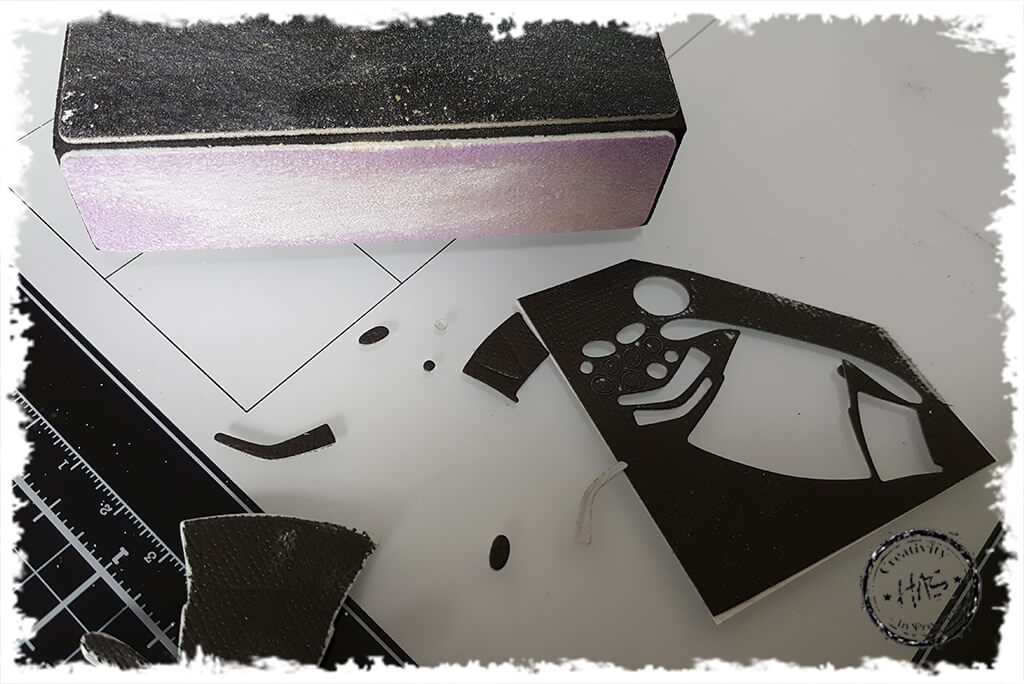
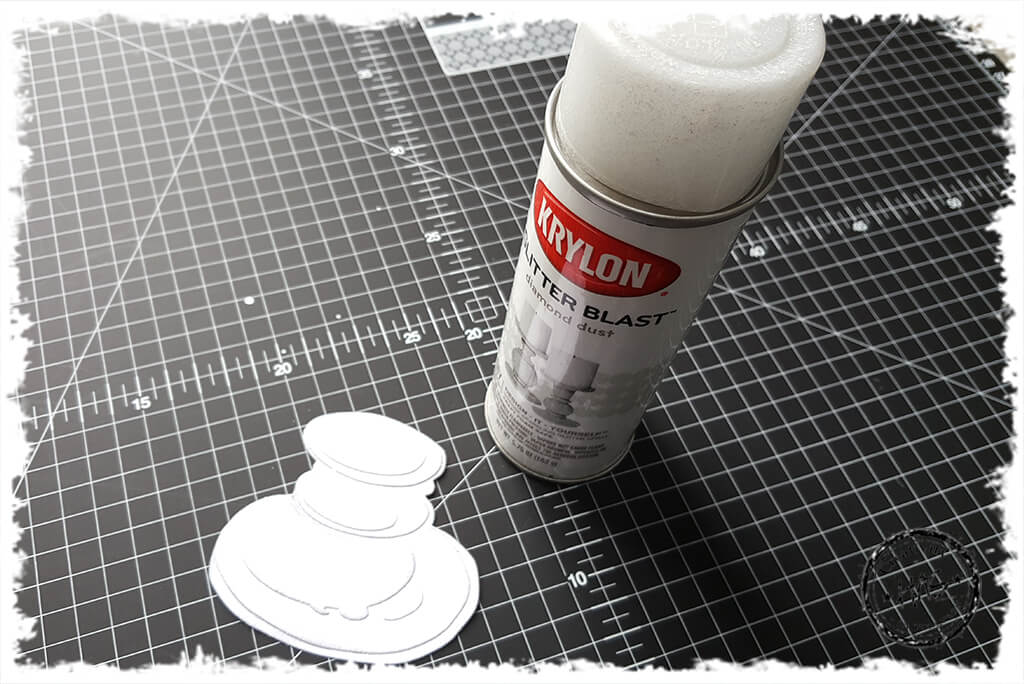
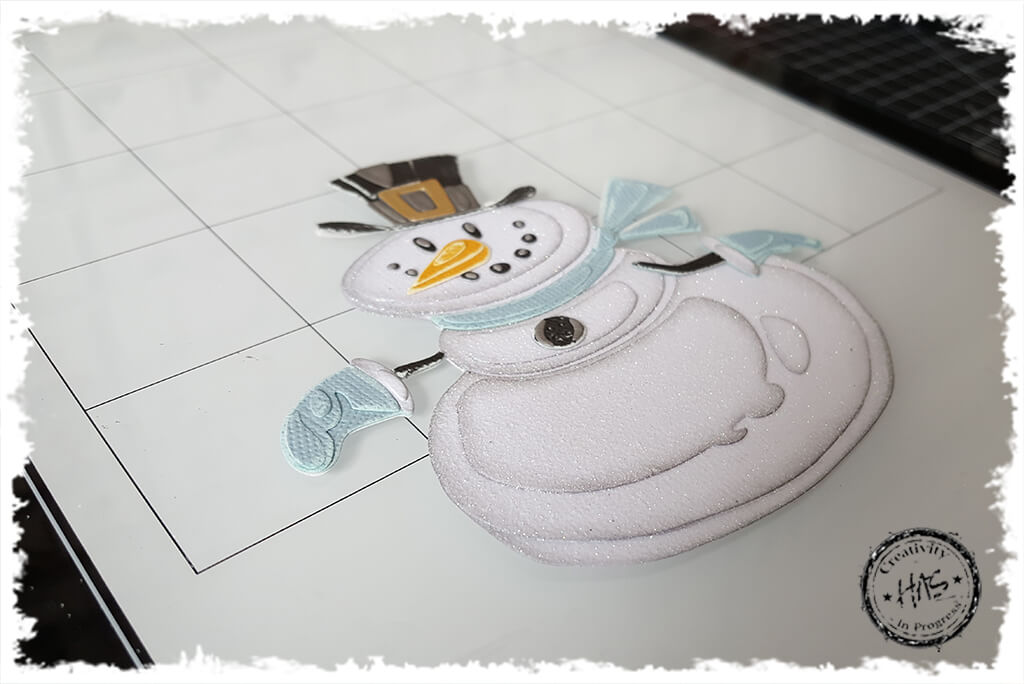
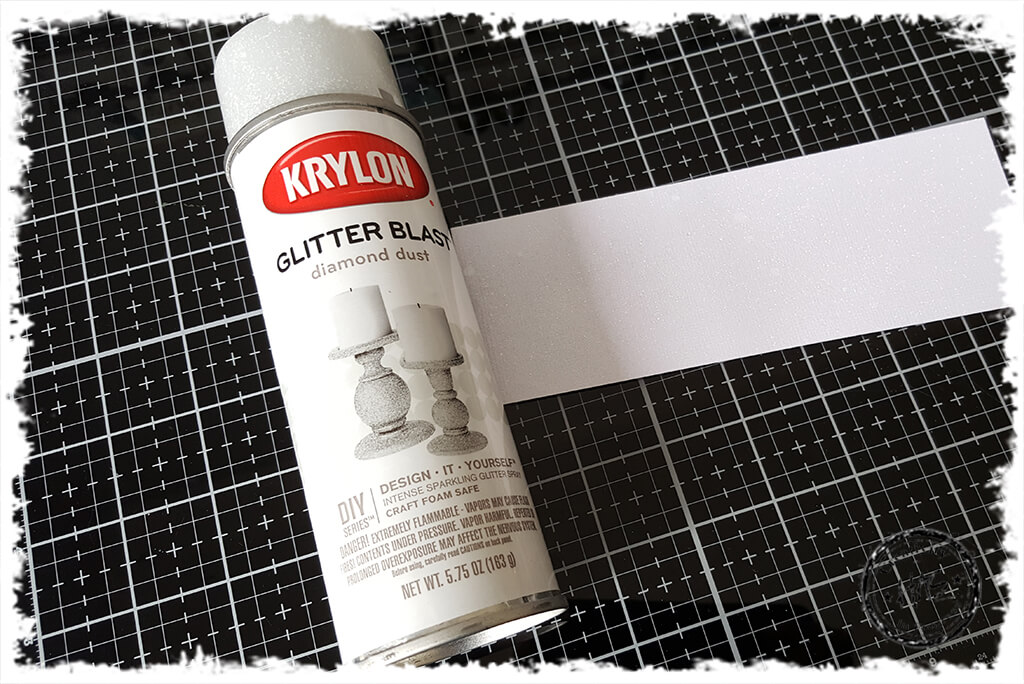
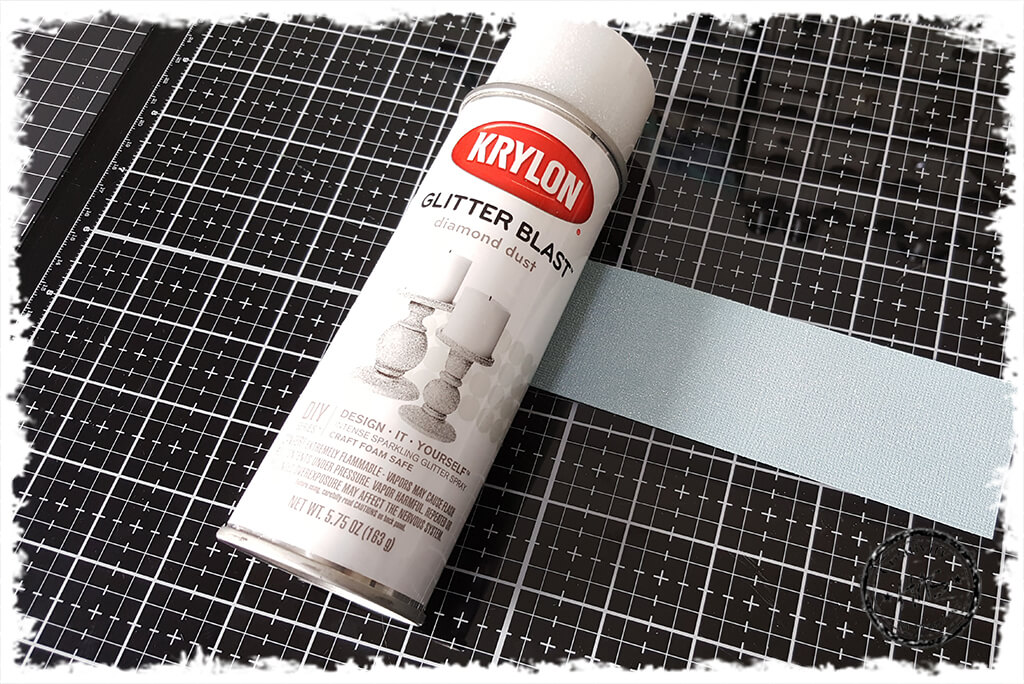
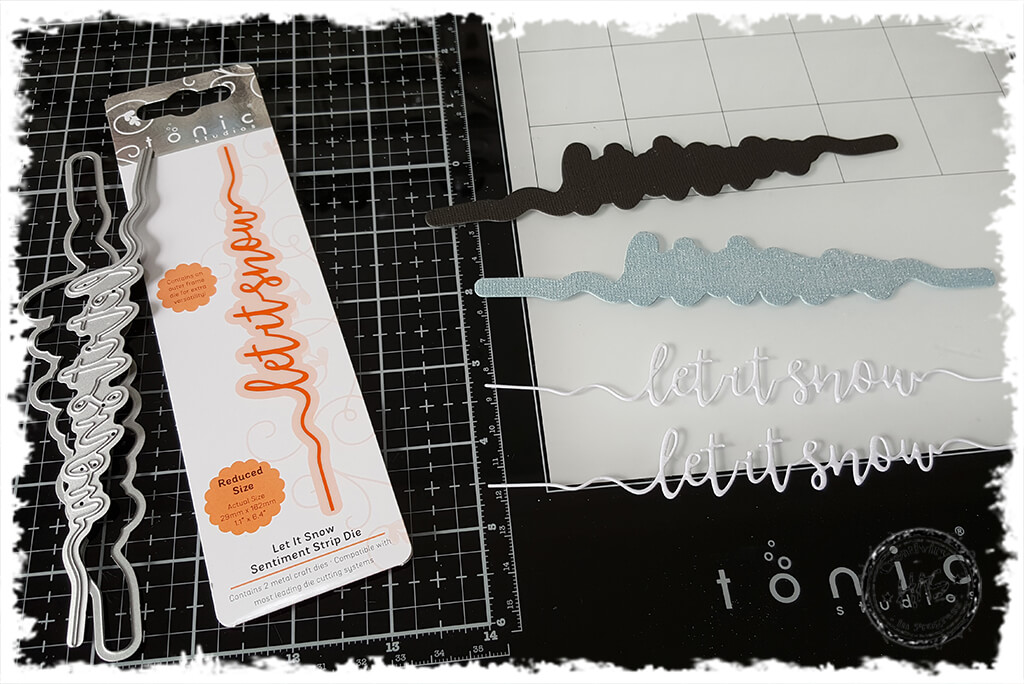
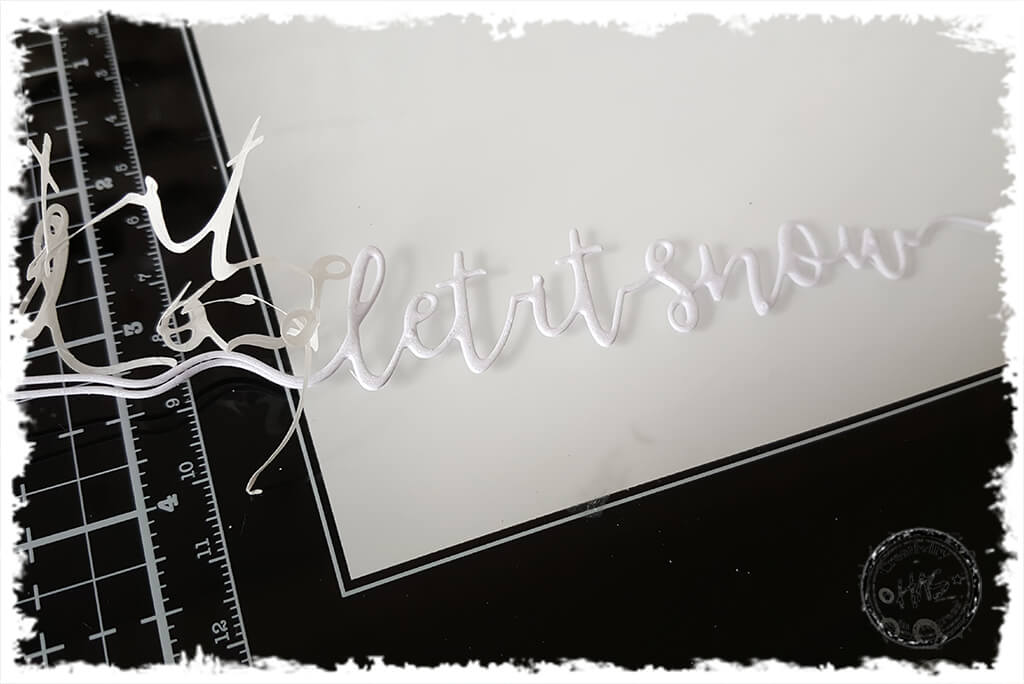
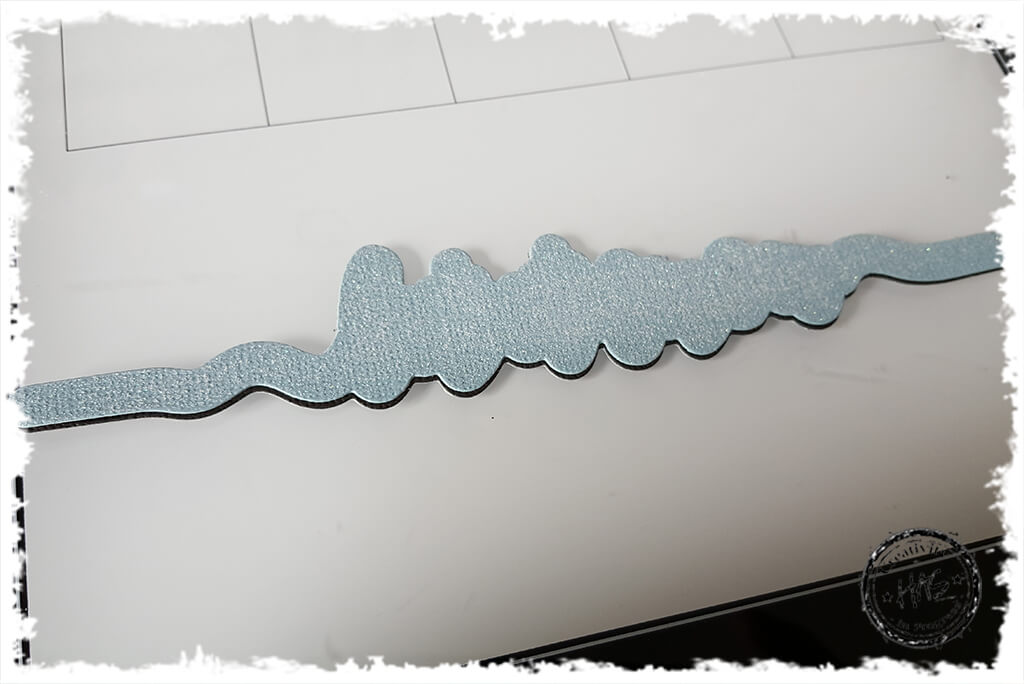
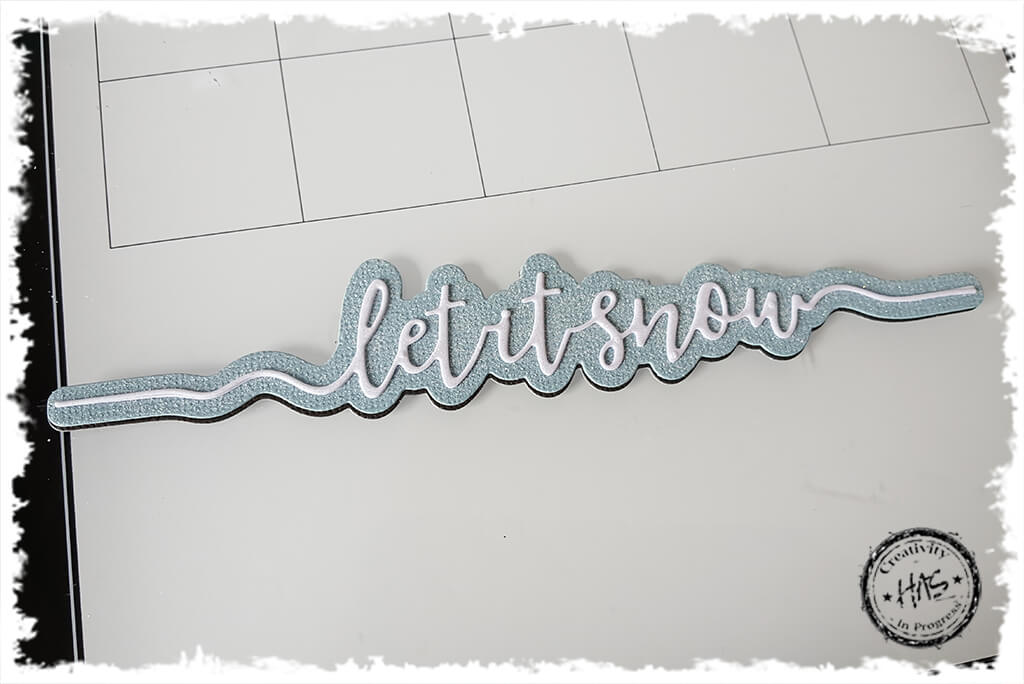
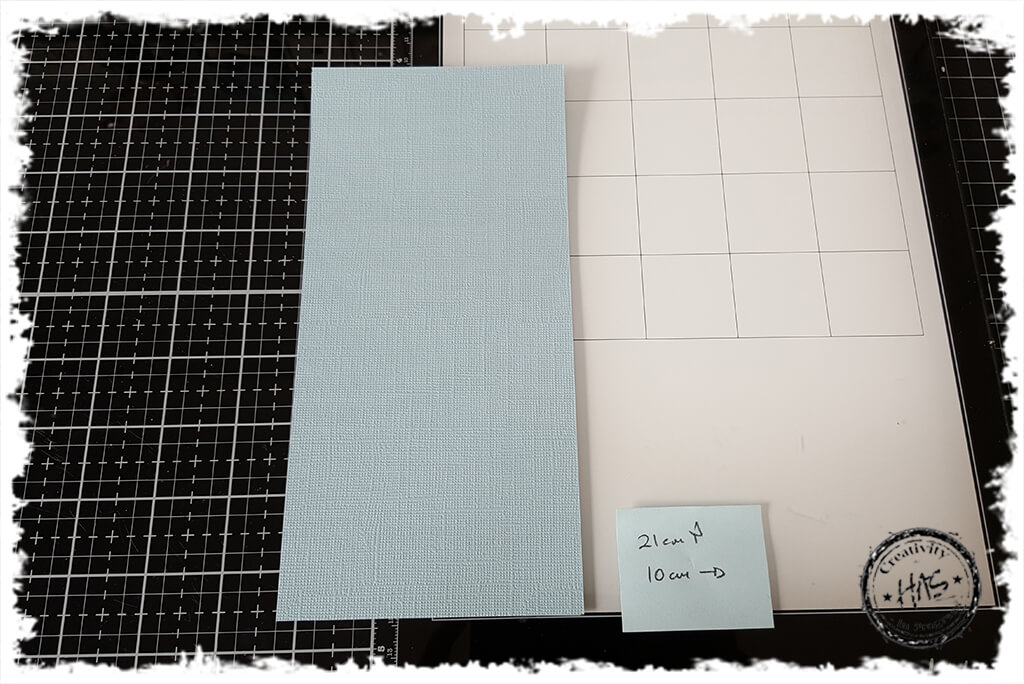
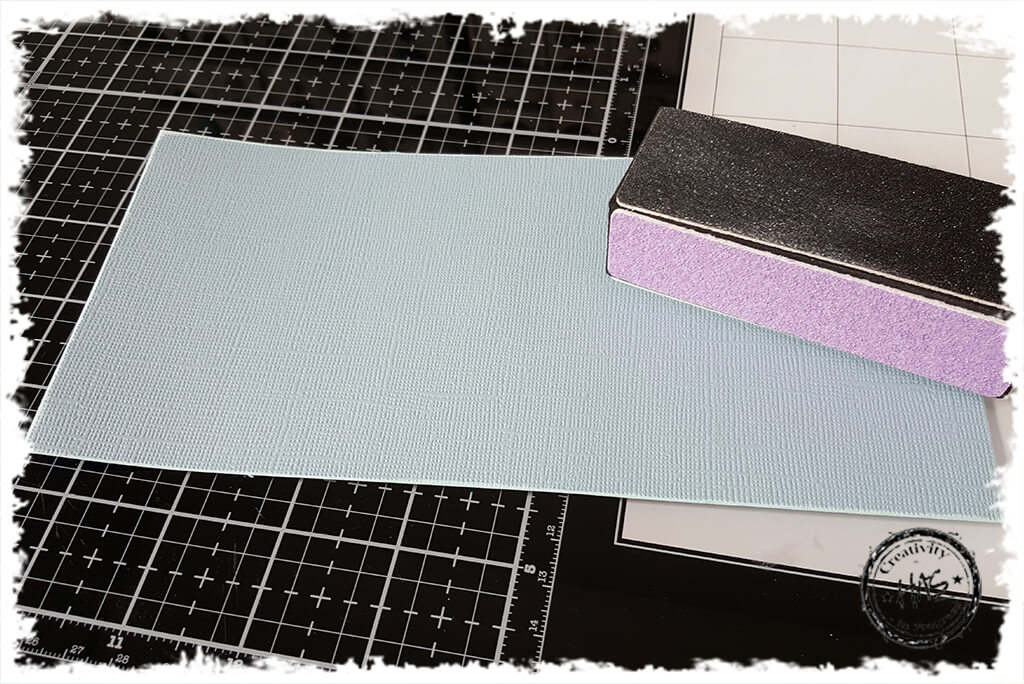
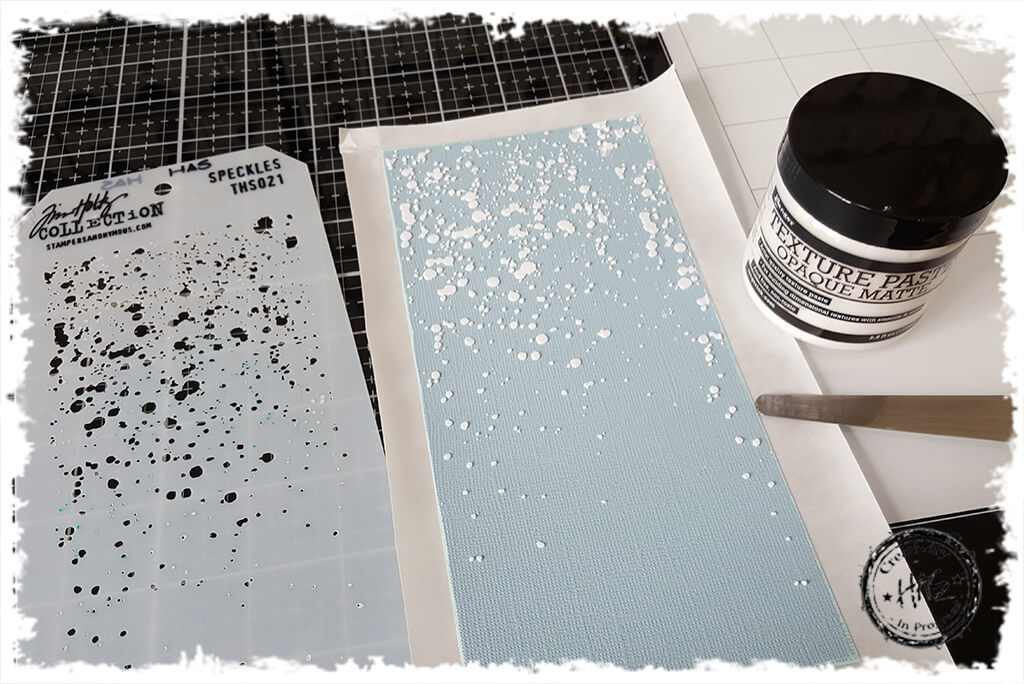
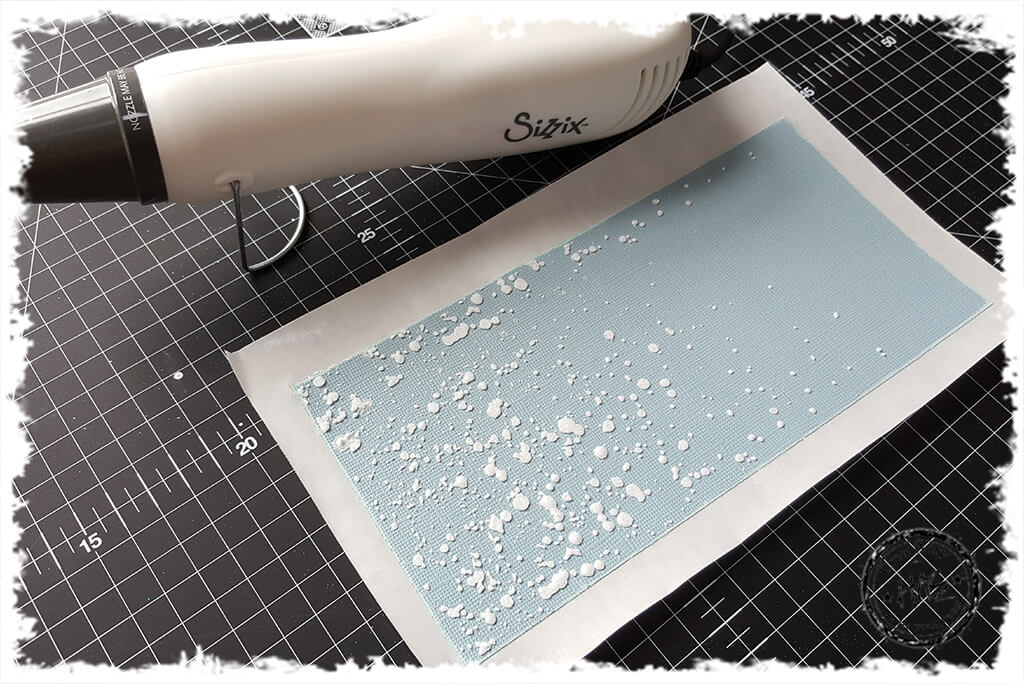
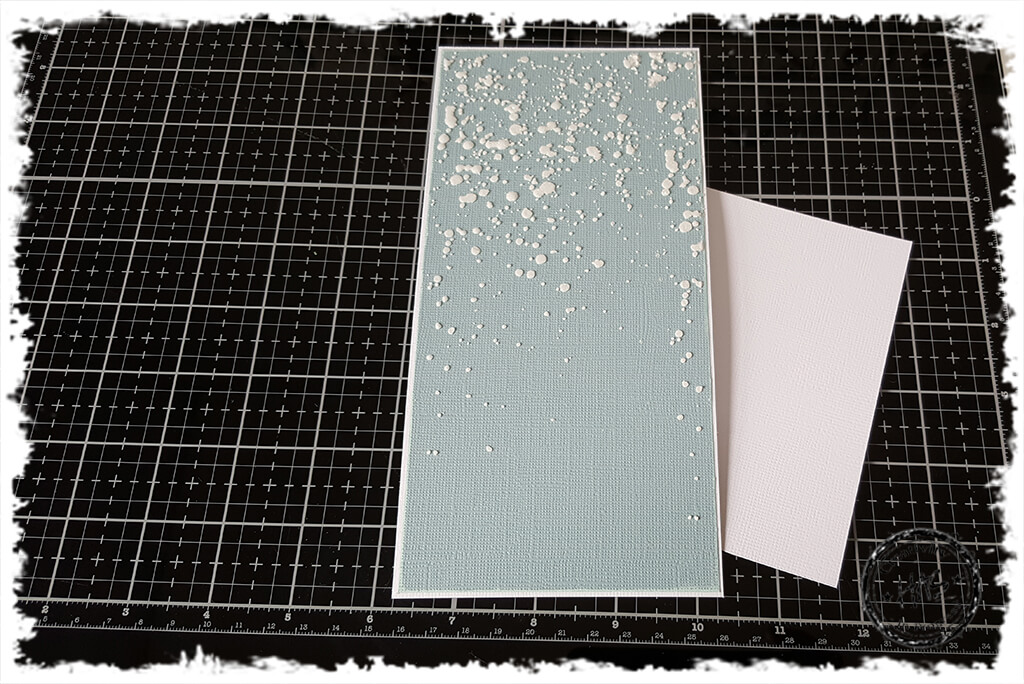
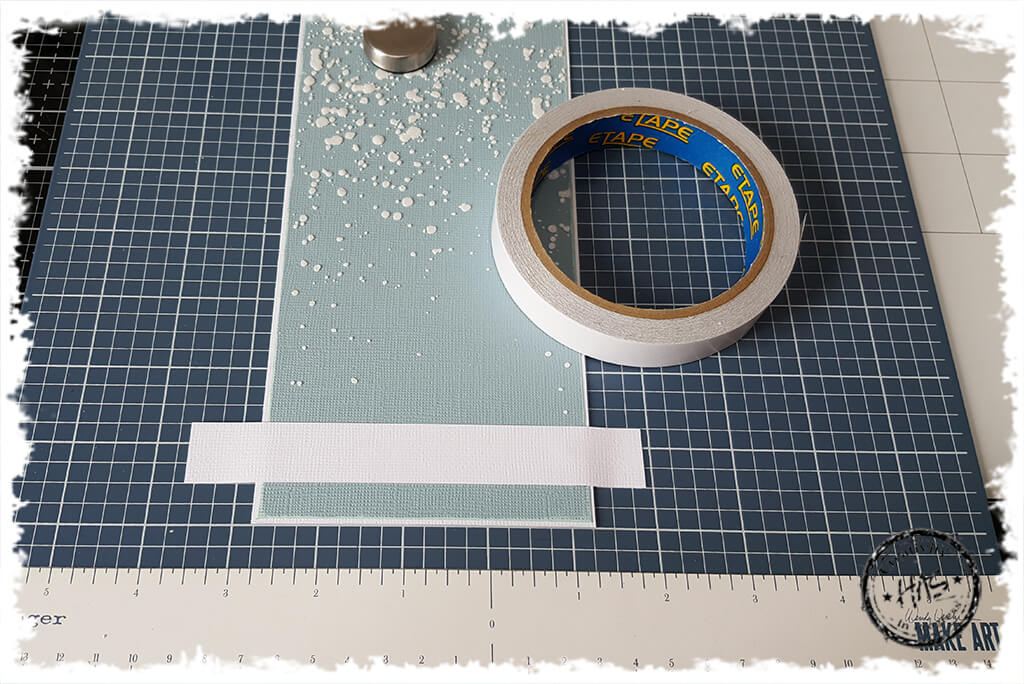
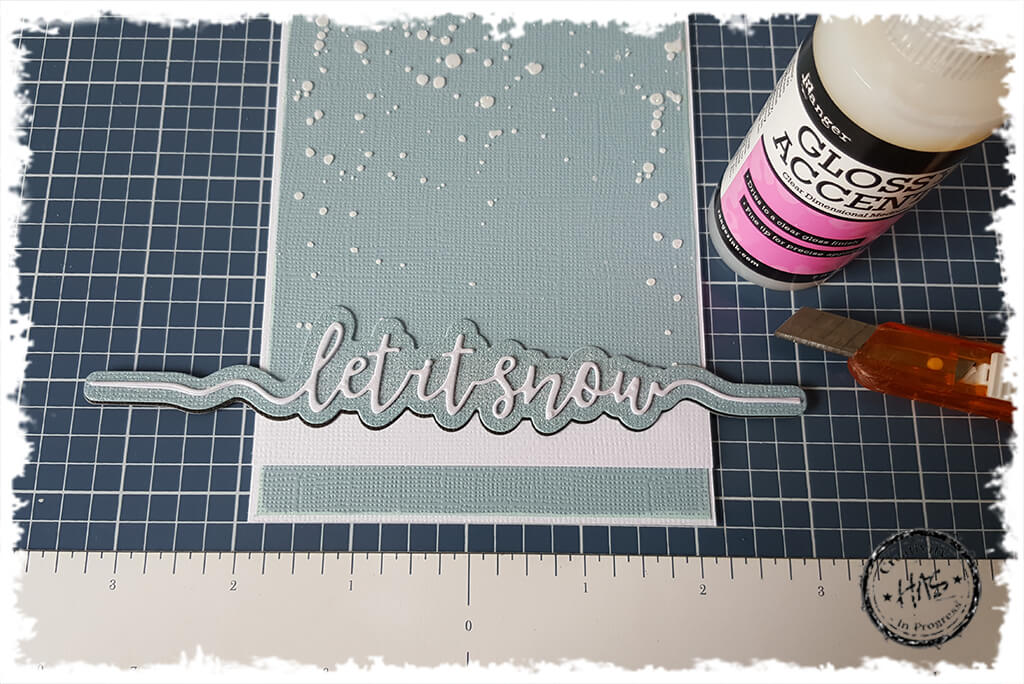
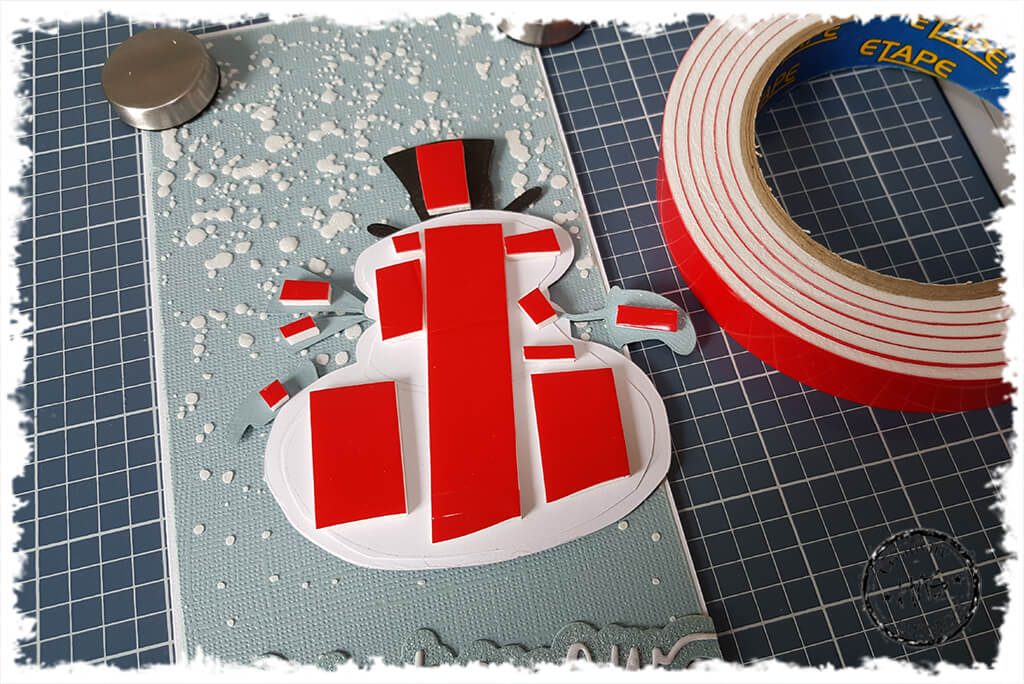
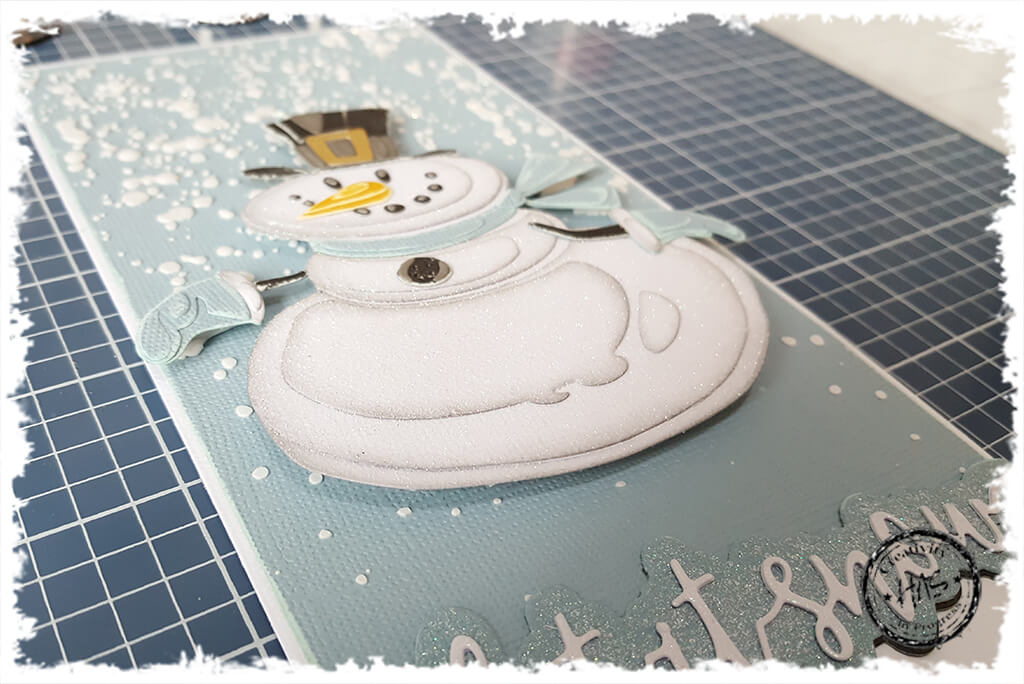
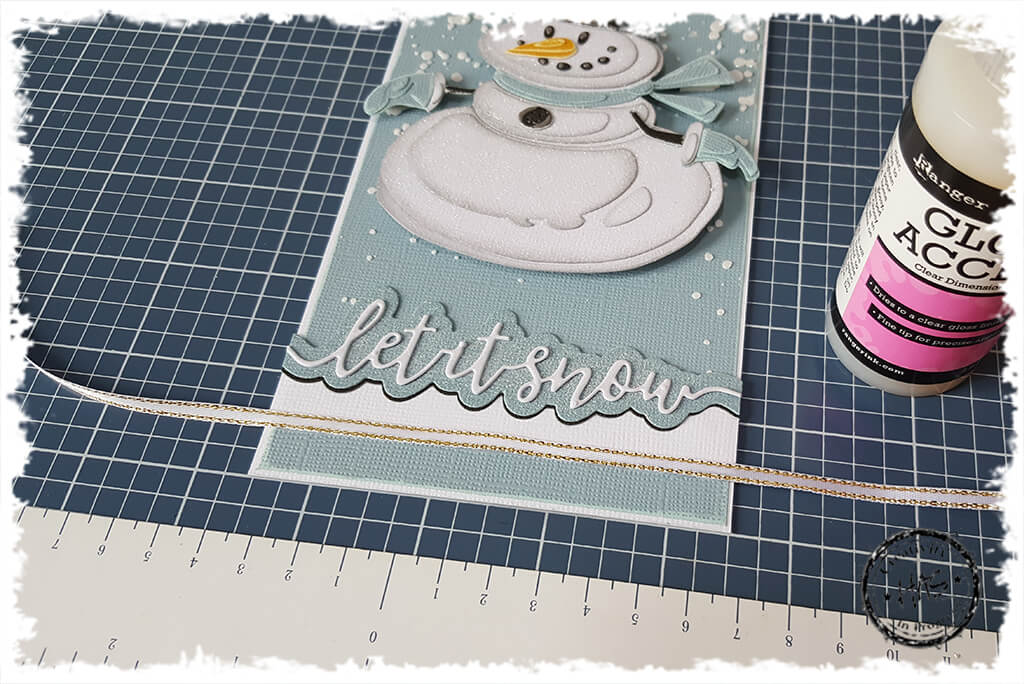
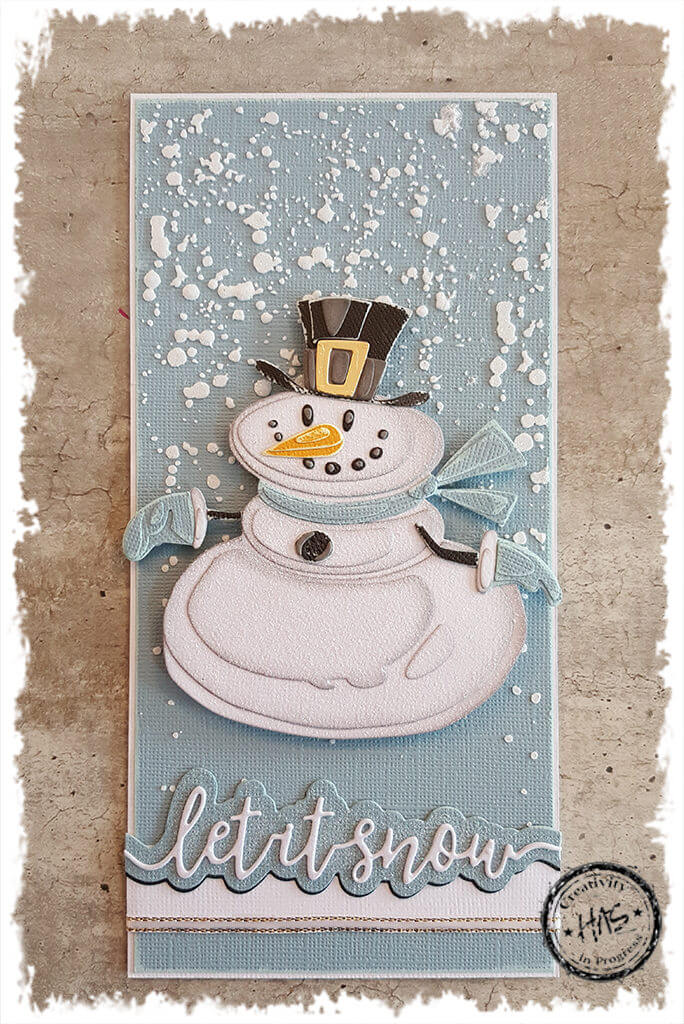
Whenever I am using my Colorize Dies, I always start by adding adhesive to the back of my cardstock before I die cut any elements. I either use my Xyron Machine for this, or the Sizzix Adhesive Sheets which are designed to work especially for die cutting.Then I cut out my elements and edges the white cardstock pieces with a blending tool and a little Hickory Smoke Distress Ink, just to give them a nice clear edge which will stand out more when layeringFor some of the other colours, I decided to use Tim Holtz Distress cardstock, as this sands nicely and gives you a two tone effect as the core colour is lighter than the surface colour of the cardstockHere you can clearly see the lighter core colour of the black distress cardstock – such a nice easy way to create an edge on your elementsOnce I had all my white elements stuck together to create the body of the snowman, I sprayed the cardstock with my Krylon Glitter Spray, Diamond Dust. It is really hard to pick up on the camera – but well worth this step as it gives Mr Snowman a beautiful frosty feel!How gorgeous is he?! He really does make me smile every time I look at him!I was trying to catch the light so you could see how gorgeous that sparkly body isThen I sprayed some white cardstock with the Krylon Diamond Dust Glitter Spray – giving it a nice coat of sparkleAnd I sprayed some blue cardstock with the Krylon Diamond Dust Glitter Spray – impossible to see on this image – but the sparkle is there!I am in LOVE with these new tonic dies that arrived in our last shipment. And I can testify that they cut beautifully well! I cut the shadow from the glittered blue cardstock and from a piece of black cardstock, and I cut the sentiment twice from the Krylon sprayed white cardstock – with adhesive on the back!I stuck the two sentiments together to get a more dimensional, sturdy pieceI adhered the black die cut shadow to the back of the glittered blue shadow, so only a small amount of the black cardstock shows at the bottomThen I stuck the sentiment to the top of the shadow – how brilliant is that? So super easy and SO effective!Then I cut a piece of Weathered Wood Distress Cardstock measuring 21cm in height x 10cm in widthA light sand around the edges to reveal the lighter, core colour and edge the piece nicelyA firm favourite for a faux snow effect is always… My Tim Holtz Speckles Stencil and my Ranger Texture Paste Opaque Matte. I added the faux snow to the top of the cardstock by spreading the paste over the stencilThen I sprinkled over some Ranger Holographic Embossing Powder while the paste was wet – set it aside for about 10 minutes and then heat set the Embossing Powder. This adds a subtle sparkle to that falling snow!I matted the weathered wood cardstock onto some white cardstock for a nice clean edgeWhen it comes to lining stuff up… out comes my Wendy Vechi Make Art Staytion! I added a strip of white cardstock along the bottom of the card topperThen I glued the Tonic Let It Snow to the top of the white cardstock strip and cut off the endsI wanted Mr Snowman to be quite raised on this card. So I added a thick double sided foam tape and a little No More Nail because of the uneven surface I was adhering him to, and adhered him to the front of the card topperHe is nicely raised off the surfaceI wanted to bring in a little colour along the bottom of the card that brought in his nose, so I added some ribbon with a gold thread along the base of the white cardstock stripHe is much easier to assemble than Jolly St Nick, but just as effective!