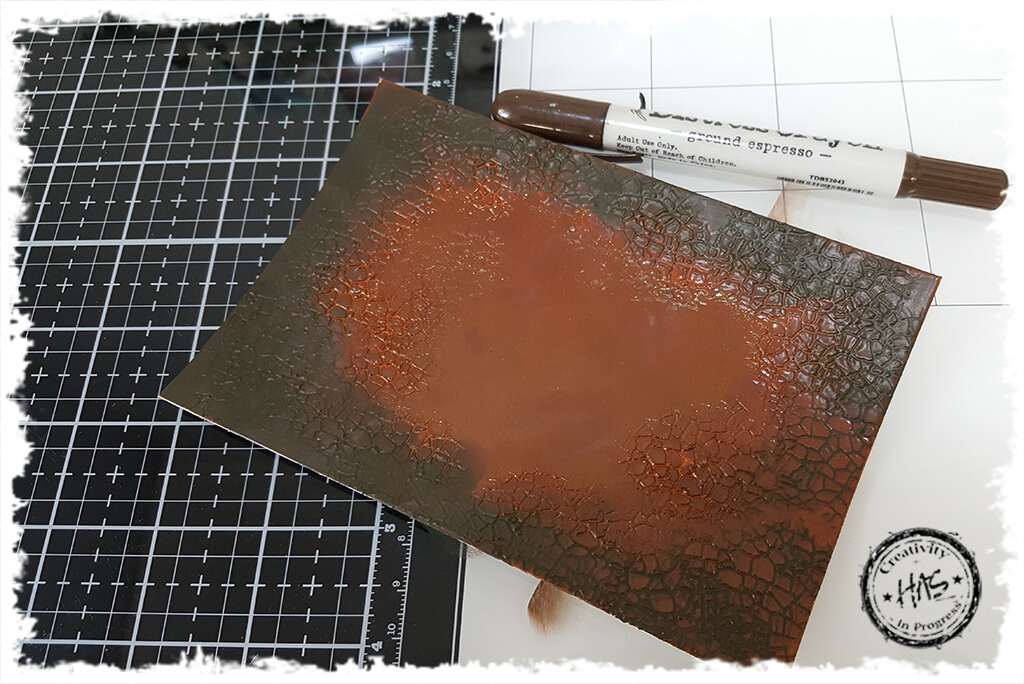
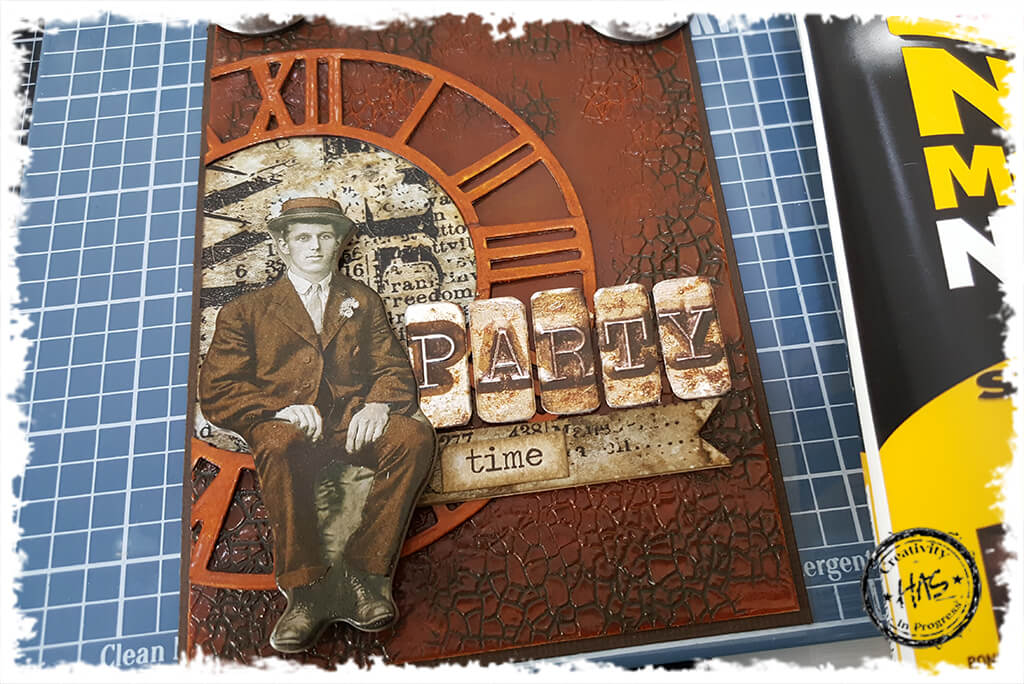
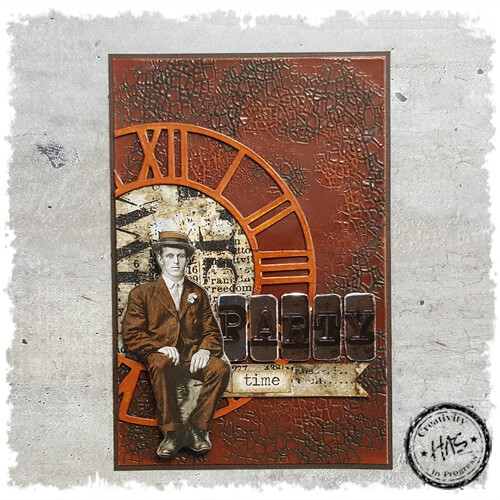
On this card topper we explore layering Distress Glazes and stamping into Distress Glaze. I love this masculine vintage card – hope you give it a try!
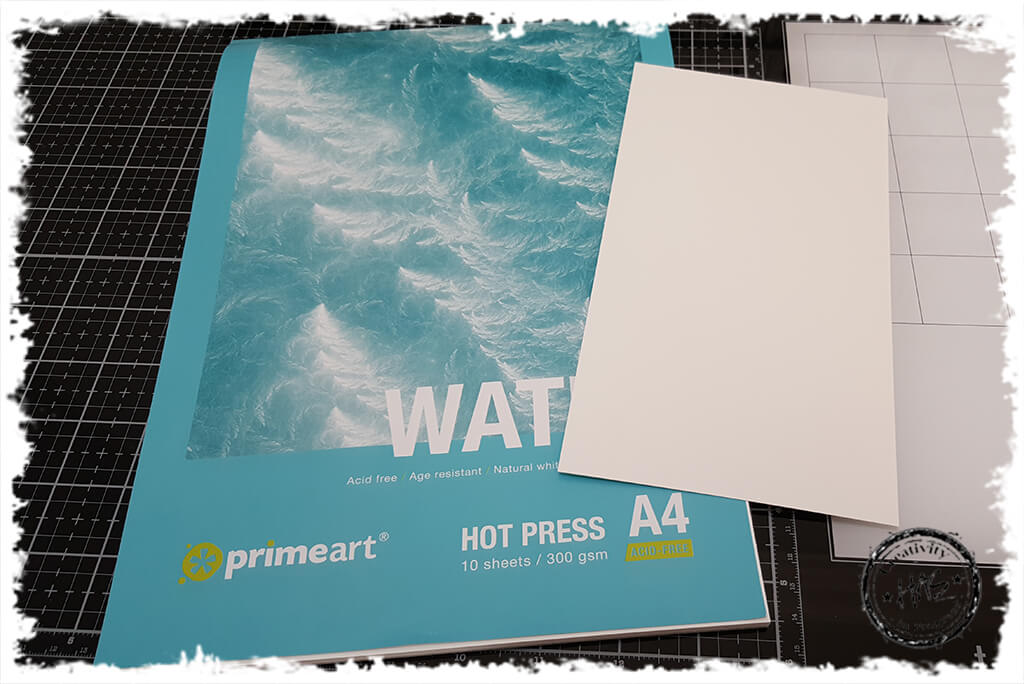
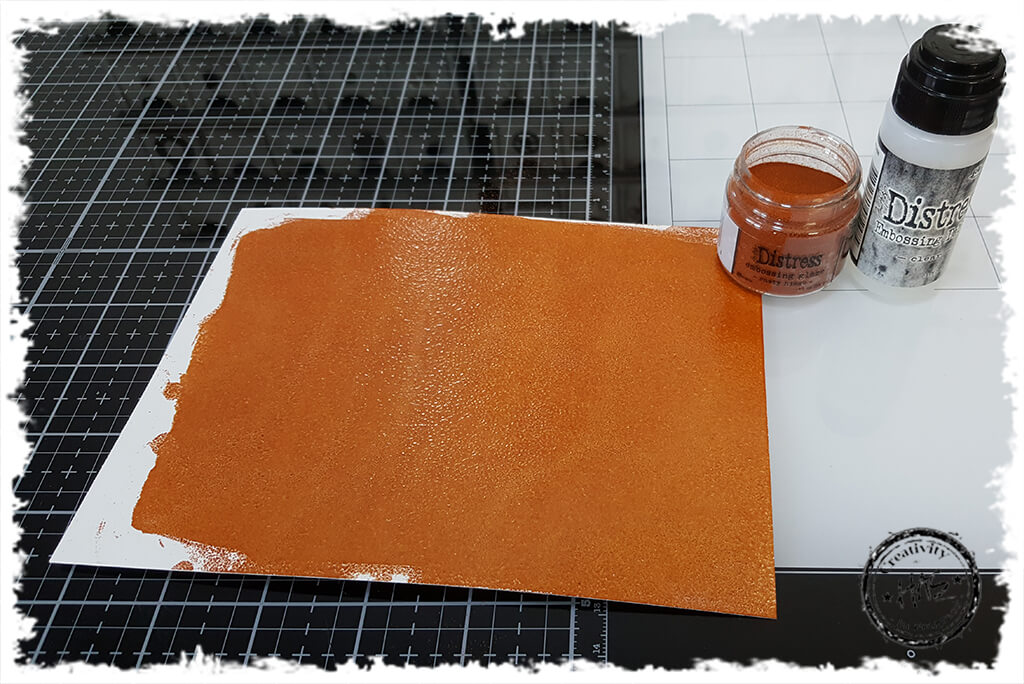
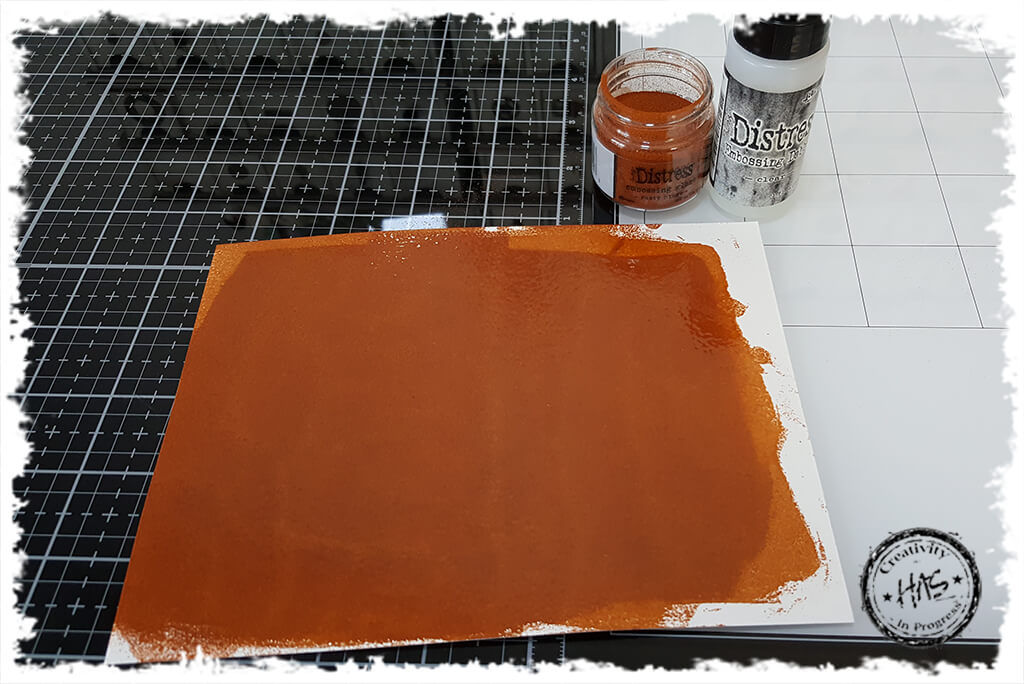
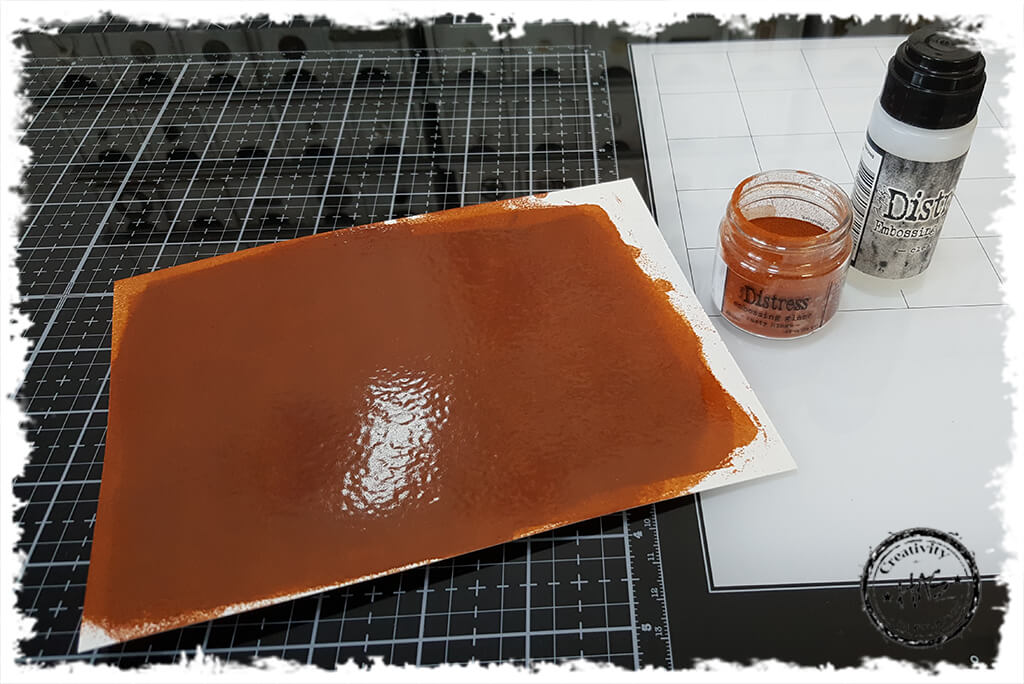
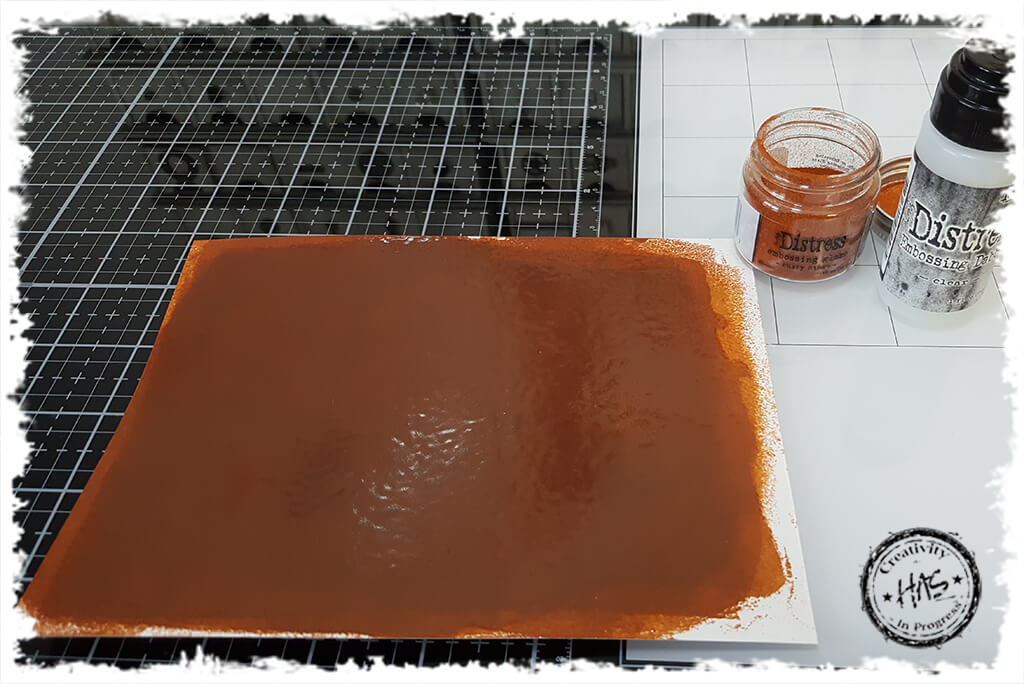
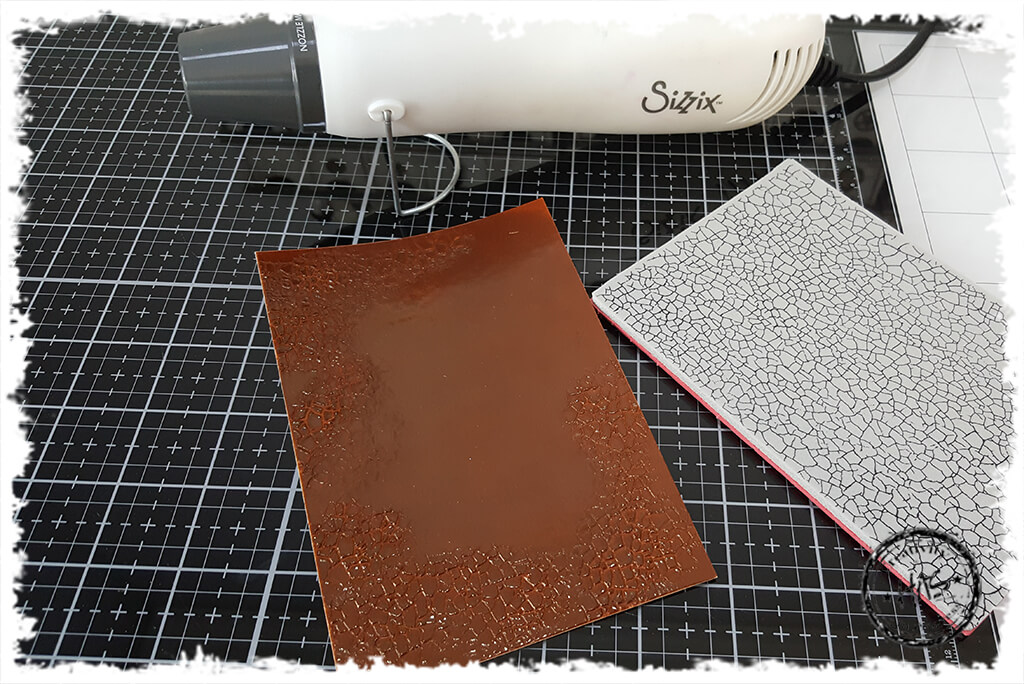
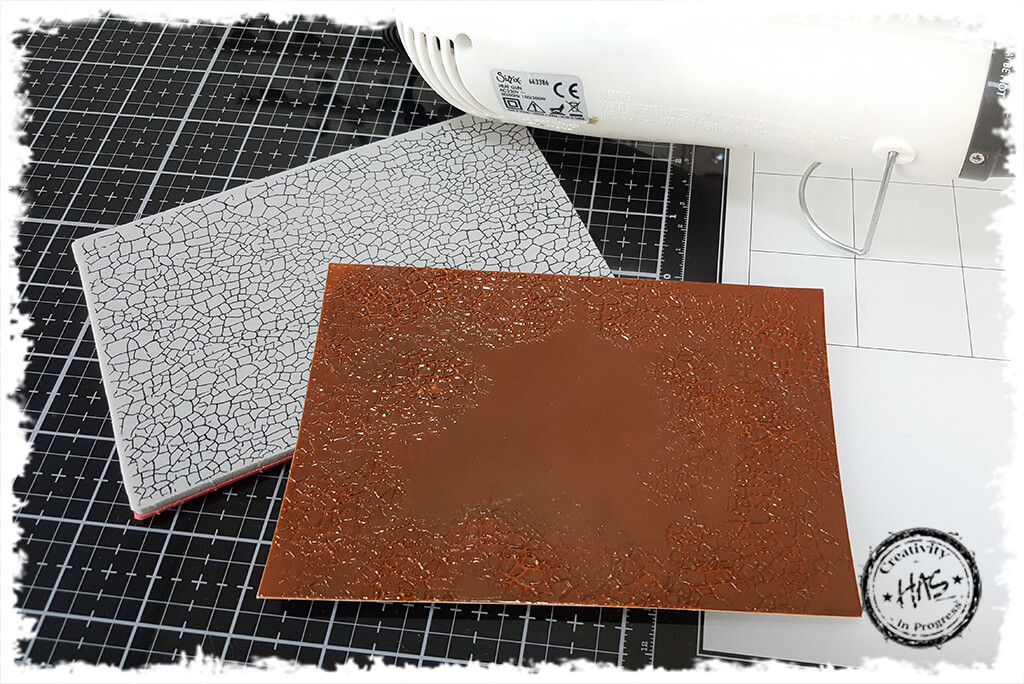
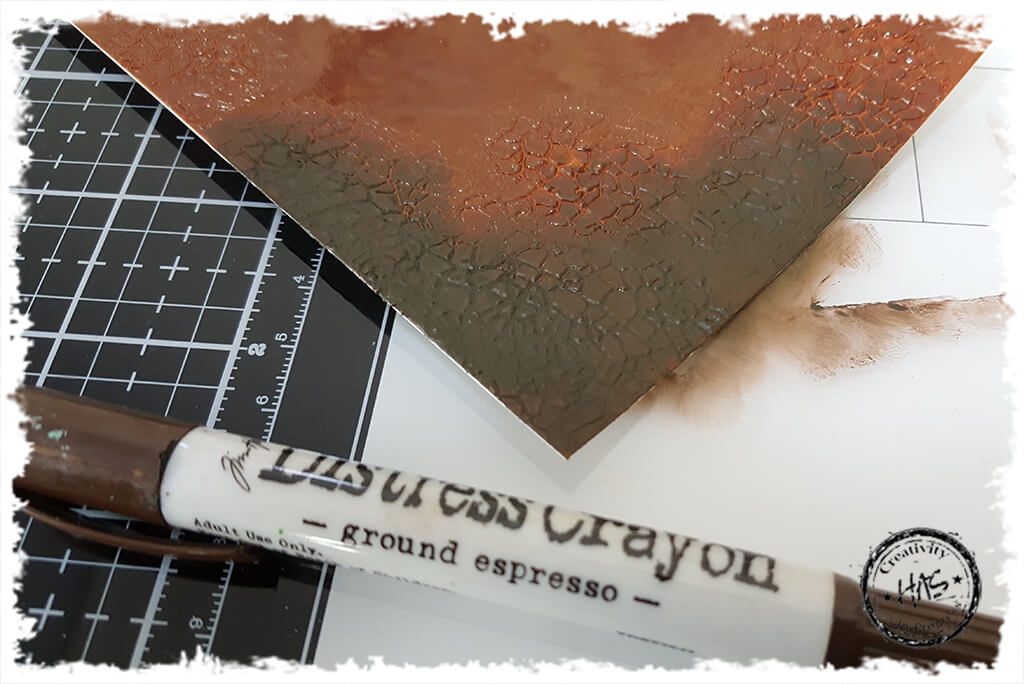
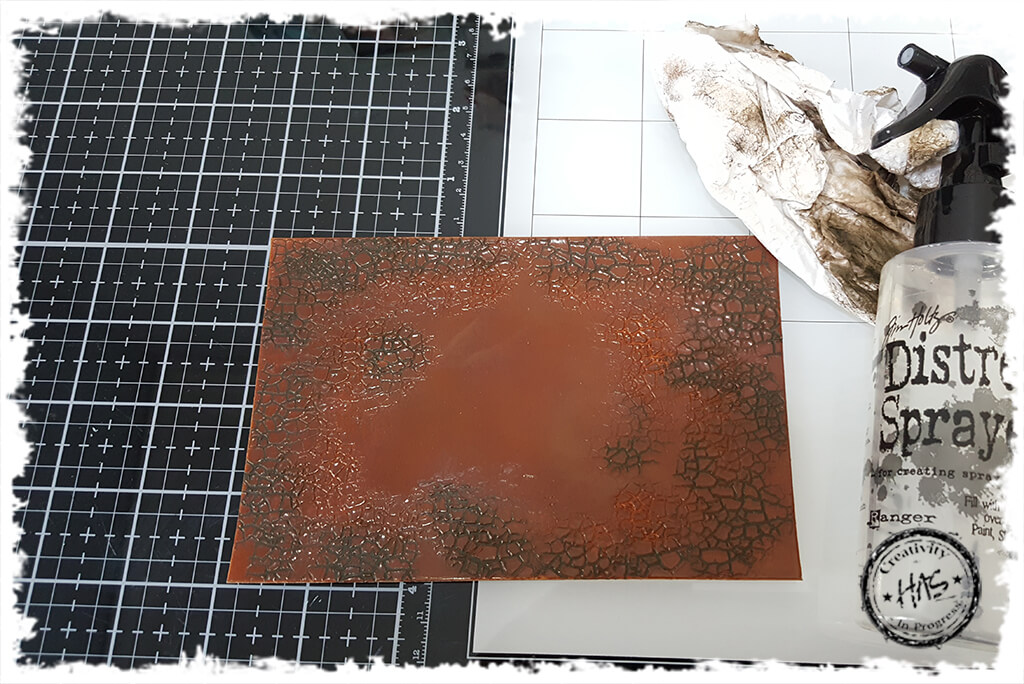
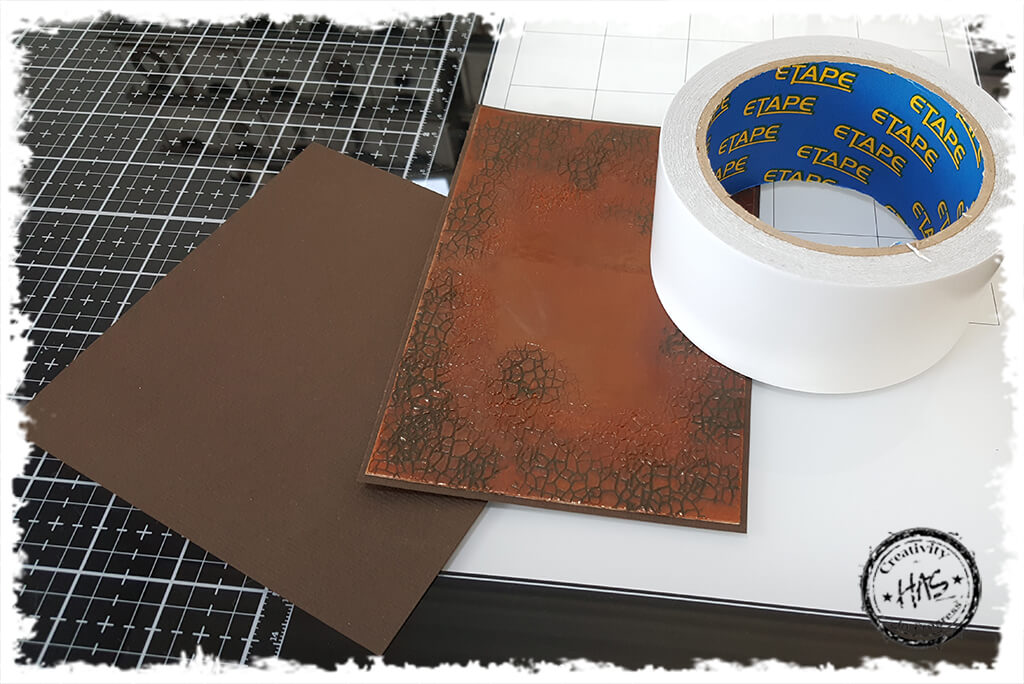
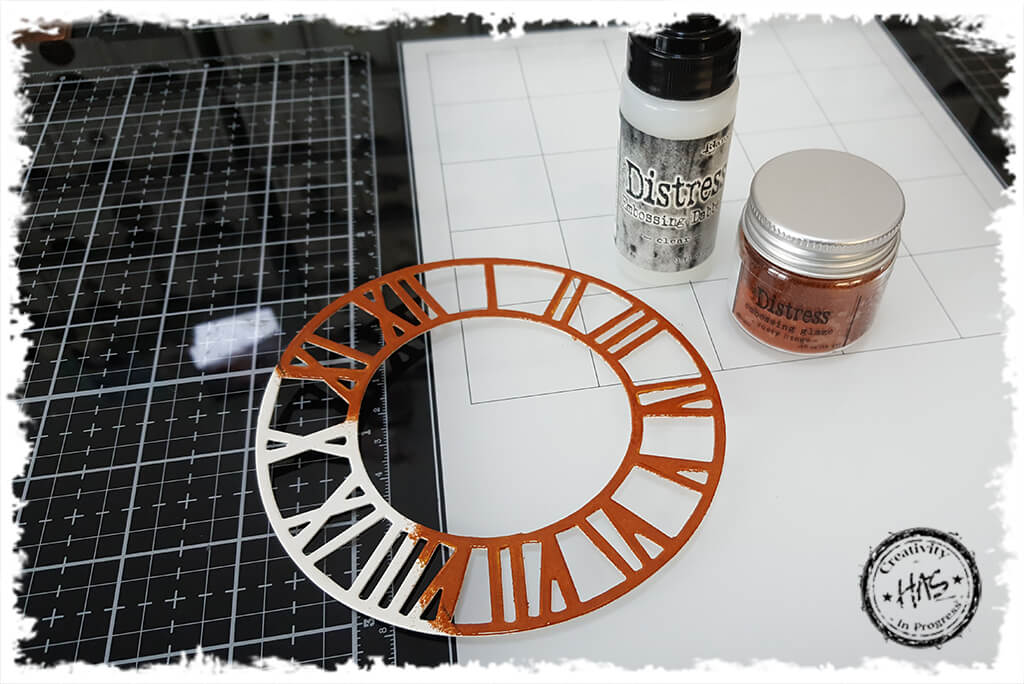
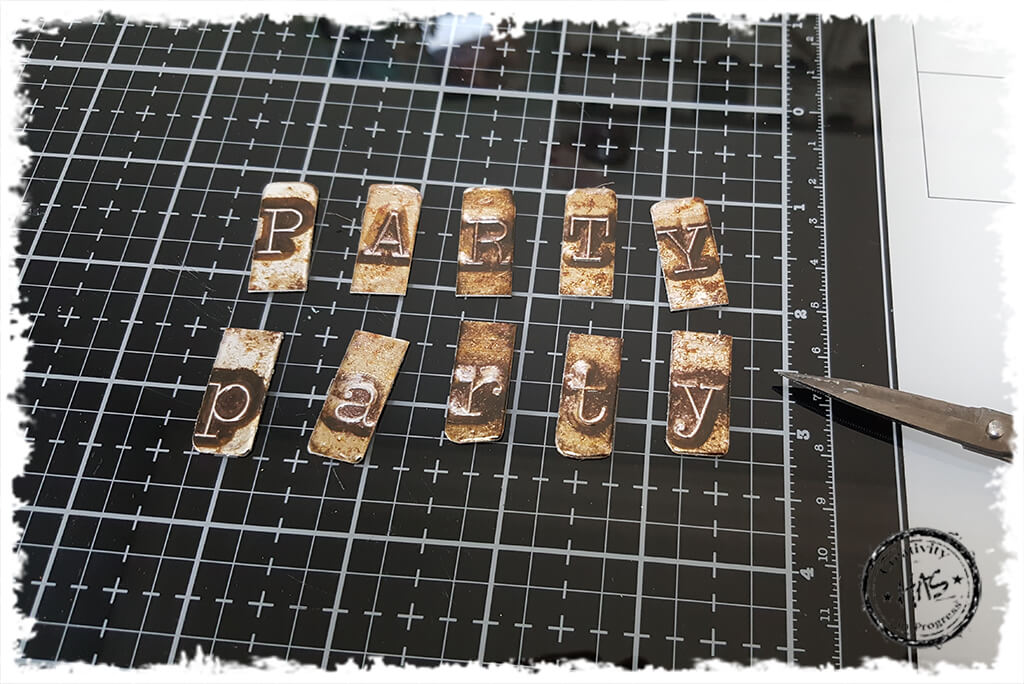
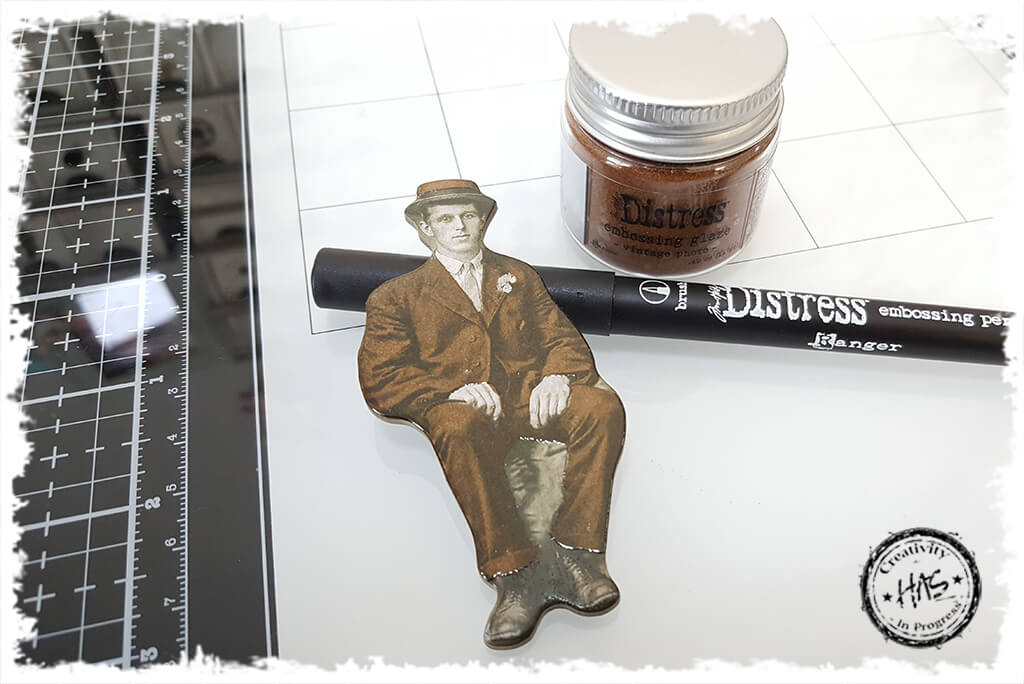
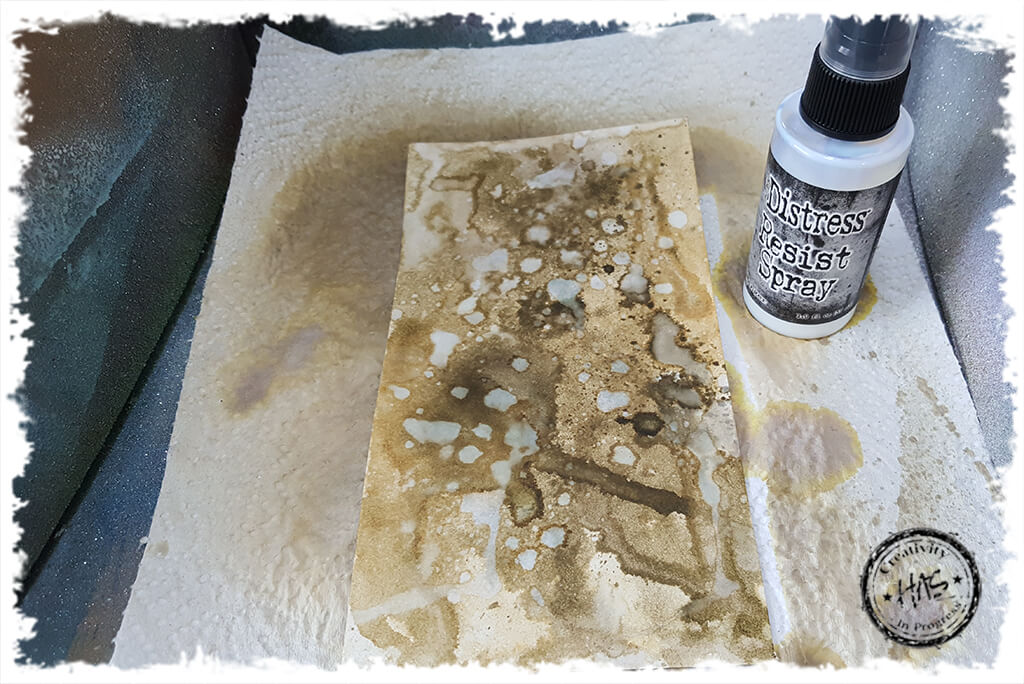
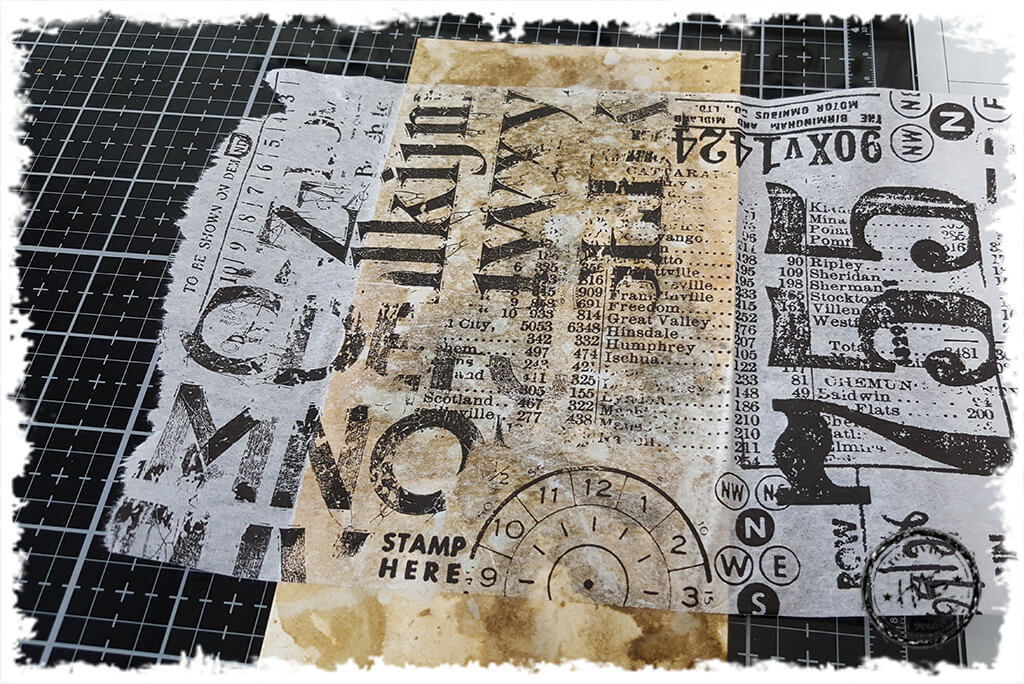
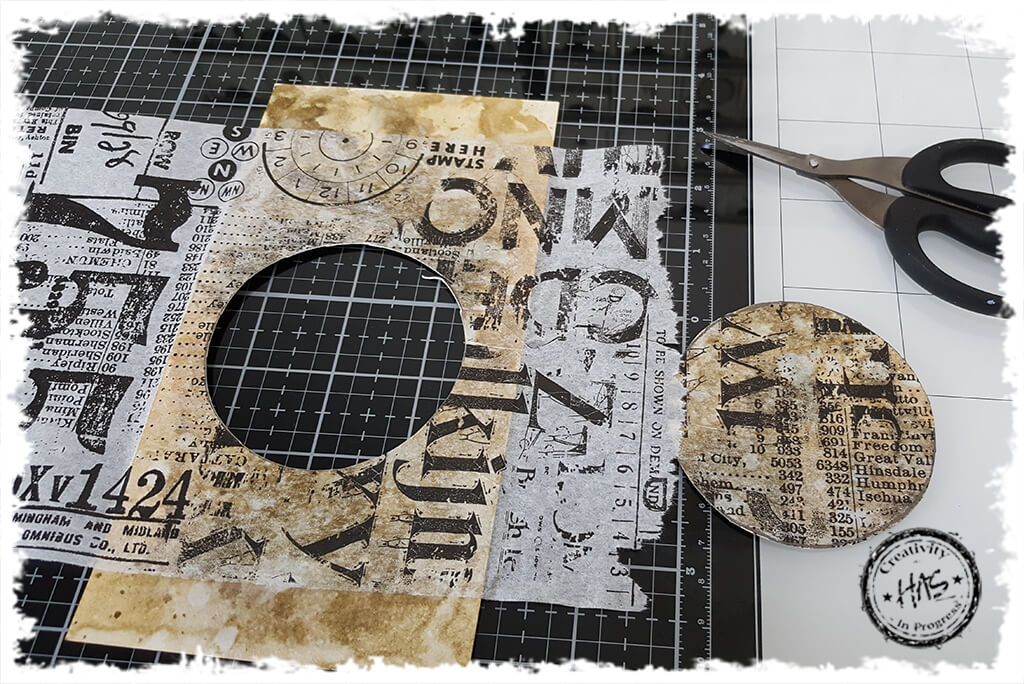
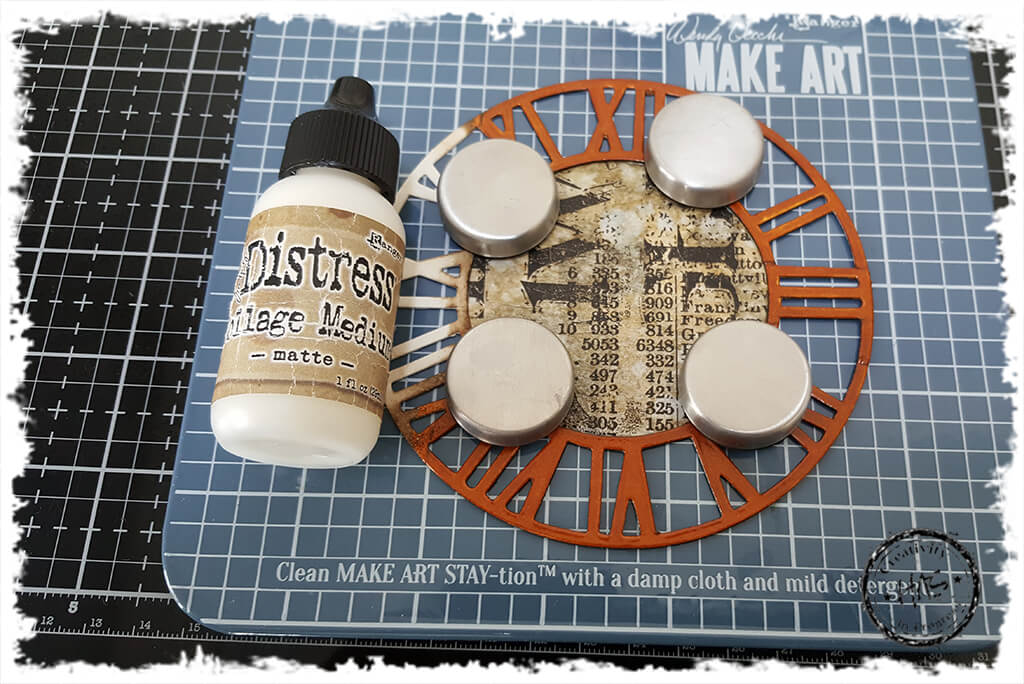
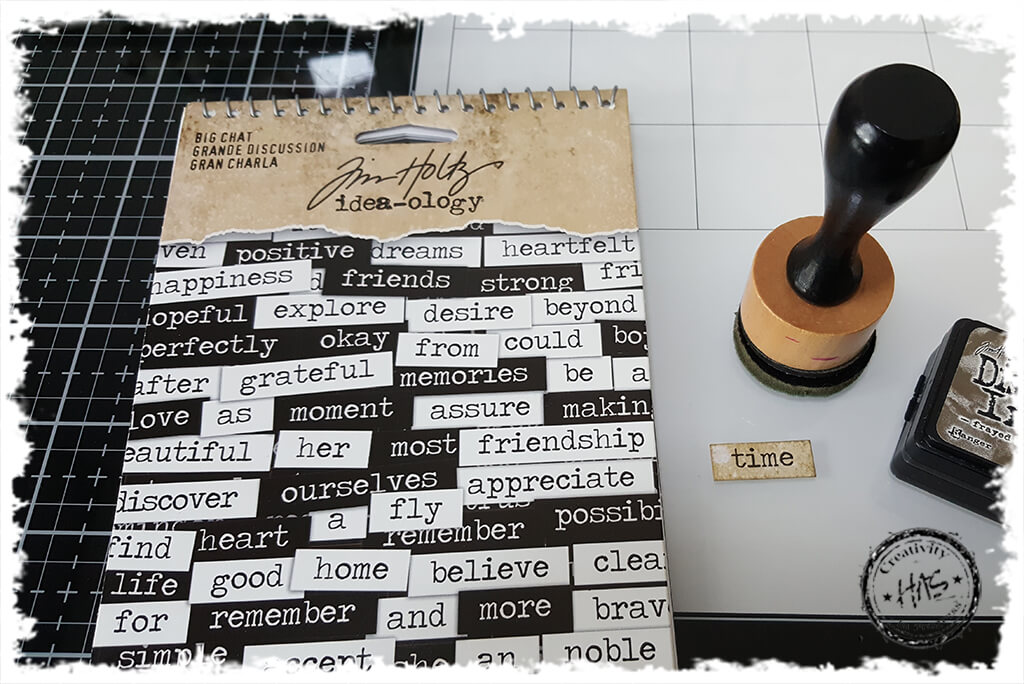
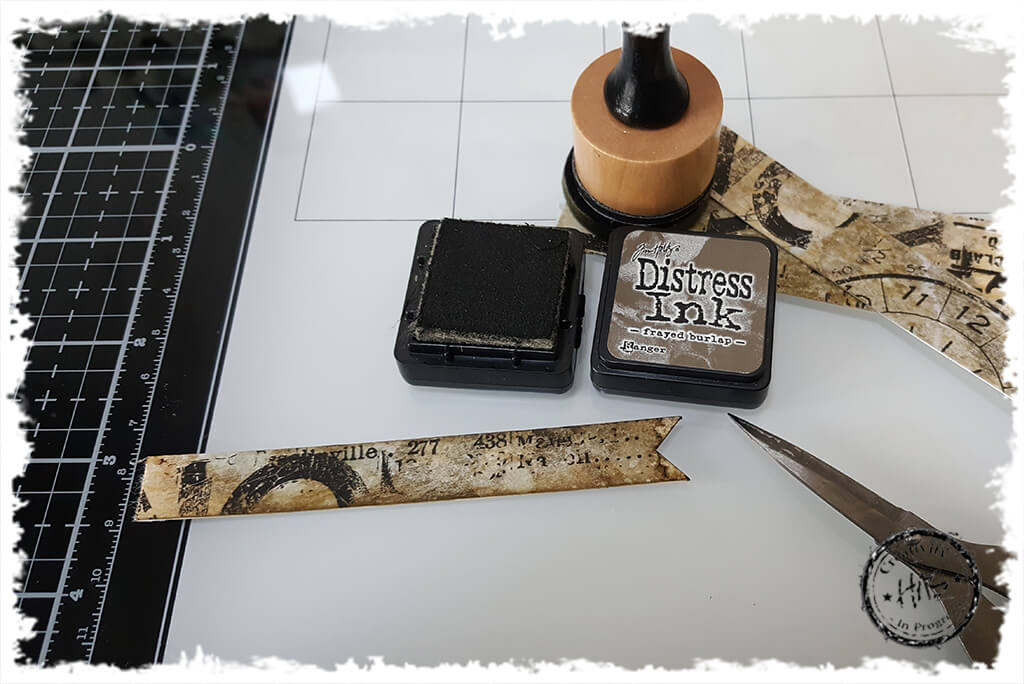
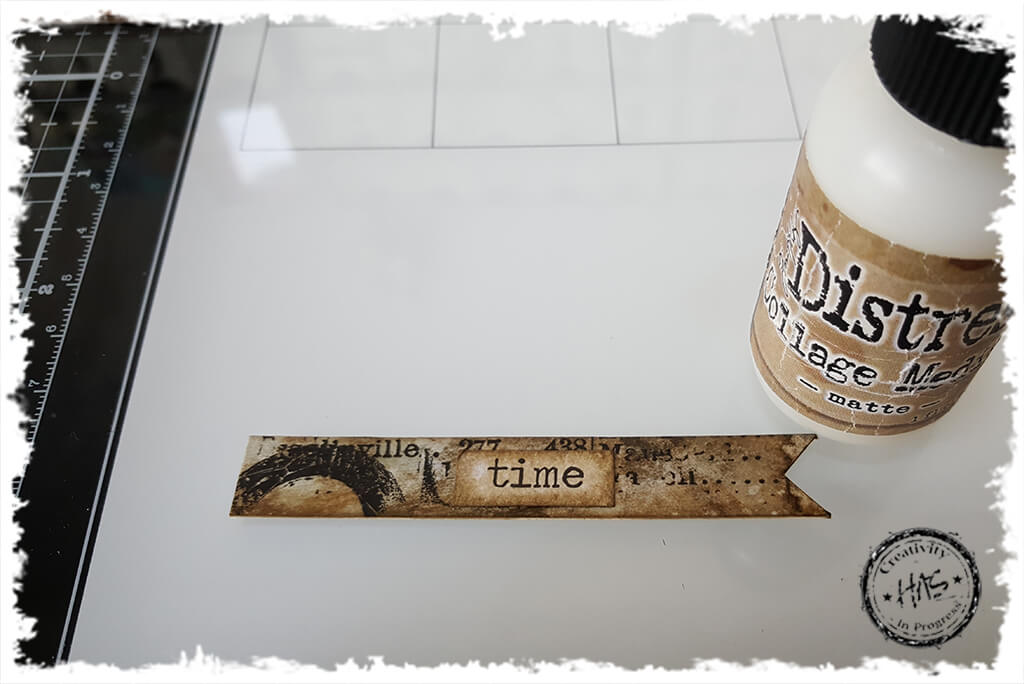
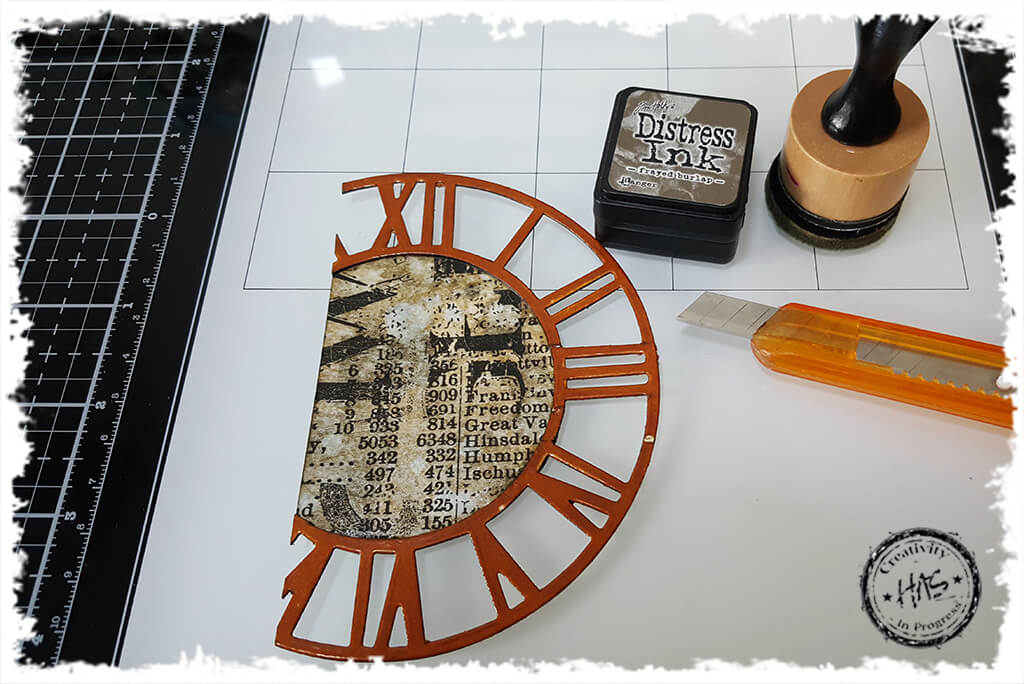
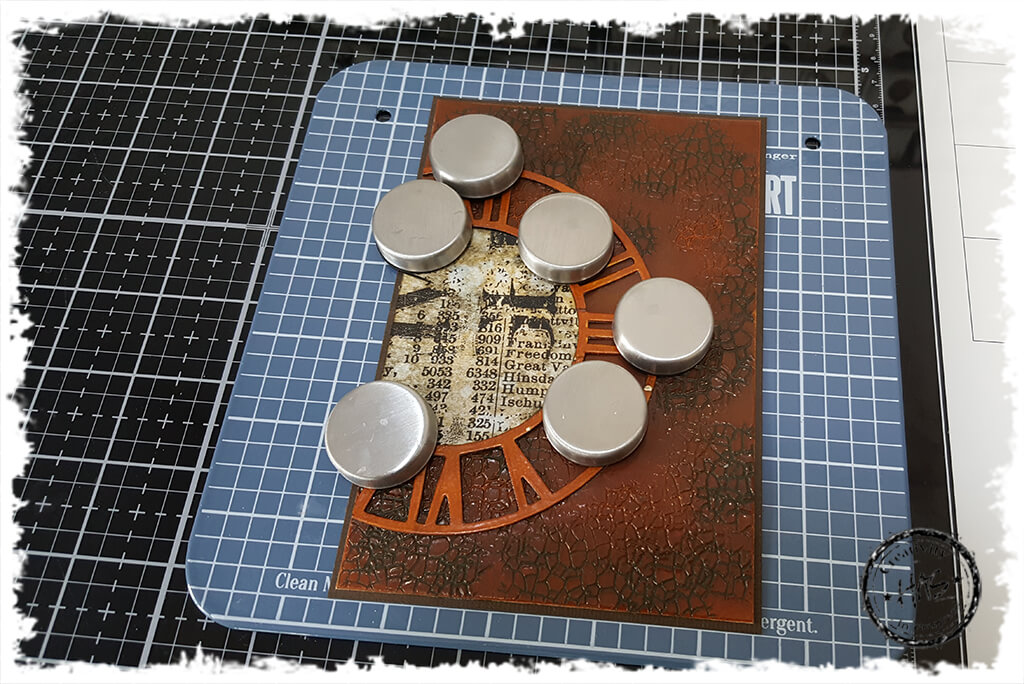
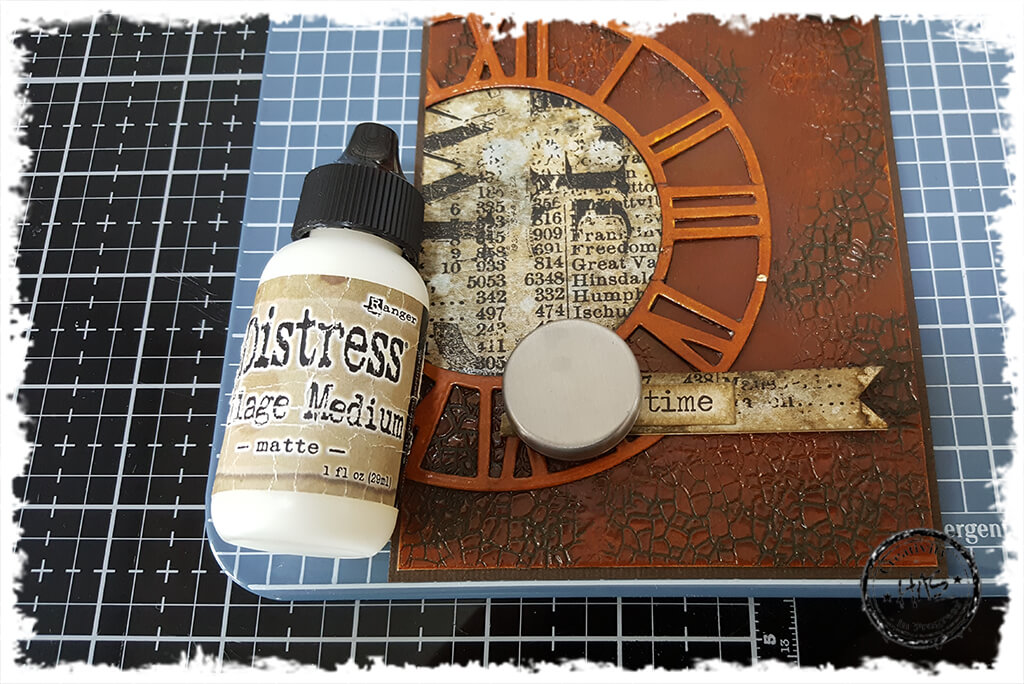
I used Hot Pressed Watcolour Paper as my cardstock of choice, as I knew I would be adding a lot of heat to the surface, I wanted something that would stand up to that and not warp. And I prefer the smooth surface that hot pressed provides.I started off coating my cardstock with Distress Embossing Dabber Clear Ink and adding my Distress Glaze (Rusty Hinge) and heat setting this layerThen I repeated the process and added another layer of Distress Glaze Rusty Hinge. You can see in this photo that as you add layers, the glaze becomes deeper in colour and less transparentRepeat for a third layerRepeat for a fourth layer. By doing this, you build up a nice thick layer of glaze on the cardstockThen I cut my card topper down to sizeThis part takes a little practice, but the good news is that if you mess it up, you can fix it easily just by re heating the glaze. You want to heat your glazed surface in sections, ensuring the glaze is soft but not too liquid. Then you want to take a stamp and stamp into the hot glaze. This will leave the impression of the stamp into your glaze. Doing this in sections allows a little more control, and using a background stamp like the Crackle, also allows for any errors to go unnoticed.Repeat the process around your card topper until you are happy with the resultNow to make that impression really stand out! Cover your glaze with Distress Crayon Ground Espresso, being sure to get the crayon into all the recessed areasKeep going until you have covered as much of the stamped area as desiredUsing a damp paper towel, remove as much or as little of the crayon as you want to reveal the stamped glaze. This really pops!Then I matted the card onto a dark brown carstockI die cut a clock and inked it up with Distress Embossing Ink and covered with a single layer of Distress Glaze Rusty Hinge. You can see how much lighter the glaze is on a single layer, and works as an awesome contrast to the deeper layered background!Then I inked the edges with some Ground Espresso as I didn’t want any white showingLOVE these Type Chips!!! I cut them in half as I only wanted the Upper Case. I just love how they look like embossed worn metalThen I grabbed a Baseboard Doll and inked his suit up with clear embossing ink, using the Distress Brush Pen and added a layer of Distress Rusty Hinge Distress Glaze and heat set itOut came the splatbox and some Distress Sprays (Frayed Burlap and Antique Linen). Then I created a little background on some Hot Pressed Watercolour paper. Dont forget to add water when using the sprays, as this really helps in blending the colours and creating those beautiful dropletsThen I added a generous spray of Distress Resist Spray, as I didn’t want to disturb the background, but needed it to be adhesive for the next stepWho doesn’t love some Collage Paper?! While the resist spray was wet, I added some Collage Paper of the top of the background and pressed down carefully and dried using a heat tool. How awesome does the collage paper look over a distressed background?!I measured the inside of the die cut clock and cut a circle from this background, being sure to leave a little behind for a strip to be added to the card laterUsing my Mini Wendy Vecchi Make Art Stay-tion for the magnets, I adhered the circle to the centre of the clockI am a hige fan of Word / Phrase Stickers and Clippings. They are super handy to have around. Here I pinched the word ‘time’ and inked the sticker with Frayed BurlapThen I cut a strip from my collage paper background with a little ribbon end and inked the edges with Frayed BurlapAnd adhered the ‘time’ sticker to the strip using collage mediumI cut the left hand side of the clock off as I only want part of the clock on my card, and inked the cut edgeBack to my Mini Make Art Stay-tion so that the magnets could hold my clock down in place over my background until the glue had setOnce the clock was set in place, I adhered my paper strip to the bottom right hand corner of the clockI used some double sided foam tape and a little No More Nails glue to adhere my baseboard doll down as I wanted him to be more raised than the other elementsAnd lastly, I adhered my Type Chips above the ribbon paper strip3 Different ways to use Distress Glaze on this card topper. I love that even using the same colour glaze on different elements of this card, allows for different depths of colour – just awesome!