
Arthur. I love Arthur! But the only thing I love more than Arthur… is dressing Arthur up! This was a fun make indeed!
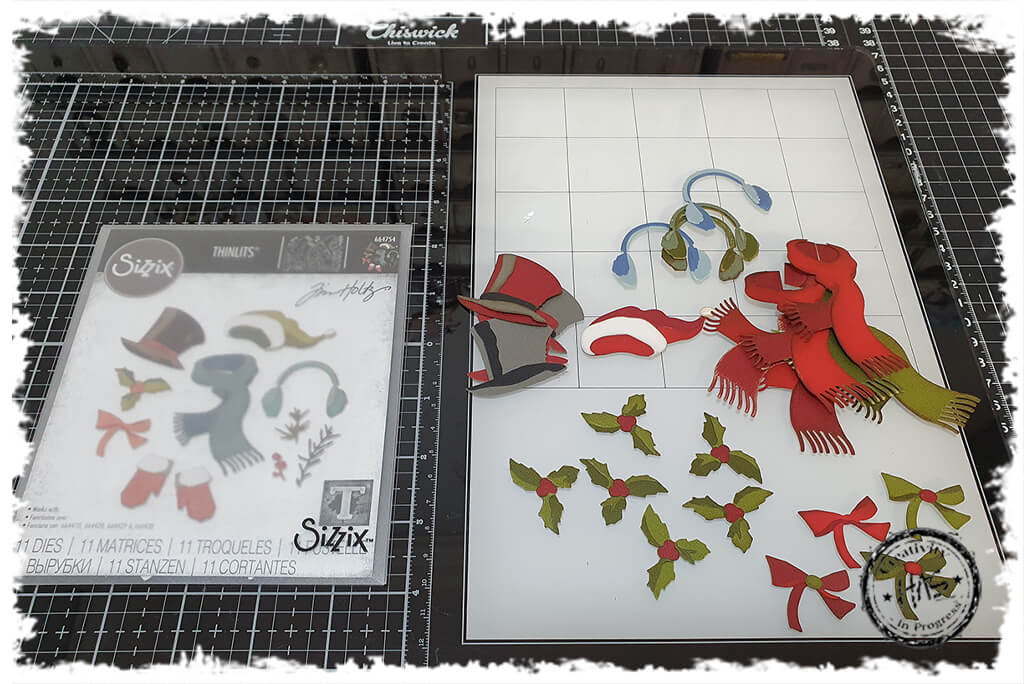
If you own any of the wild life Colorize die sets, then I would seriously urge you invest in the Winter Wardrobe die set.
This set allows you to make up a variety of scarf’s, hats, holly and more, which you can use to dress up your Colorize animals.
As with all my Colorize dies, I add adhesive to the back of the cardstock before I cut the pieces out. This makes life easier as you can simply remover the tape and stick the pieces together instead of using a liquid adhesive which can get messy, especially with such small elements.
I like to make up a few of each at a time. That way I build a stash for when I need them
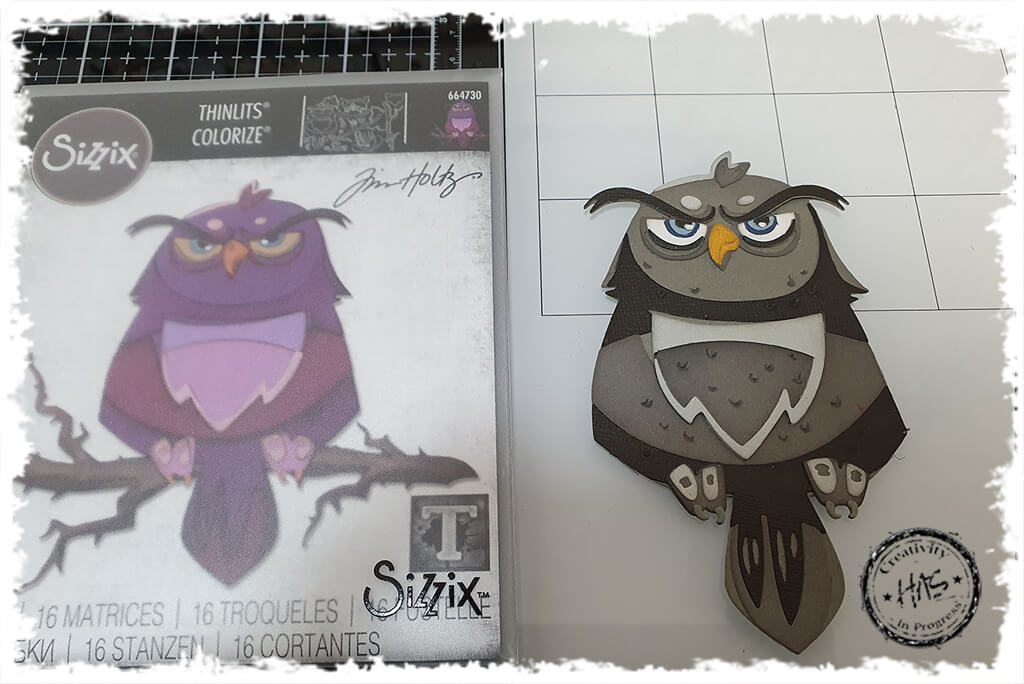
I cut this Arthur out of a variety of grey cardstocks and assembled him.
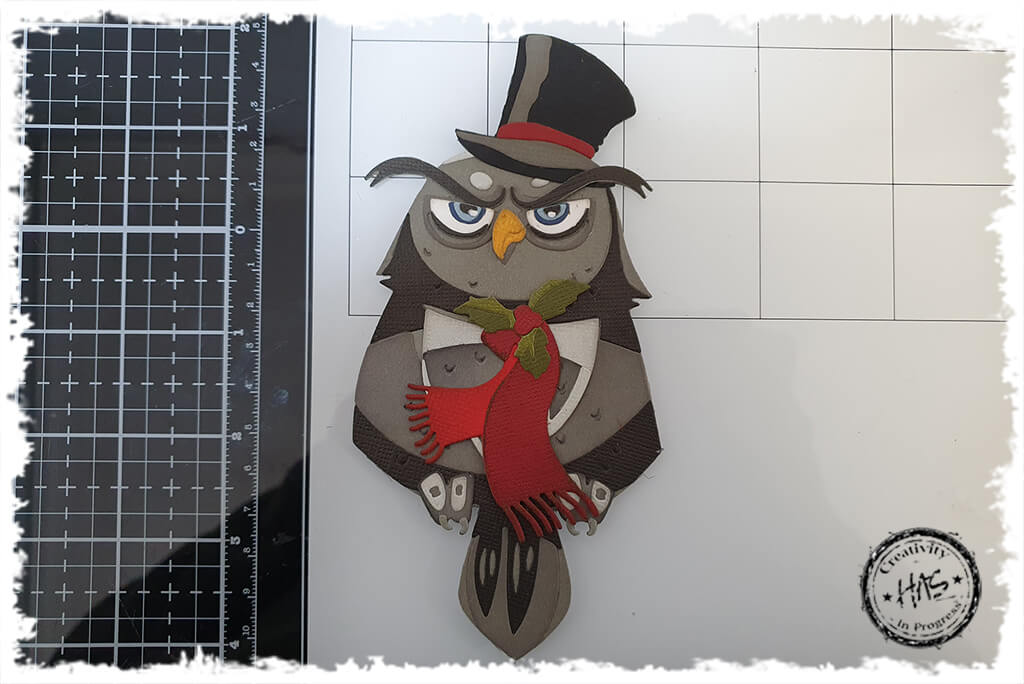
Then I used my Winter Wardrobe elements to dress him up. So dashing all dressed up!
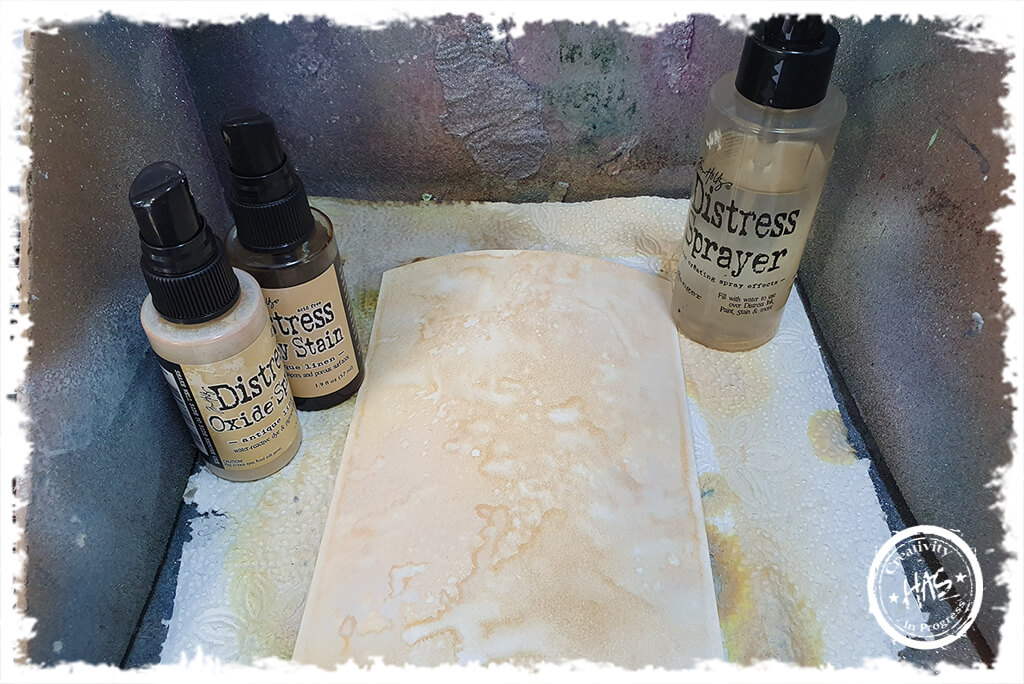
I sprayed a piece of hot pressed watercolour paper with water and Antique Linen Distress Spray Stain and Oxide Spray and heat set.
If you want more movement and droplets etc, then spritz with water and dry again
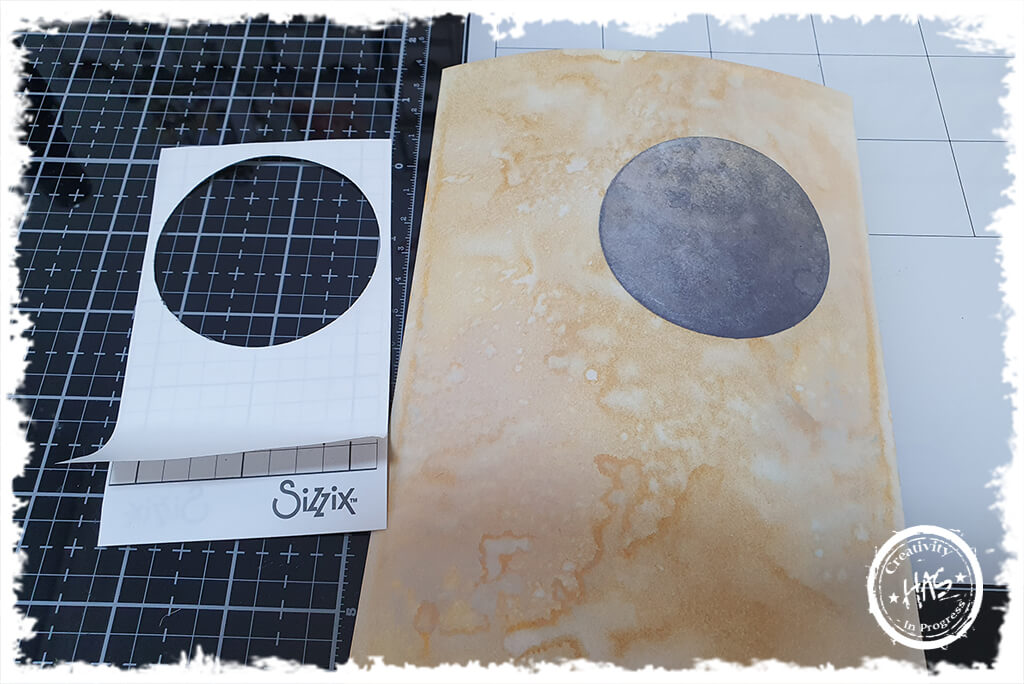
This is a well used piece of sticky grid as you can see!
I die cut a circle from a piece of Sticky Grid to use as a mask. I simply placed it over the inked background and made sure it was well adhered. Remember that Sticky Grid can be used over and over again!
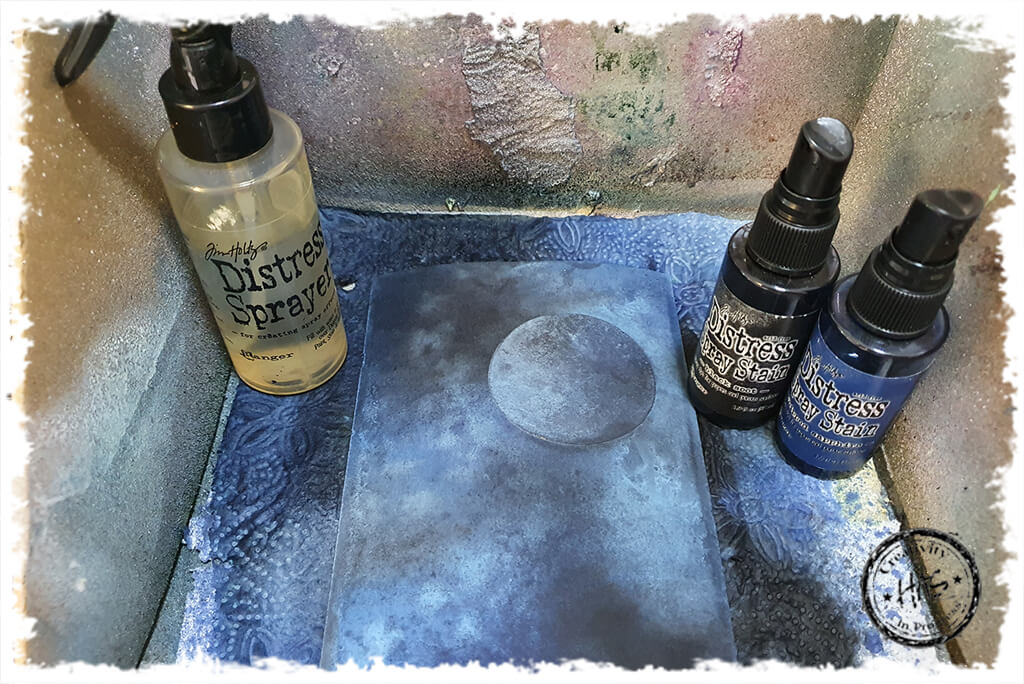
Next I sprayed over the whole piece with Distress Sprays Stains, Black Soot and Chipped Sapphire and a little water to get the inks to react
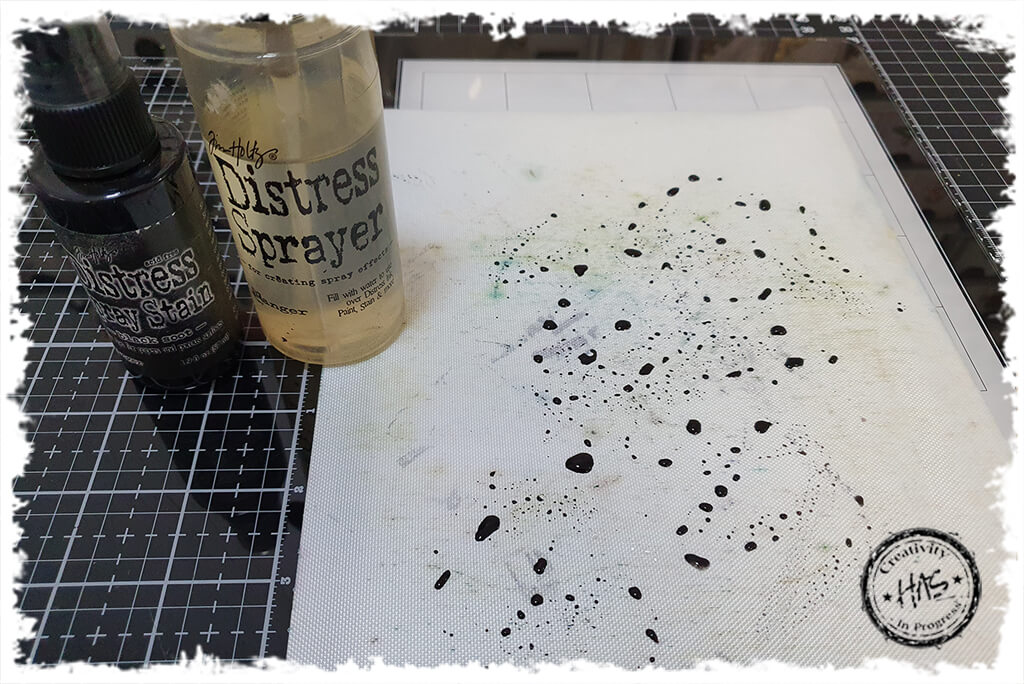
I sprayed some Black Soot Distress Spray stain directly onto my non-stick craft sheet (and a little water to dilute the black) and ran my fingers through the ink to mix it up

Then I removed the Sticky Grid circle and dabbed the inked cardstock into the black soot ink and dried using a heat tool.
I wanted a misty effect here which you can see in the moon
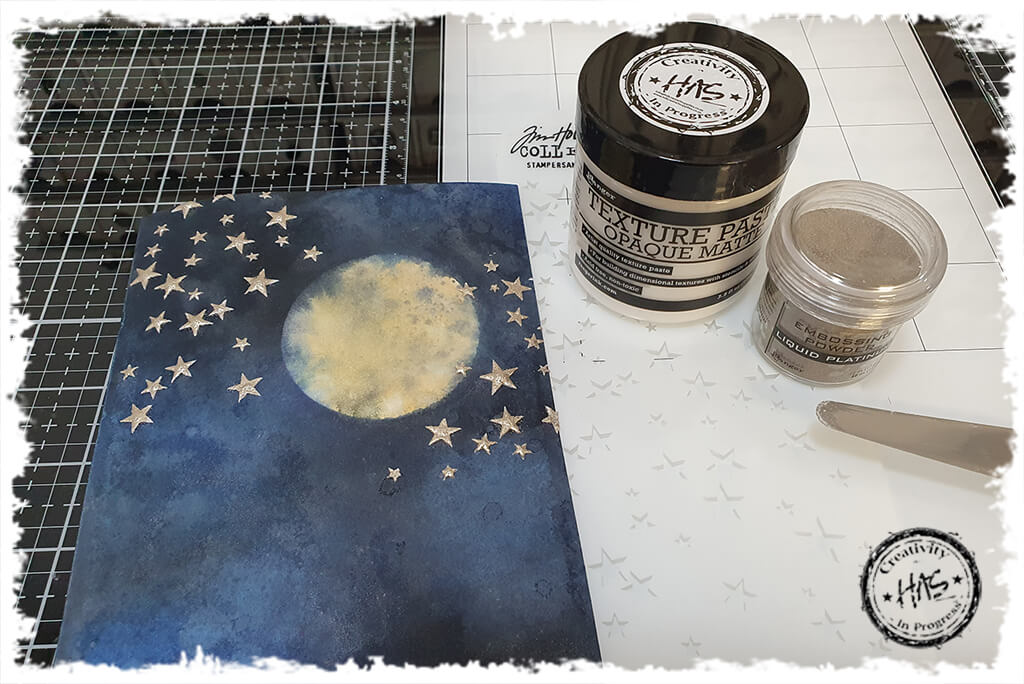
Then I placed my Falling Stars stencil over the background and applied some Ranger Texture paste through the stencil using a palette knife.
Once I had removed the stencil, I added the Liquid Platinum Embossing Powder and heat set.
TIP: Your inked background must be 100% dry before you apply the embossing powder to the stars. If it is not, then the embossing powder will stick to t he background ink. The best way to avoid this, is dry your background with a heat tool until crispy dry. Then set aside for a good few hours before applying the powder
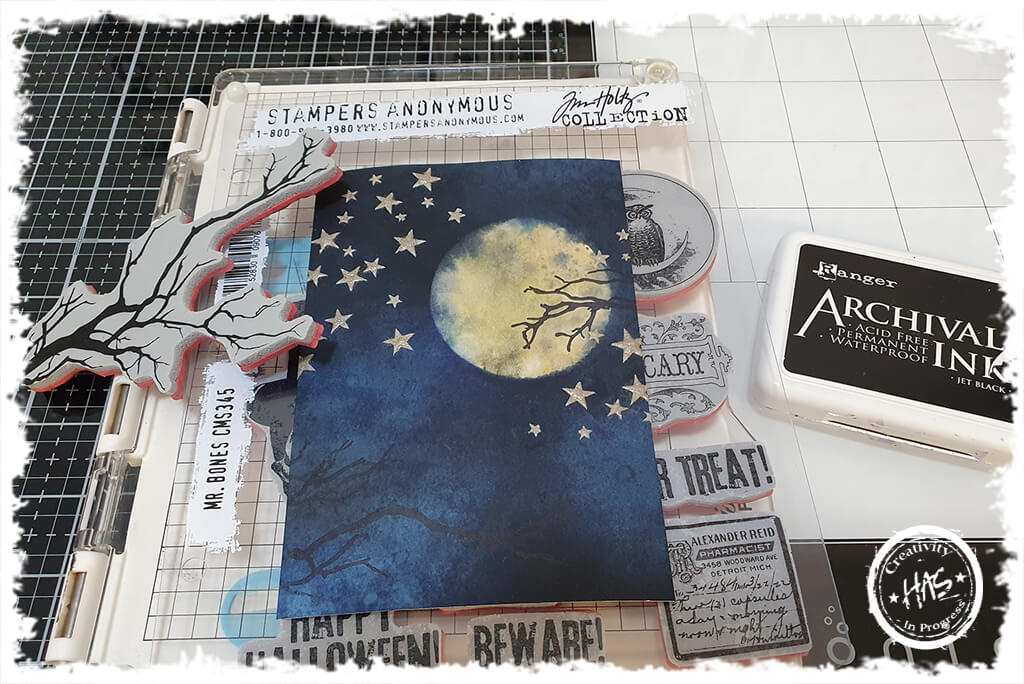
I love this branch stamp from the Mr Bones set! I use it all the time!
Here I used my Stamp Press and Jet Black Archival Ink Pad to stamp the branch onto the background
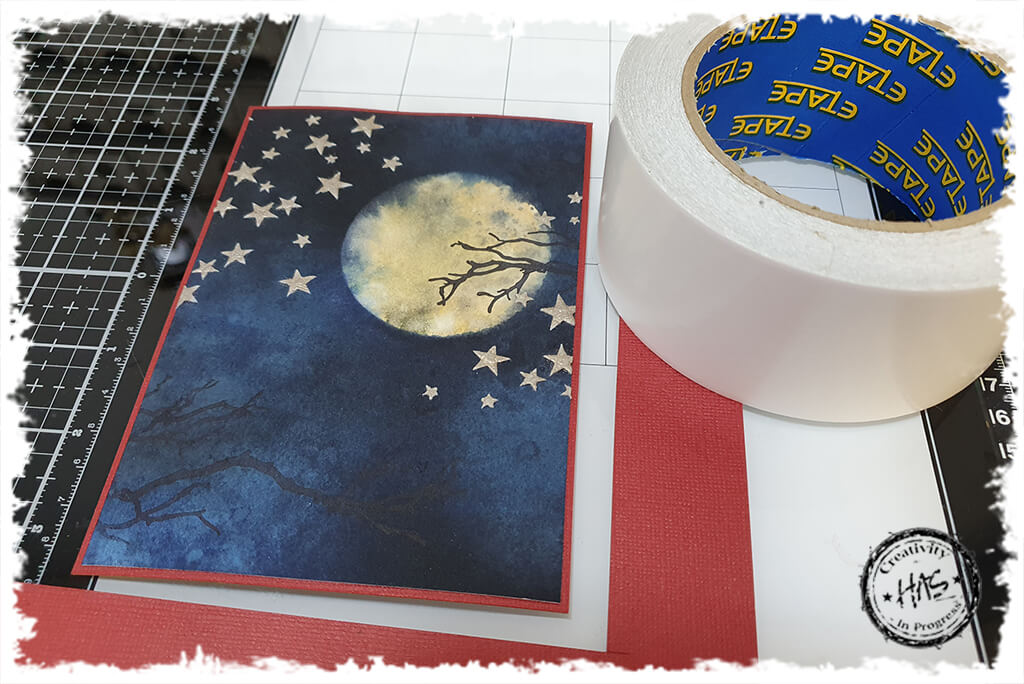
I chose to mat the Card Topper onto red cardstock to bring in Arthur’s accessories
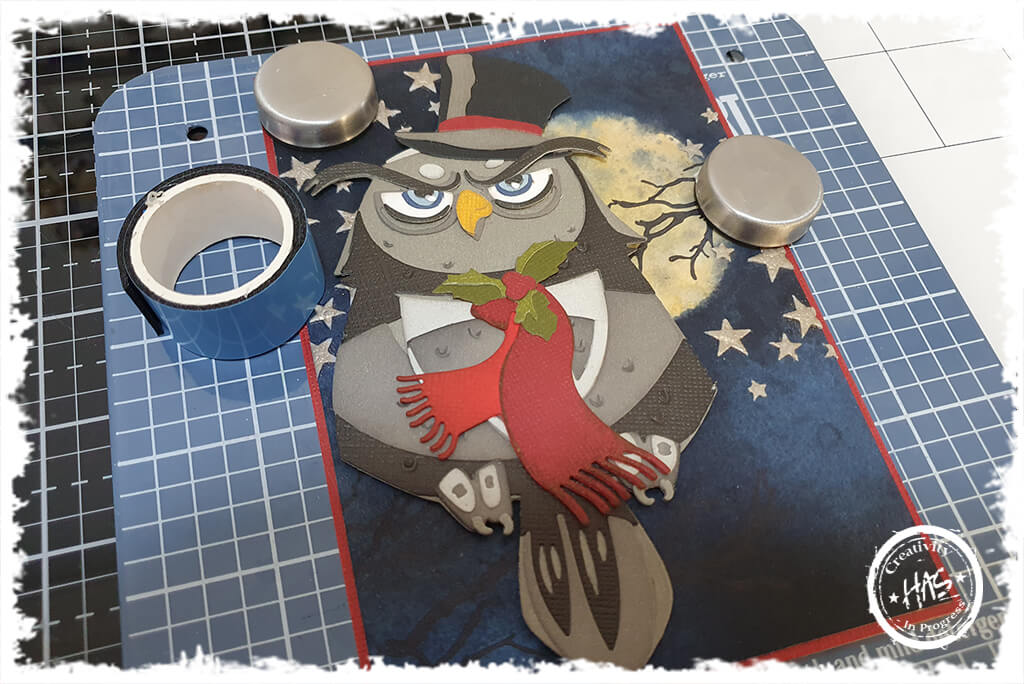
I used my mini Wendy Vecchi Make Art Stay-tion to line Arthur up and stuck him into place using double sided foam tape for some dimension
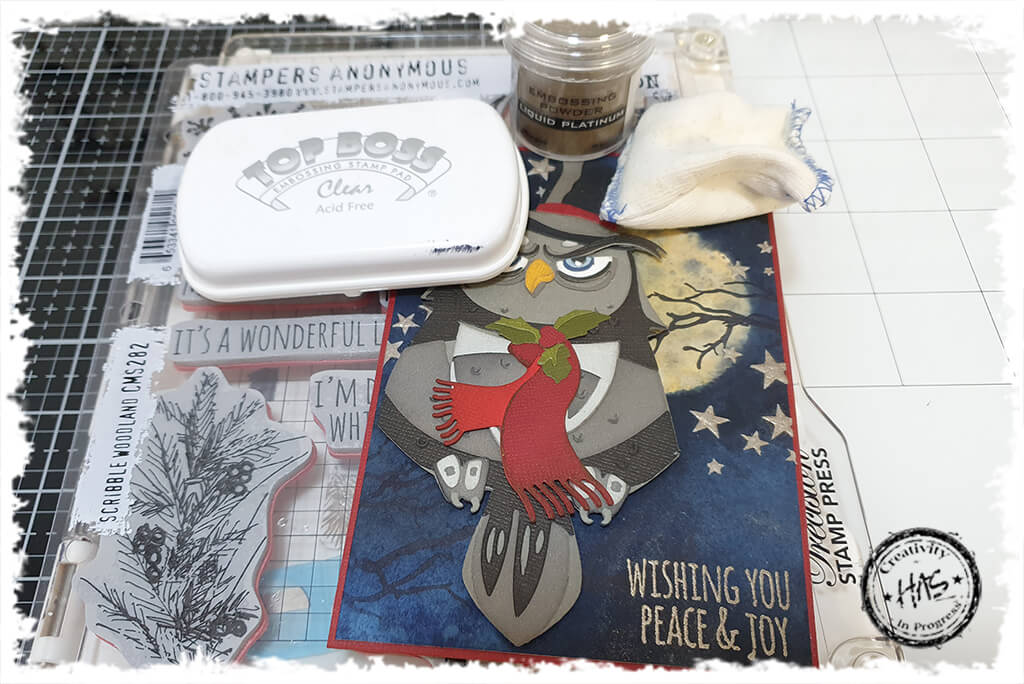
I stamped this sentiment onto the bottom right corner of the card using clear embossing ink and then covered with Liquid Platinum Embossing Powder to match the stars and heat set that
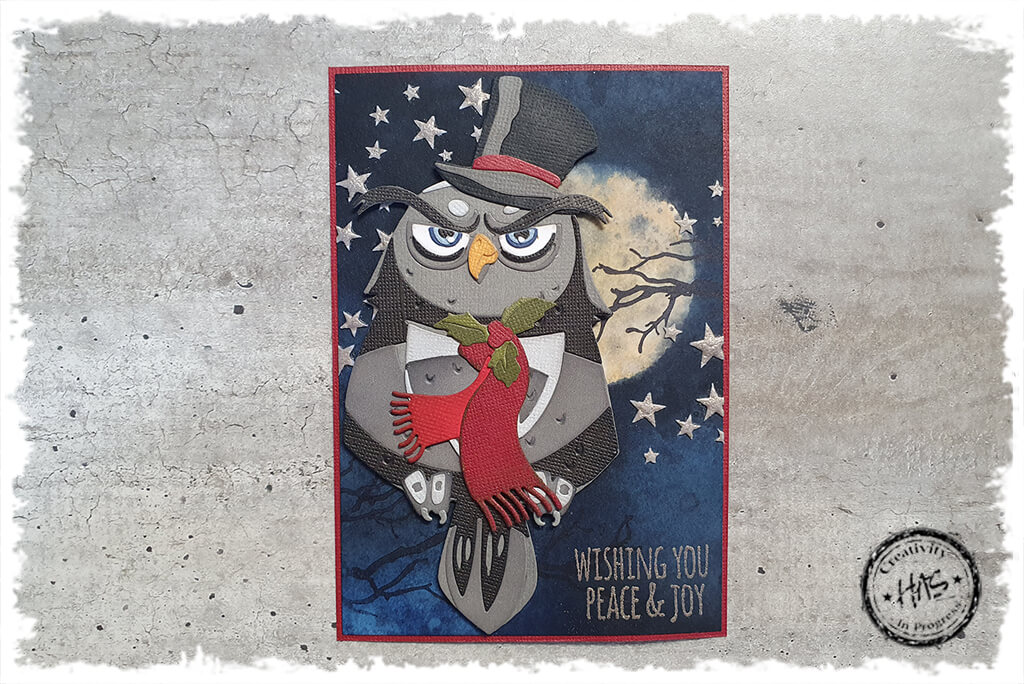
He really is such a handsome chap, all dressed up and festive!