I made this practical piece of pretty for a very special someone and thought I would share it with you, in the hopes that you get your alcohol inks out and play!
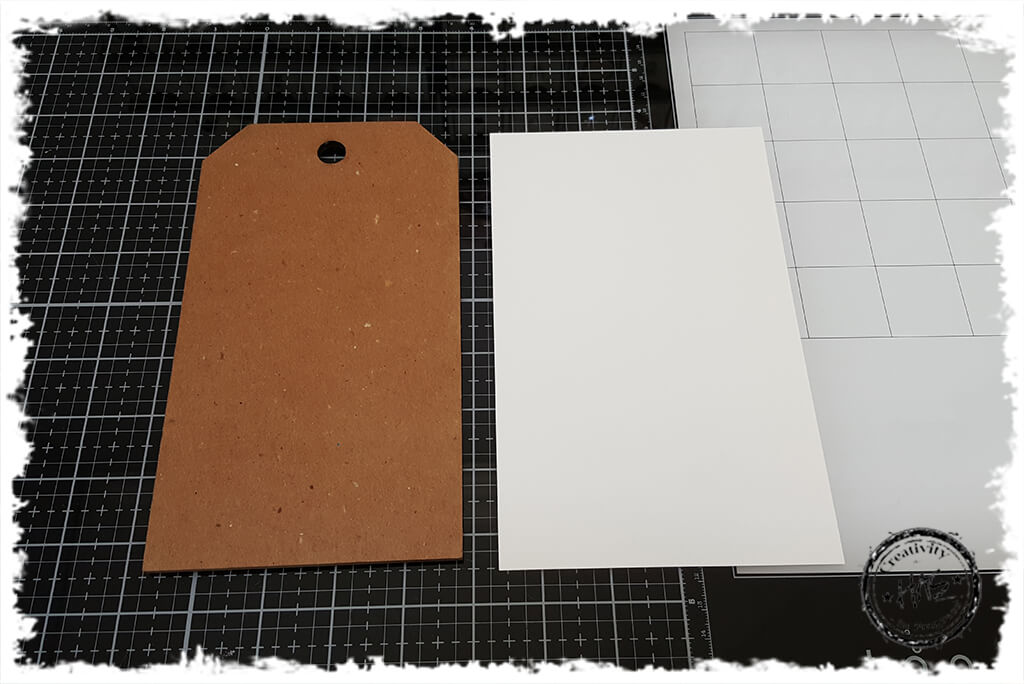
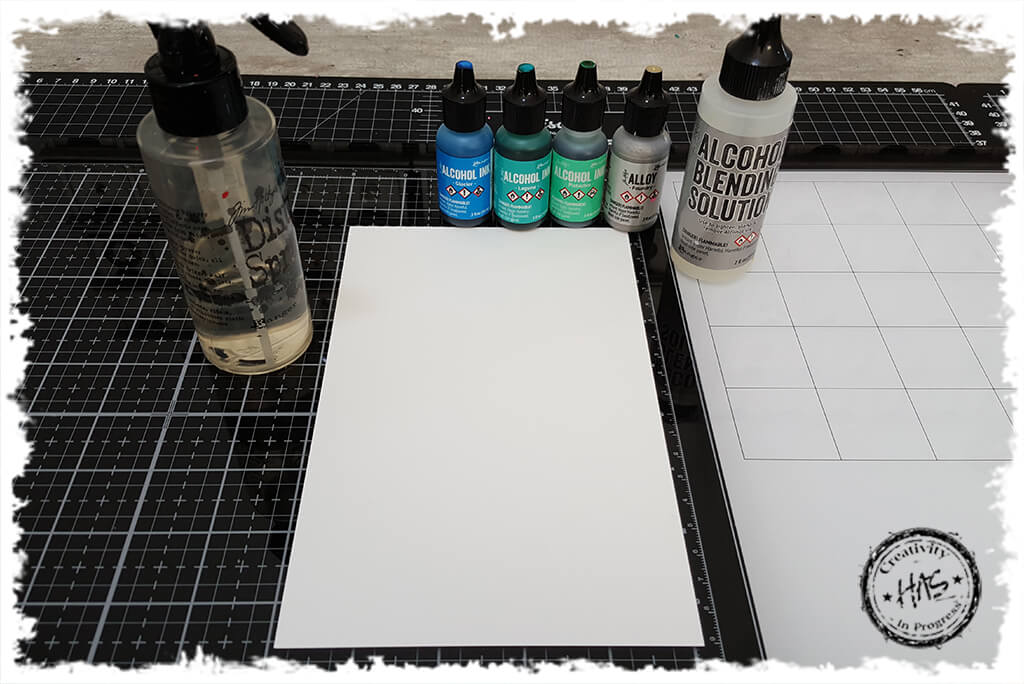
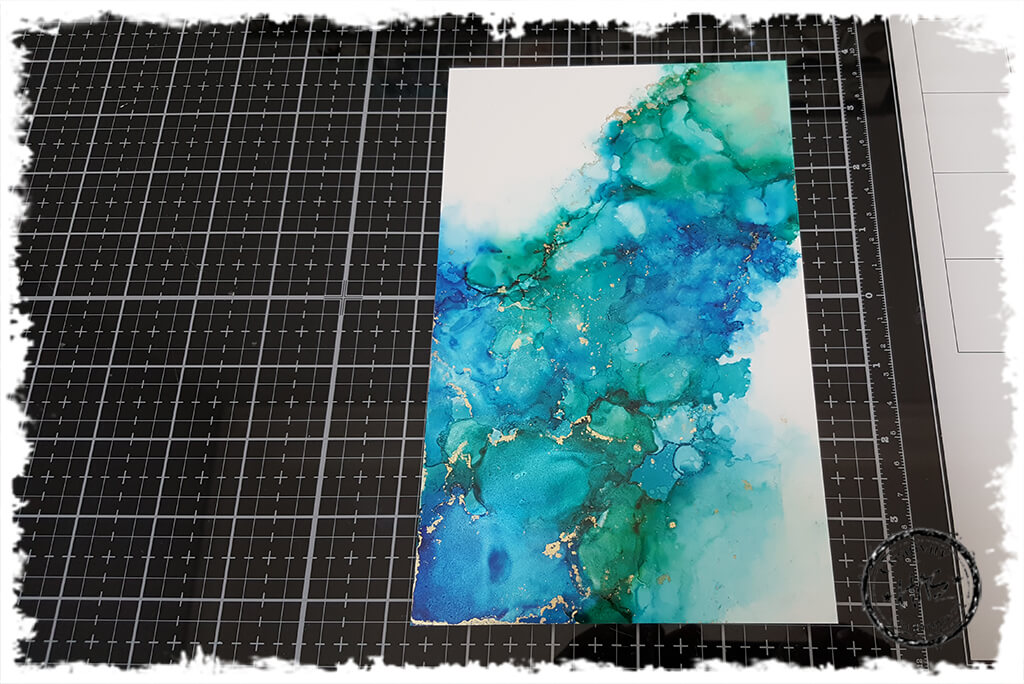
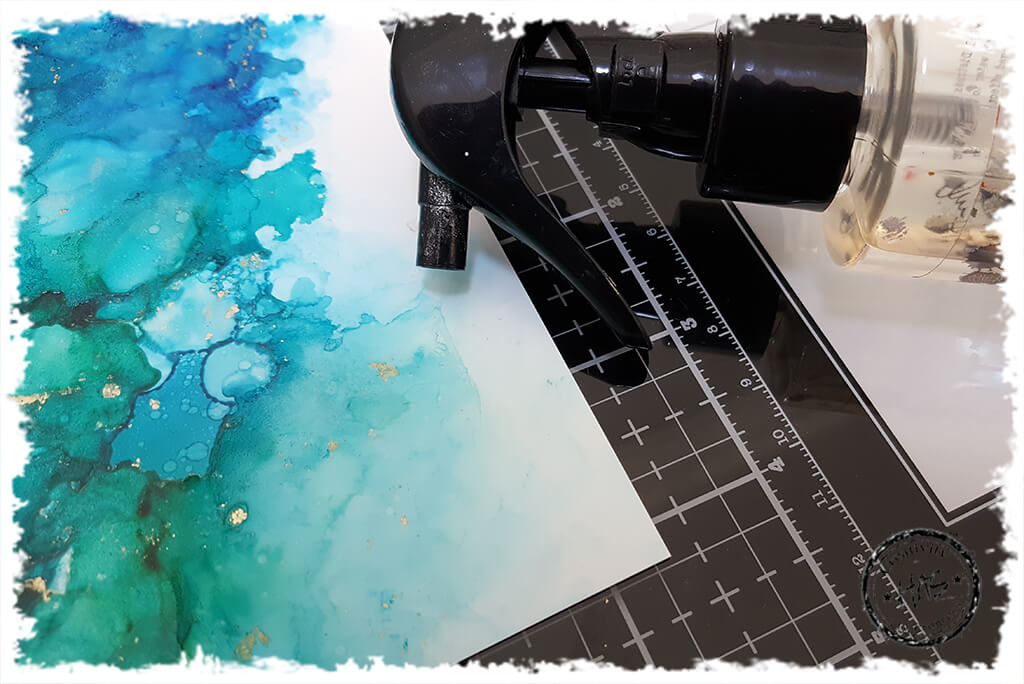
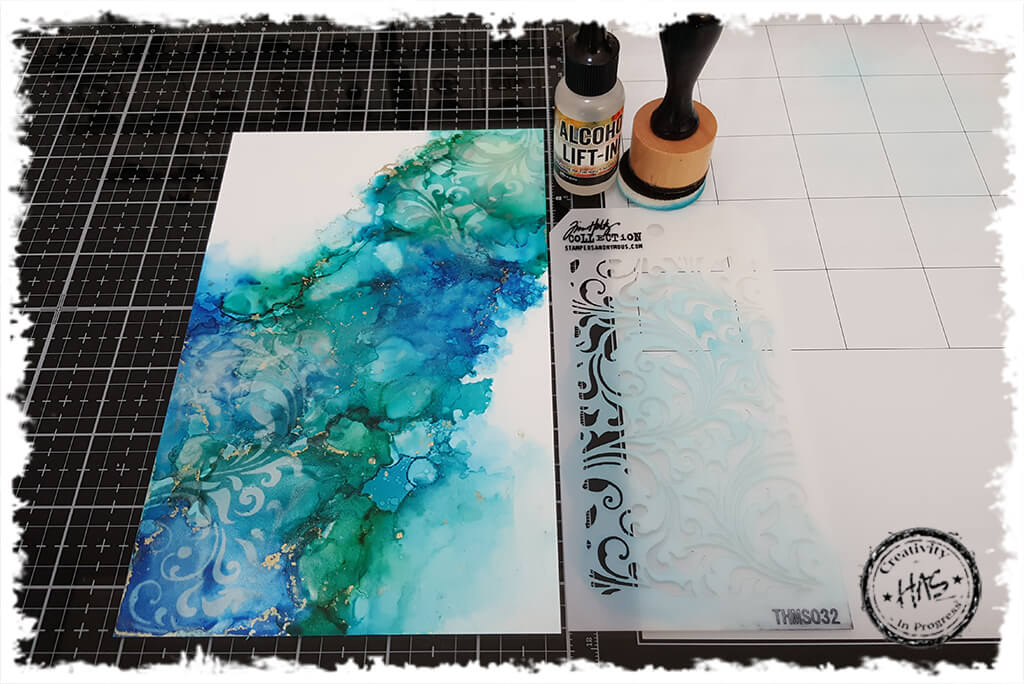
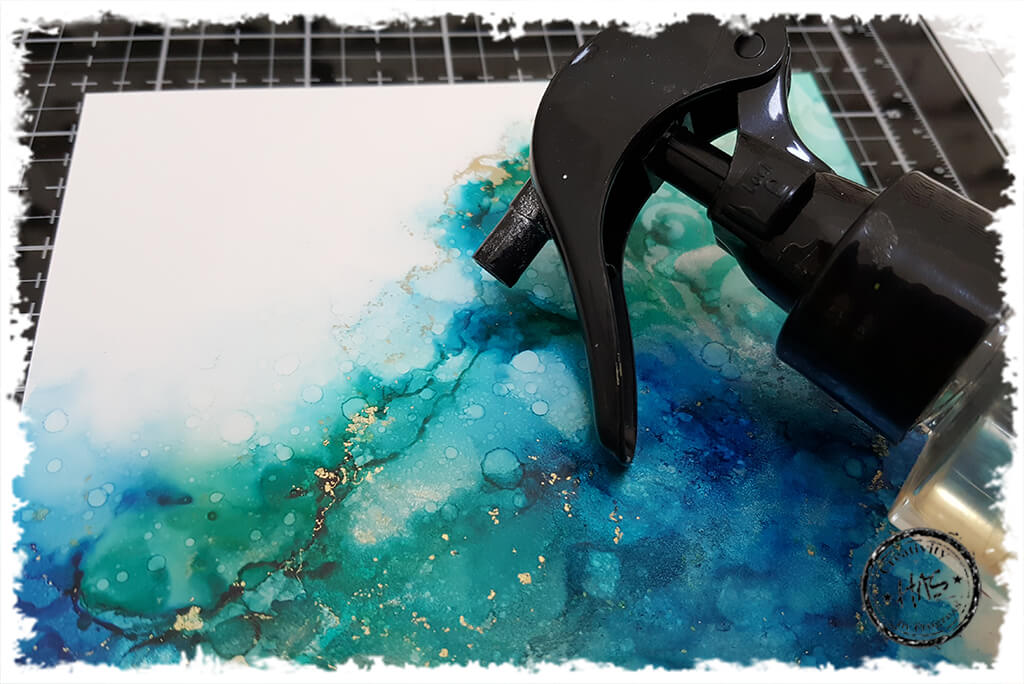
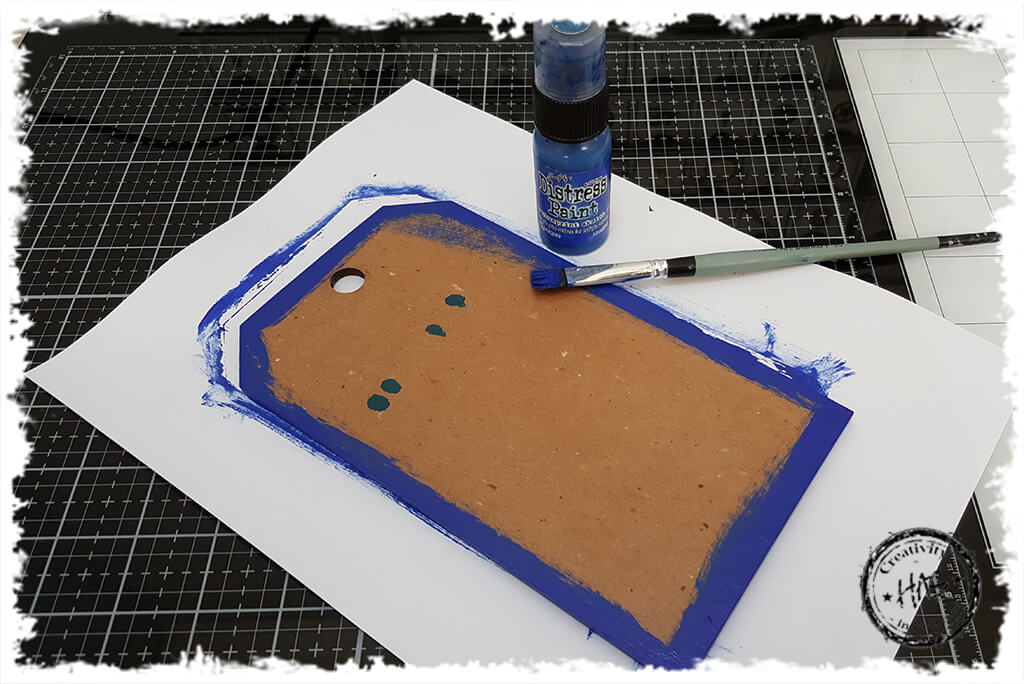
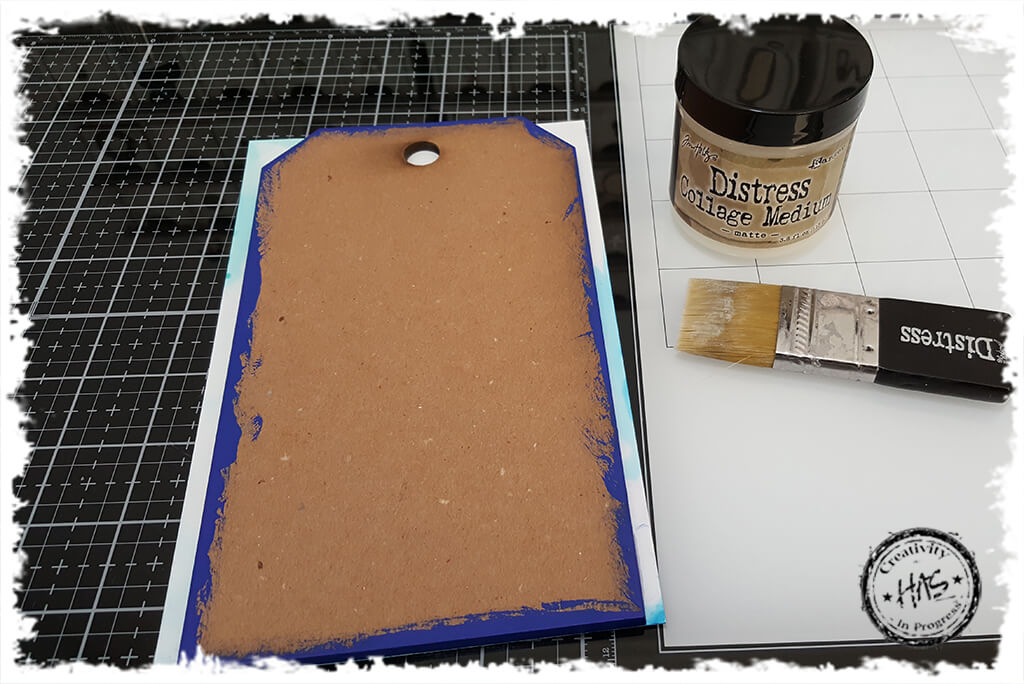
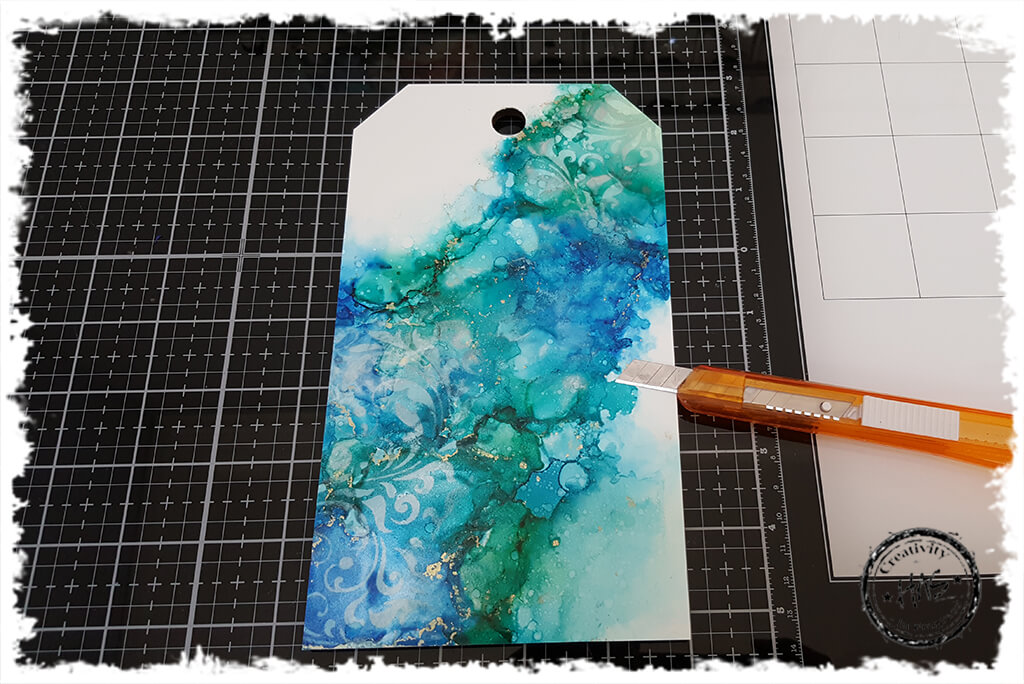
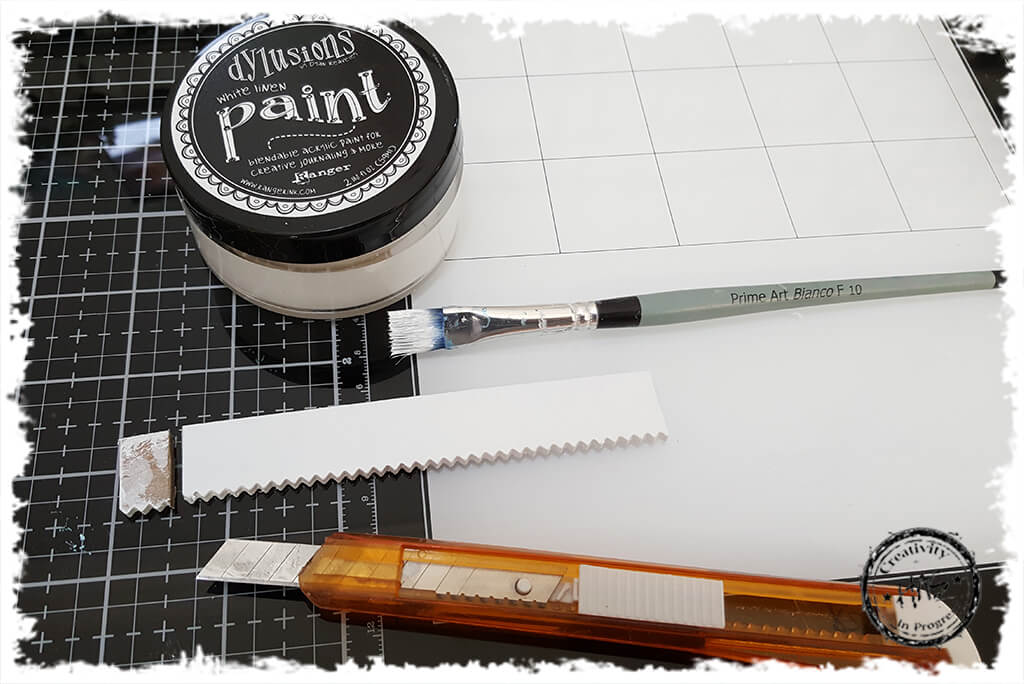
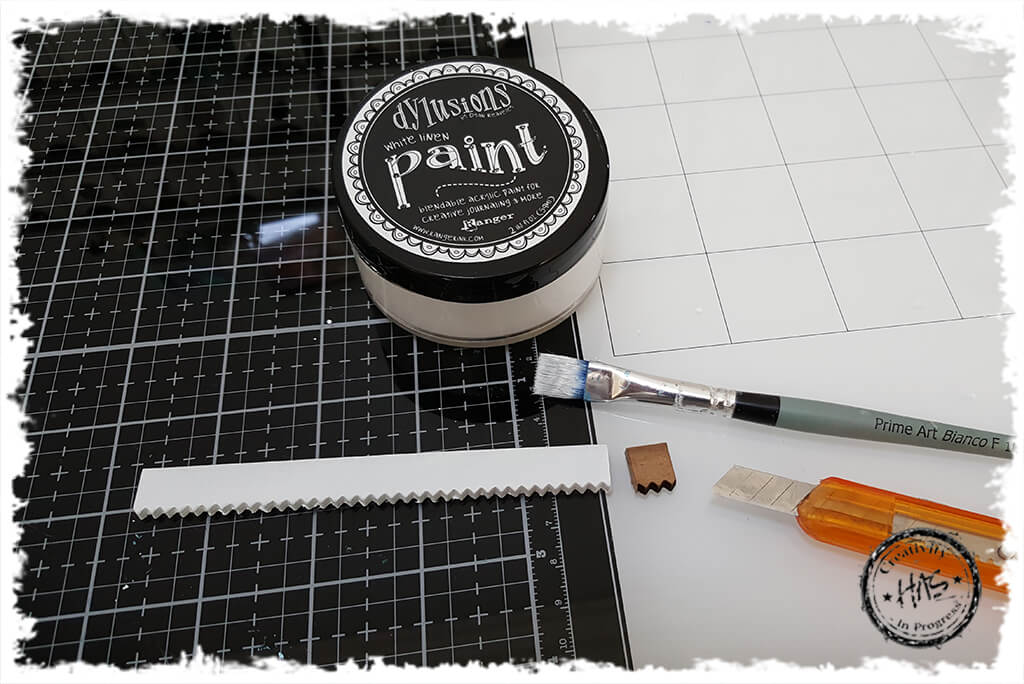
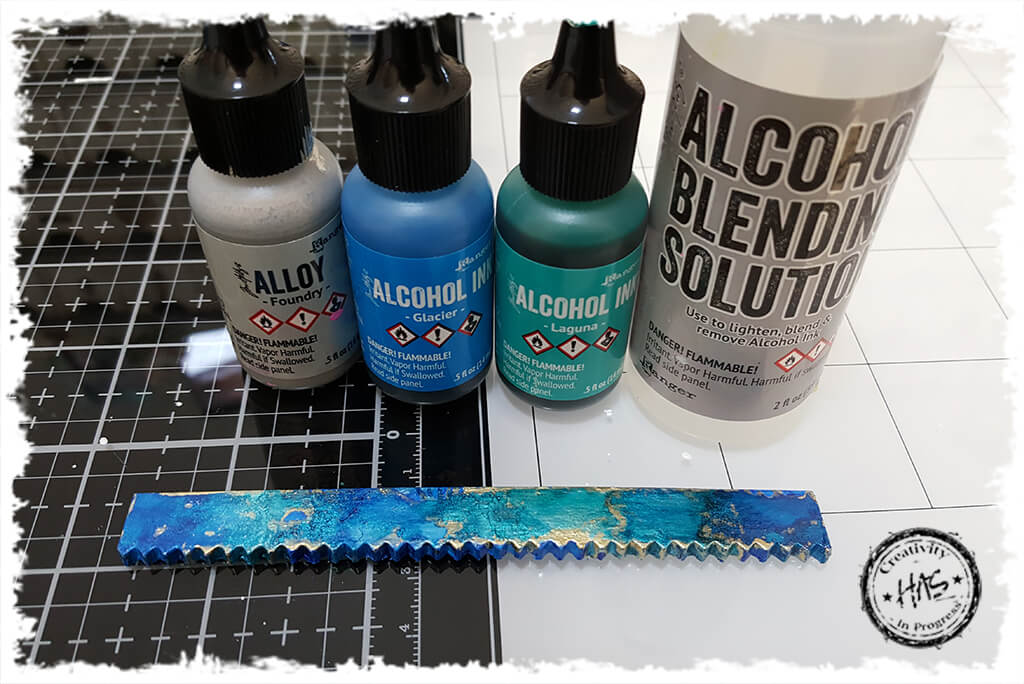
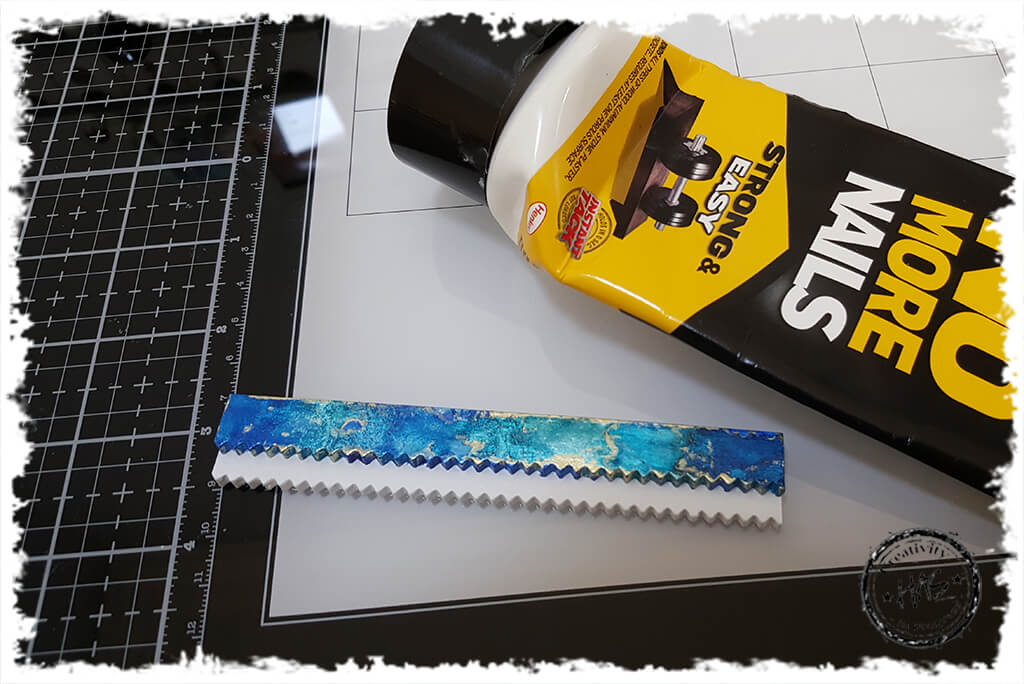
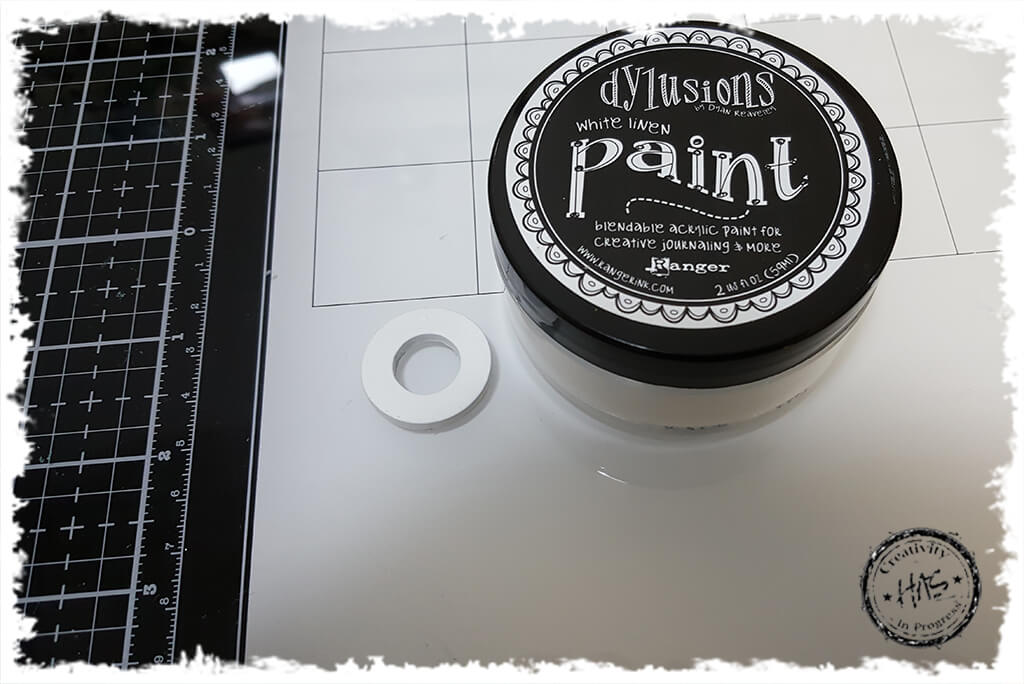
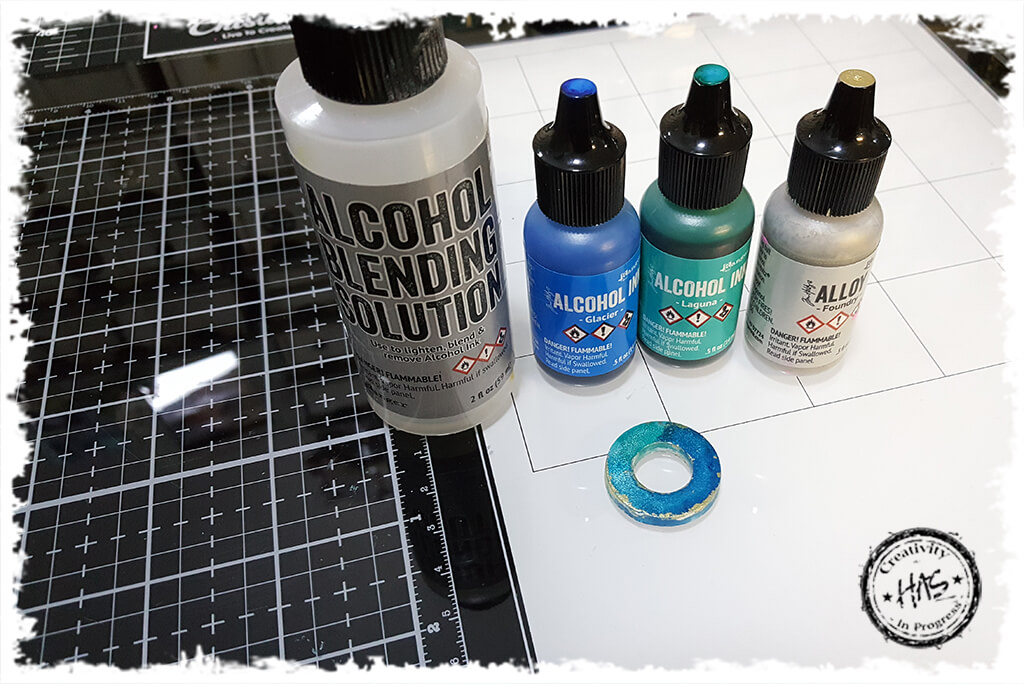
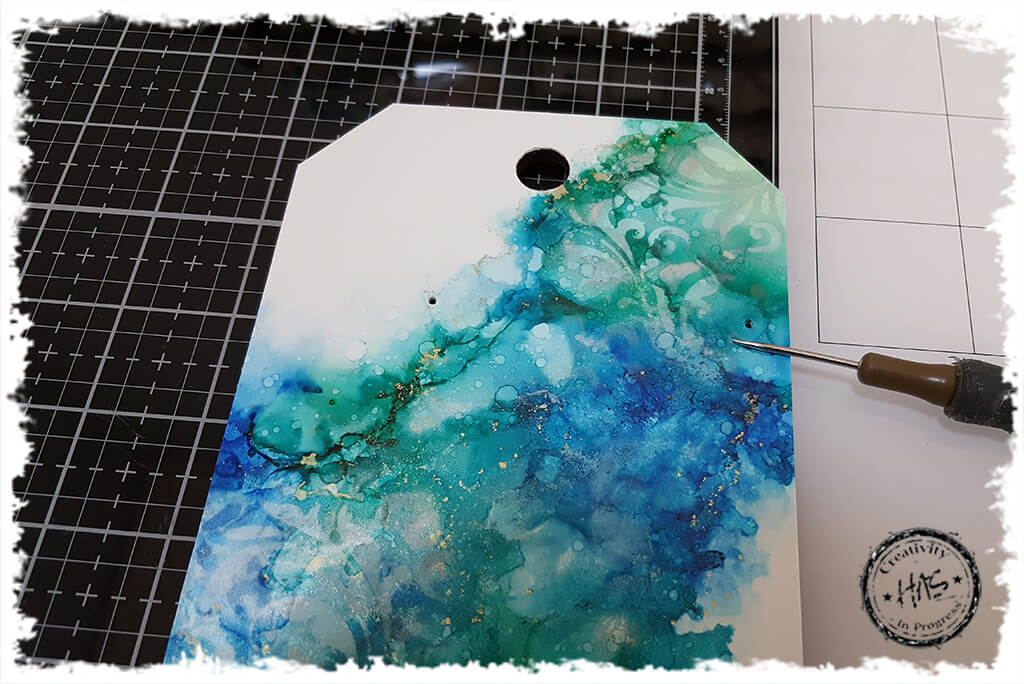
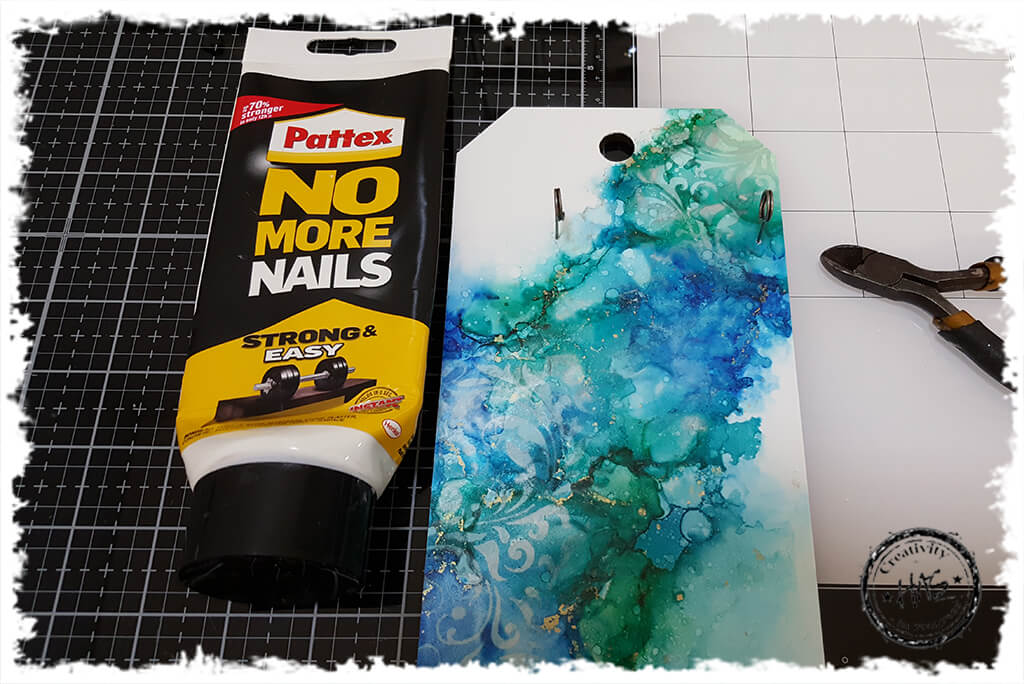
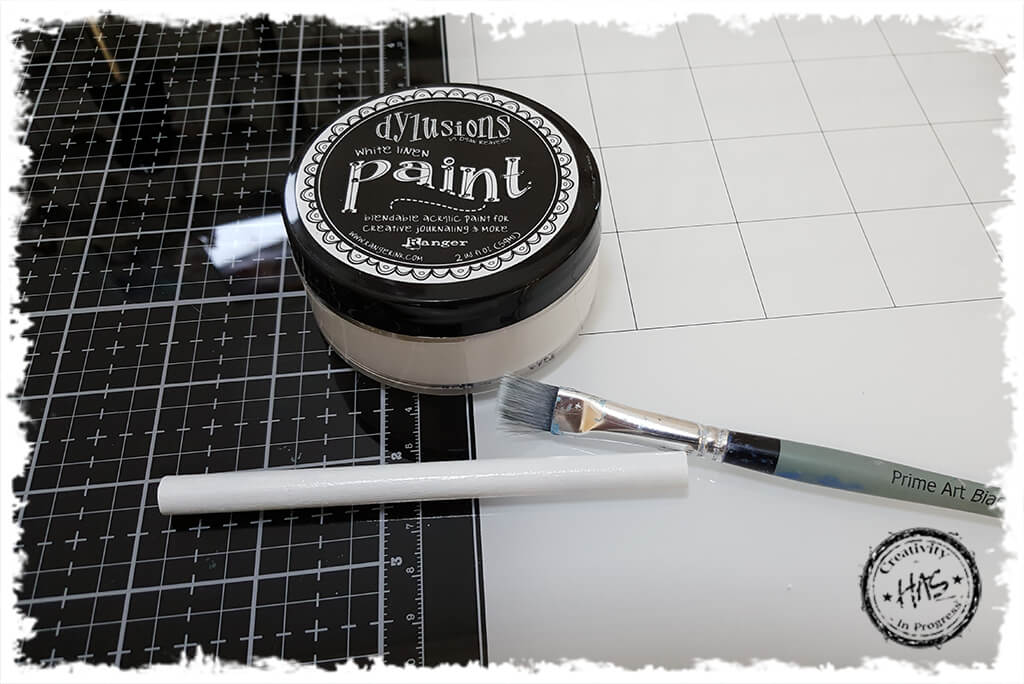
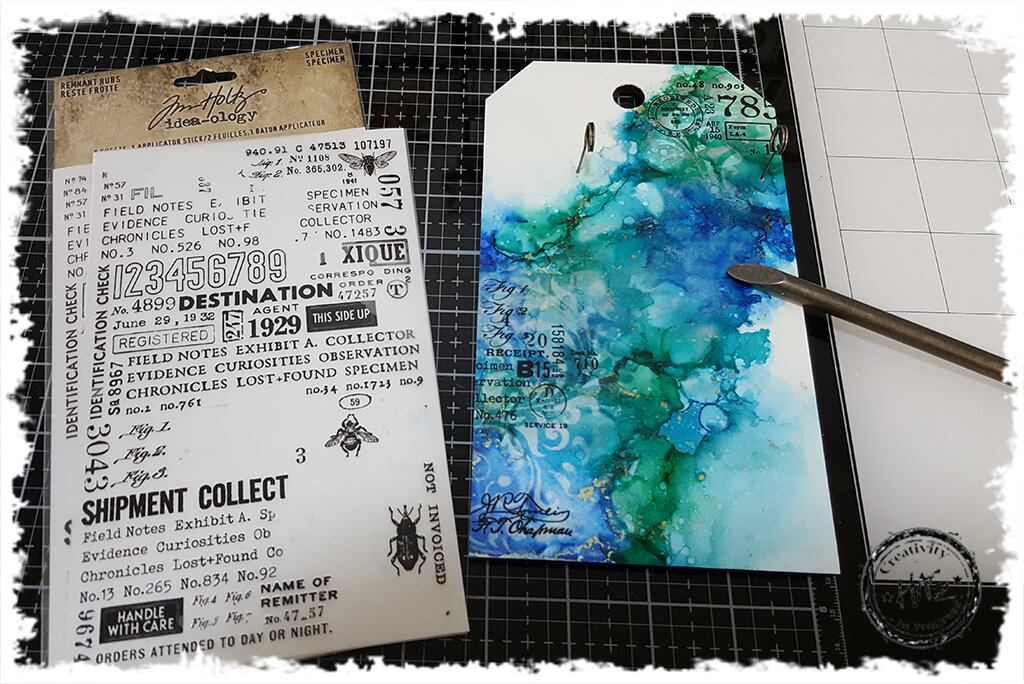
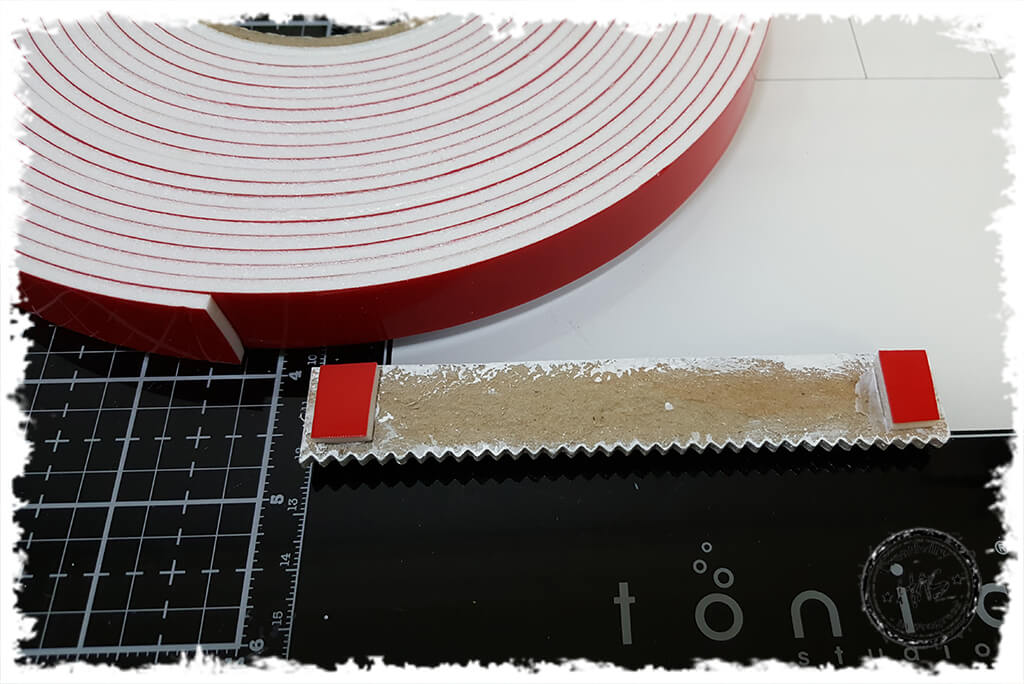
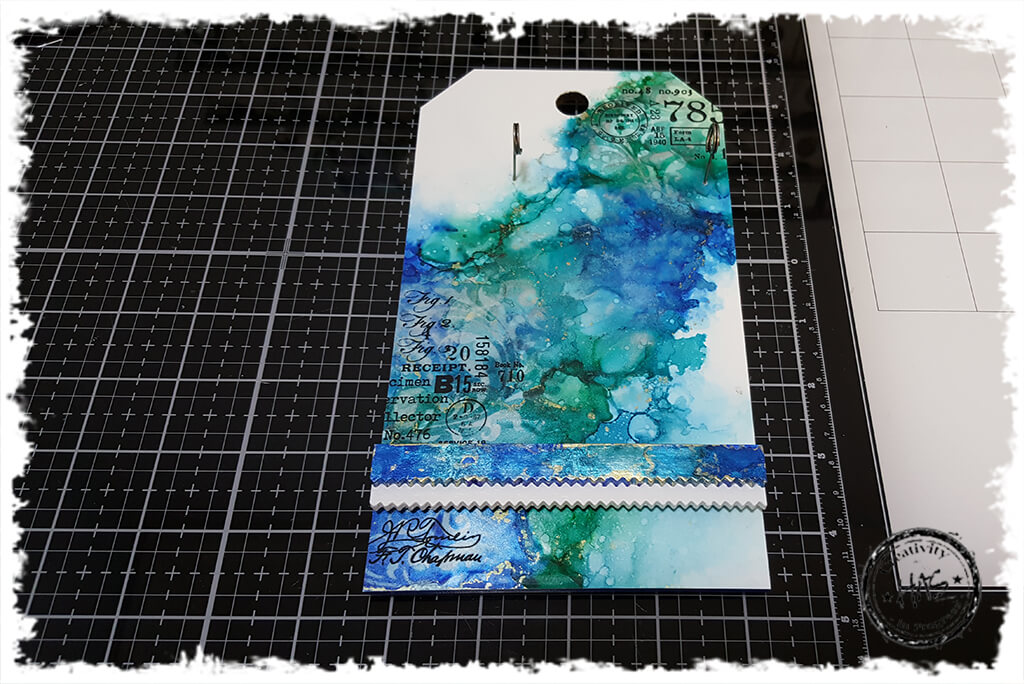
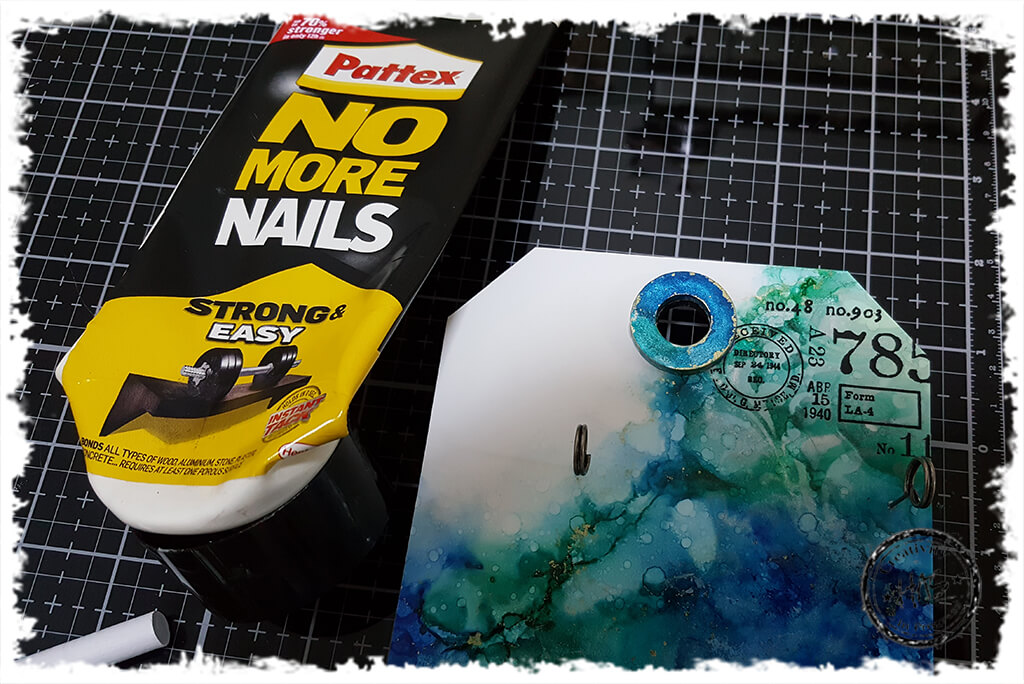
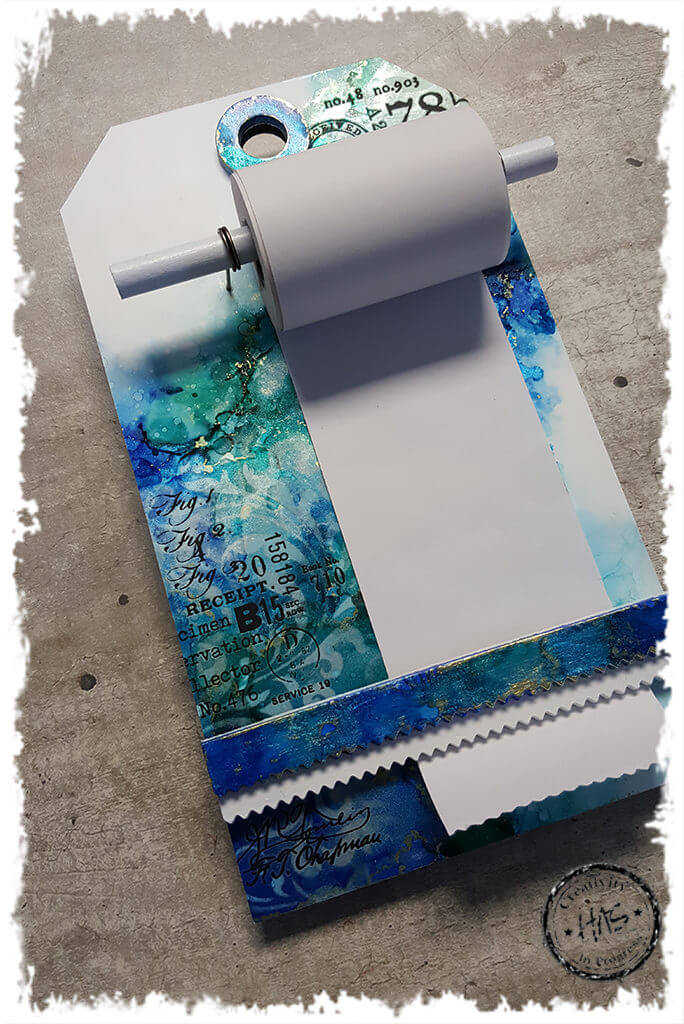
You will need an Etcetera Hardboard Tag and some Heavystock Yupo for this projectRemember that you must use some Blending Solution when adding Alloys, as the blending solution bonds the alloy to the substrate. If you do not add blending solution, your alloy could ‘flume’ (rub off once dry)Use your Air Blower to move the ink across the heavystock yupo and to break apart your Alloy (which always tries to regroup), until you have the desired effect. Alcohol inks are very forgiving, so keep going even if you aren’t immediately happy with the result. Add more colour, or blending solution, or isopropyl or alloy along the way until you get the effect you are happy withI like to use Isopropyl alcohol along the edges to draw out the colour and create a softer, lighter ‘shadow’ of colour around the deeper, darker centre. The Isopropyl really dilutes the colour nicely to get this effect. Use you air blower to move the colour outwards and lighten it with the isopropylI love the link ink technique! Apply some Lift Ink Re-Inker to your media mat and pick up using a blending tool with foam. Work the ink into the foam on your media mat. Place your stencil down and be sure not to shift your stencil or you will get a blurred effect. Pounce / Dab over the stencil using your blending tool. Keep gently pouncing / dabbing until you start to see some colour lighten. Remove your stencil and lightly and gently dab the lift ink area using a clean paper towel. Be sure to keep using a clean piece of paper towel as you lift the colour away from the surface. Once your paper towel comes up clean, then carefully and lightly buff the surface using a clean paper towel or soft cloth. The image really just appears from the background!I keep a separate Tim Holtz Sprayer just for my Isopropyl Alcohol. I love the effect when you spray the isopropyl over your alcohol ink and get little droplets of lighter colour appearing. You can create smaller, fine droplets by using the sprayer as a mist and larger, broader droplets by squeezing the sprayer in a more ‘pump like’ actionI painted the edges and back of my Etcetera Tag using a paint brush and Blueprint Sketch Distress PaintTo adhere the heavystock yupo to the etcetera board, apply a coat of Distress Collage Medium using a collage brush. Place the yupo onto the tag and brayer down to ensure you have no bubblesCut off any excess using a sharp craft knifeI cut a thick Etcetera Pinked Trim to size and painted it white using Dylusions White Linen PaintI also cut and painted a smaller Pinked Trim whiteOn the thinner Pinked Trim, I added some alcohol ink and Foundry Alloy to mimic the effect of the backgroundThen I adhere the 2 trims together using a strong adhesiveI also painted the ring reinforcer whiteAnd coloured that with alcohol inks tooThen I poked some holes into the Etcetera Tag using my die pickI trimmed 2 Memo Pins down a little and pushed them into the holes with a little adhesive to ensure they were stuck properlyYou can use a piece of dowling or metal rod for this. I didn’t have either, so cut and painted an old pencil whiteUse your stash! I added some Remnant Rubs to the surface very randomly for some additional interestI adhered the Etcetera Pinked Trims to the tage using some double sided tape on either end – you want the paper roll to go behind the pinked trims, so it needs to be slightly raised off the base tagI placed it about 4cm from the bottom of the tagGlue the ring reinforcer onto the tag using a strong adhesiveAdd your paper roll and that’s it! Time to go shopping. A functional piece of pretty! What’s not to love?!I hope you get your alcohol inks out and start playing!