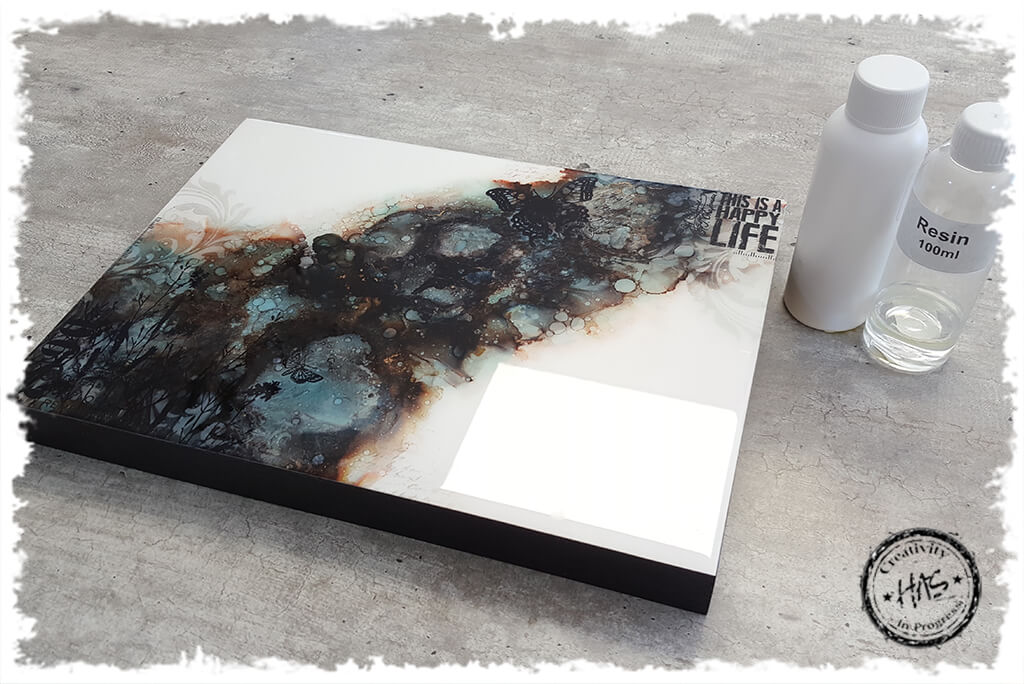
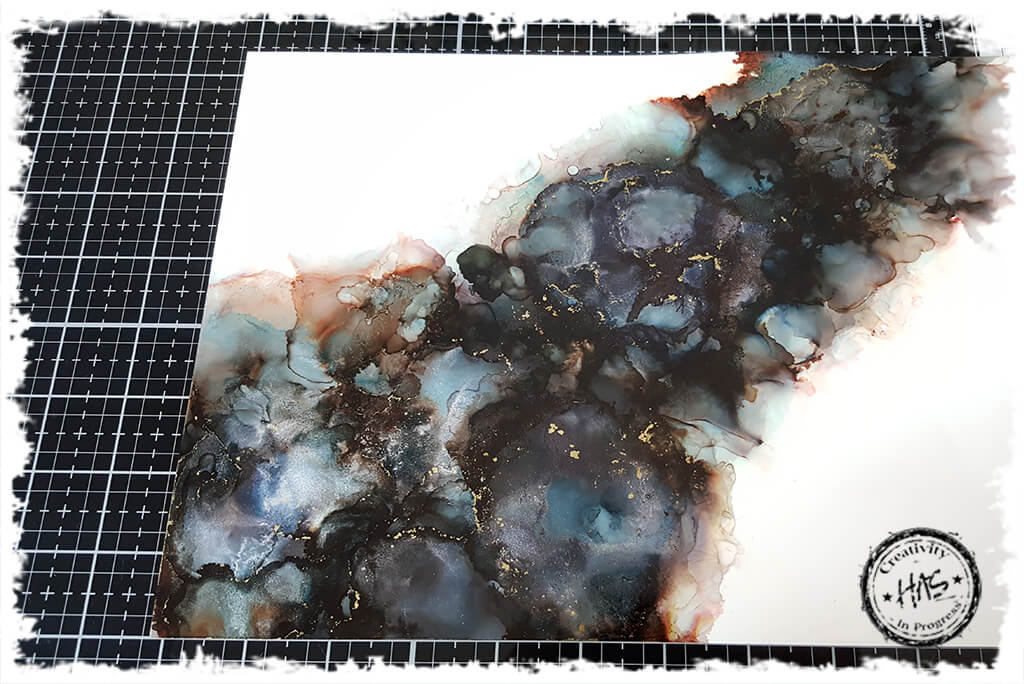
This alcohol ink art panel has it all…
Alcohol Inks, Alloys, Lift Ink through a stencil, Lift Ink on a stamp, Archival Ink Stamped image and even some Remnant Rubs.
Such fun! I hope you give it a try
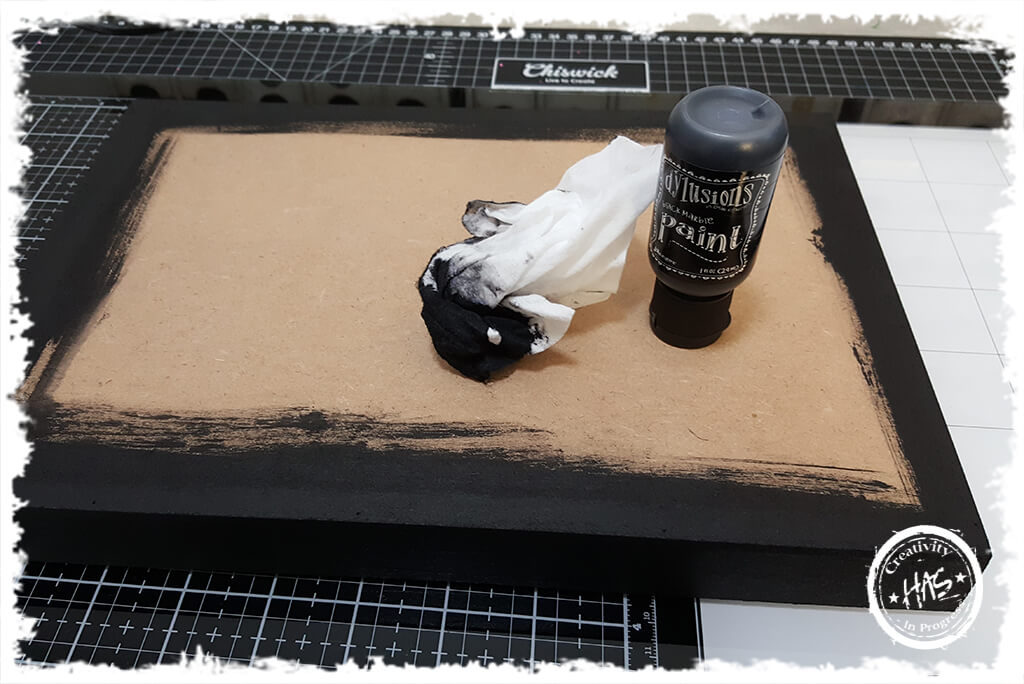
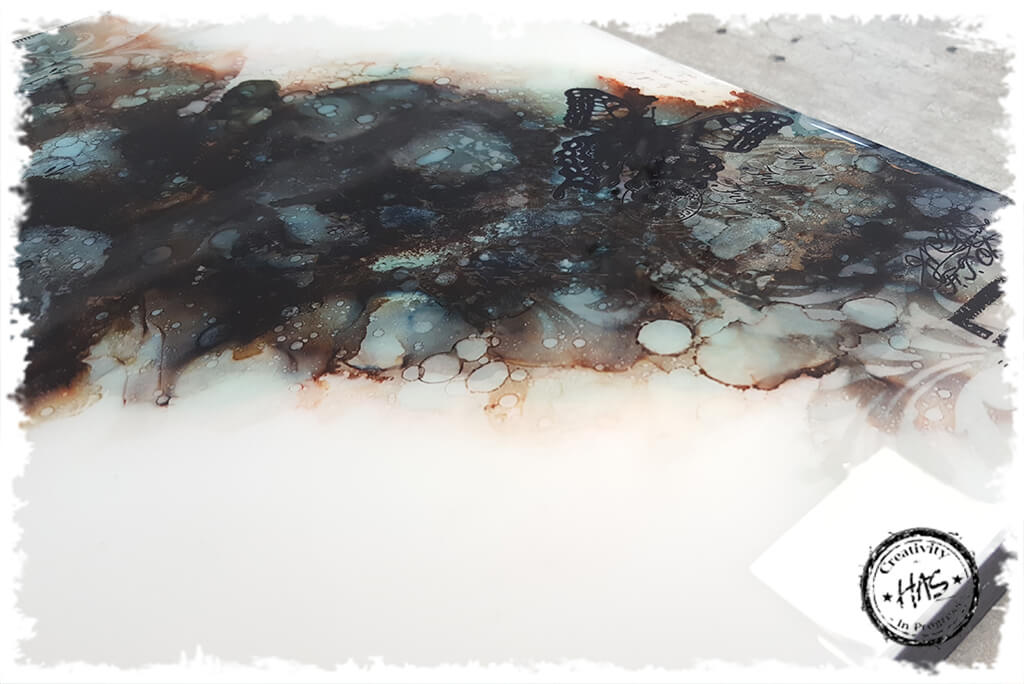
This paint dries super quickly with a satin sheen and can be applied easily with a wet wipe.
I like that this allows the colours to float across the surface easily as soon as they hit the substrate
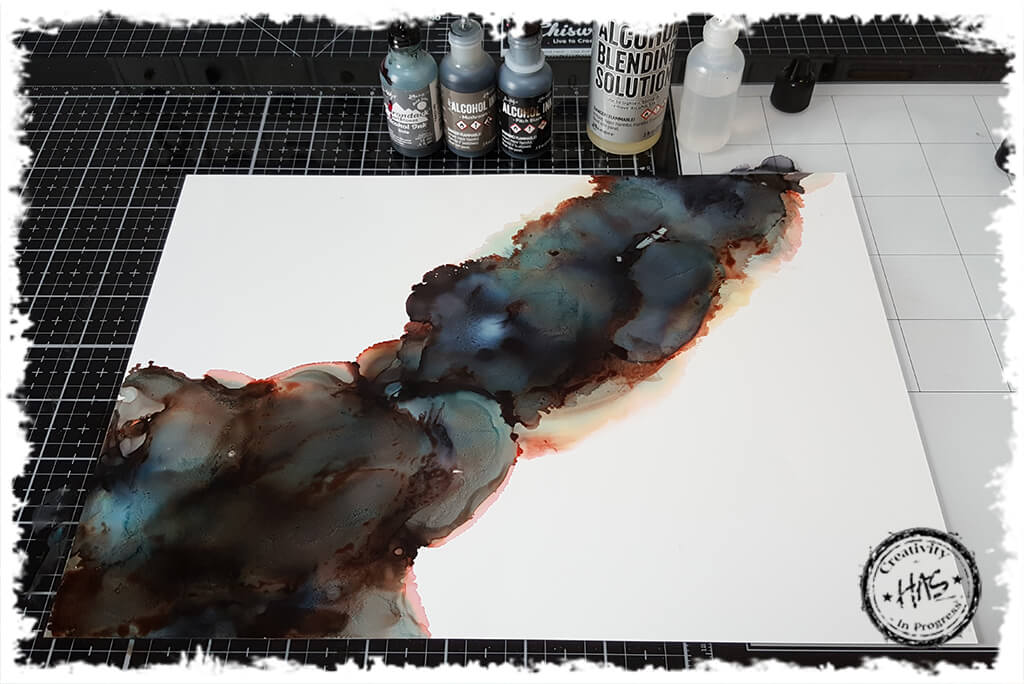
I prefer to use my Alcohol Ink Air Blower to move the inks across the surface as it really allows me to control and direct the flow
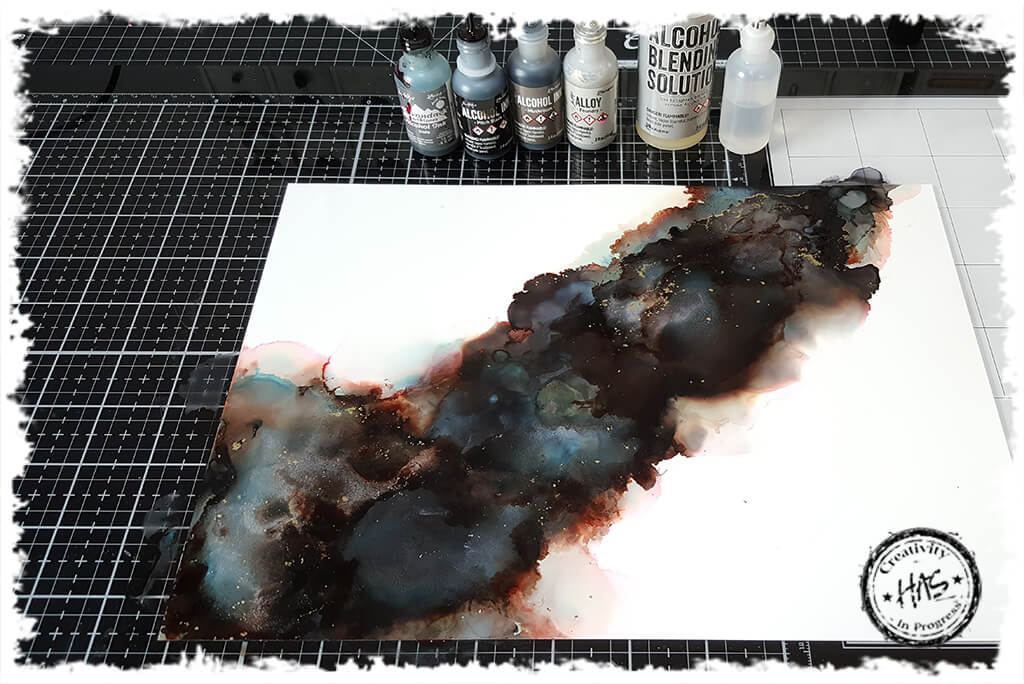
Remember that when using Alloys, you do need to use Blending Solution as the resin in the blending solution allows the alloys to adhere to the substrate. If you do not add blending solution your alloys could ‘flume’ (rub off the surface once dry)
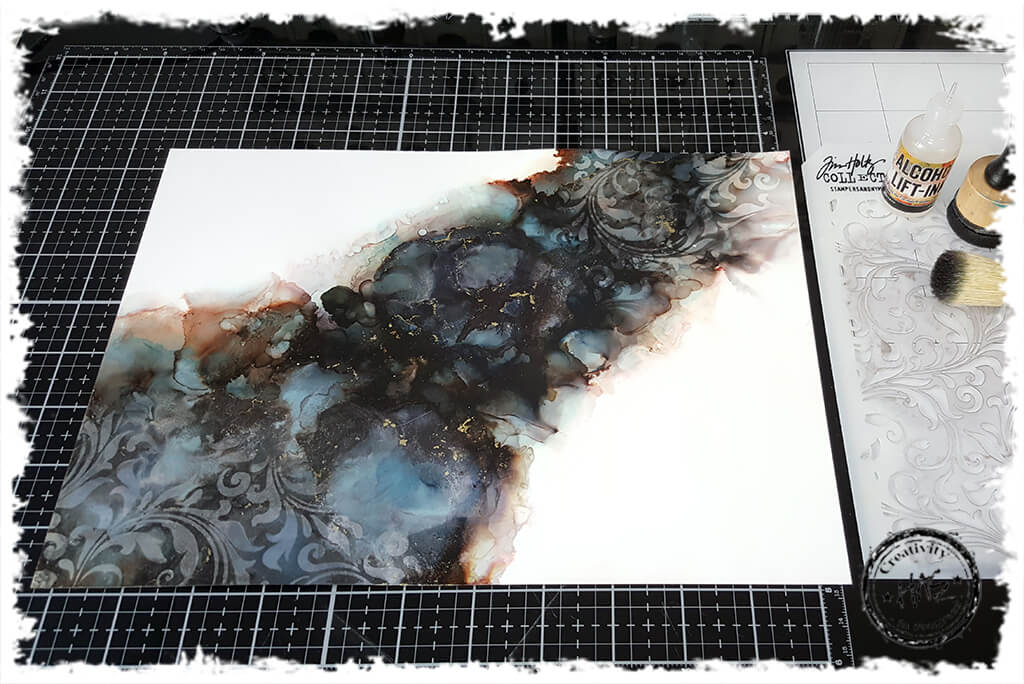
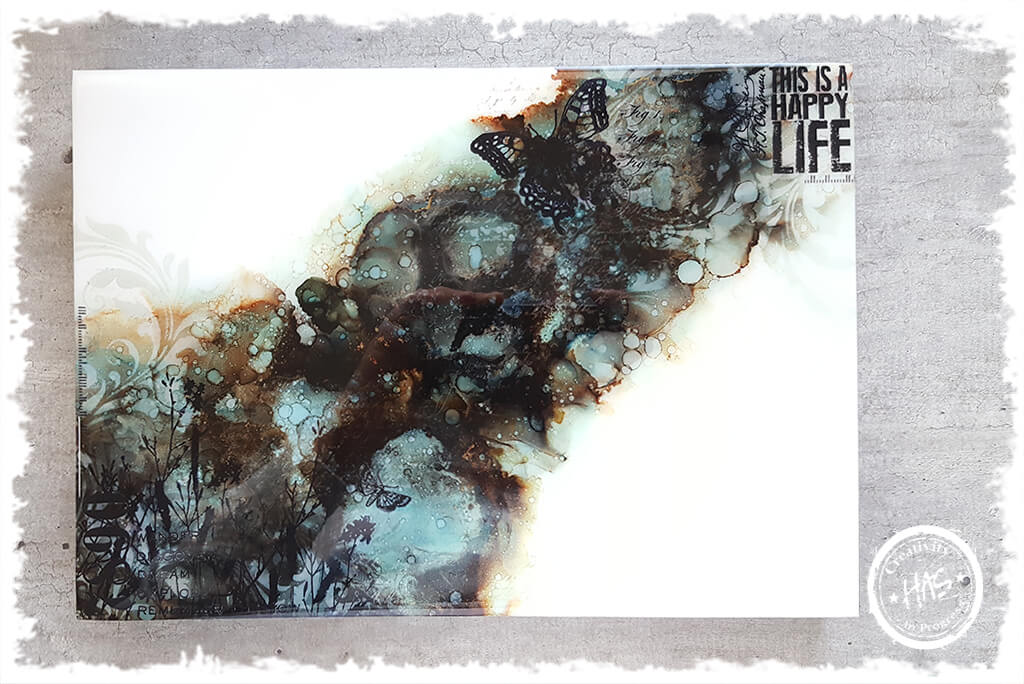
I placed my Flourish stencil onto my alcohol ink background, then applied a little Lift Ink Re-Inker to my media mat and picked that up using a blending brush. I chose a brush on this occasion as I wanted to try and get as much detail from the stencil as possible.
Carefully remove your stencil and dab the area with a clean paper towel. Be sure to keep changing the paper towel for a clean piece. Once no more colour appears on the paper towel, you can lightly buff the image and you will really see it come to life
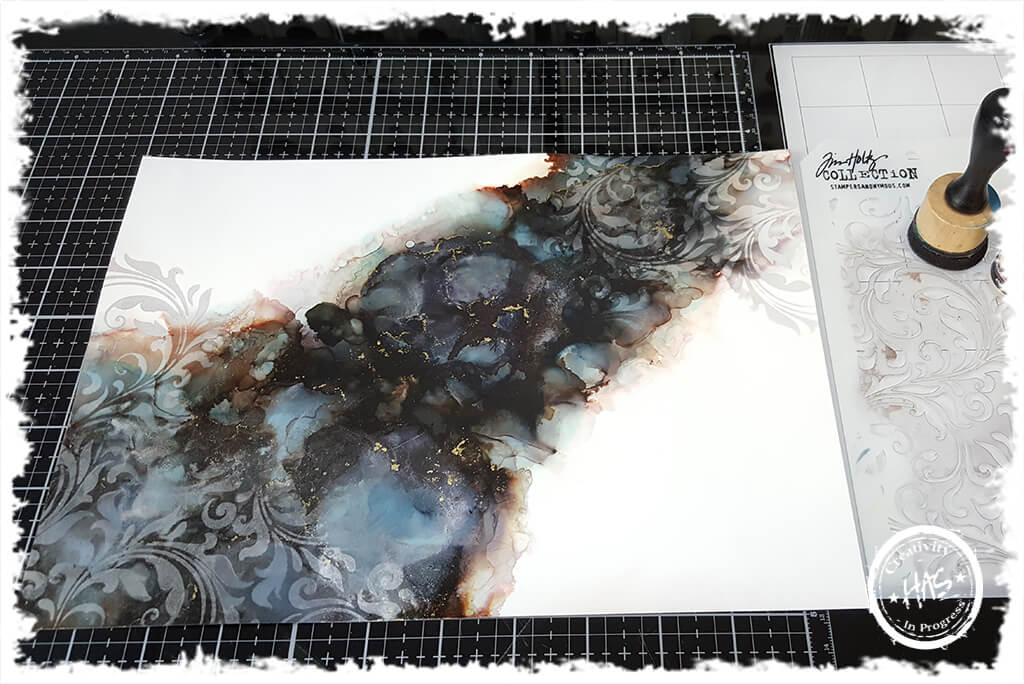
You can see how the flourish appears on the plain white background in this picture
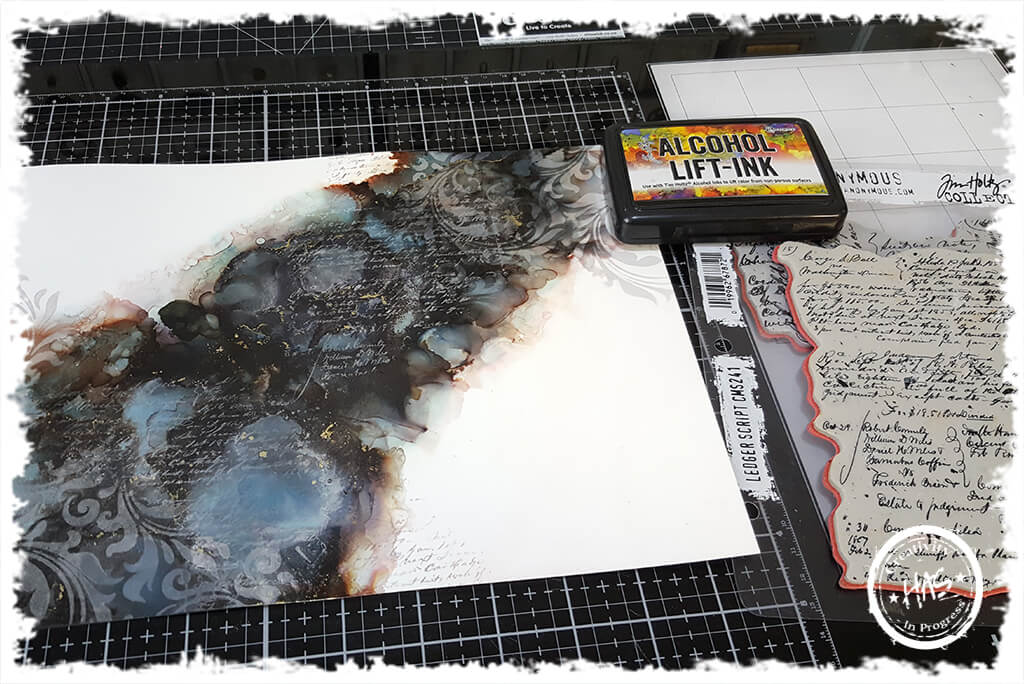
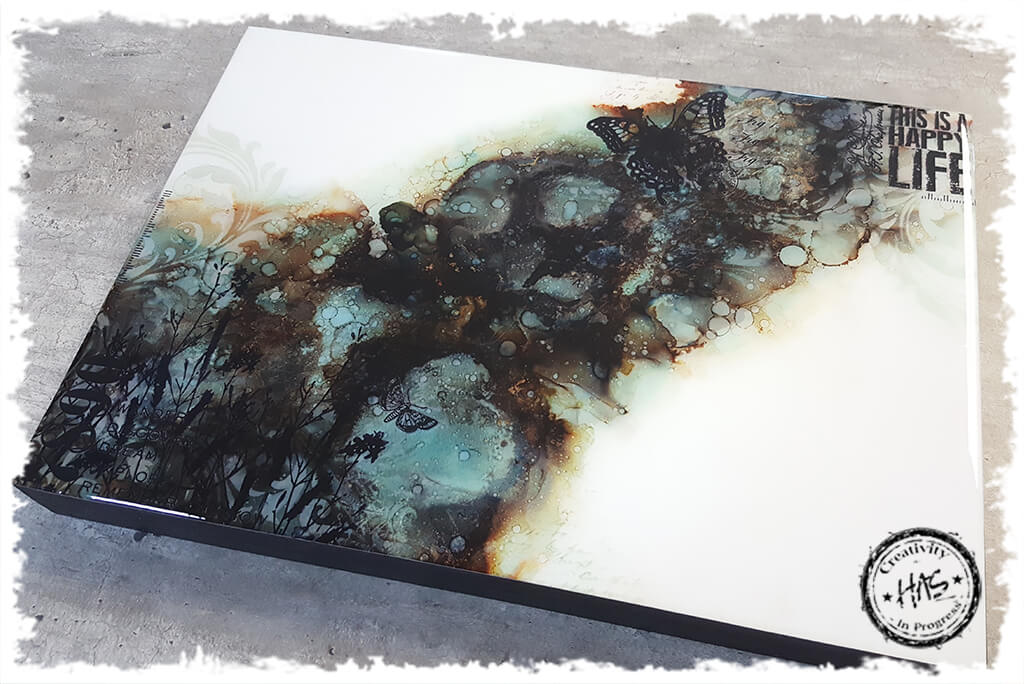
I inked my text stamp with my Lift Ink Pad and then rolled the stamp over the surface of the substrate. I chose not to use an acrylic block here, as I wanted a random effect.
As always with Lift Ink – you dab the surface with a clean paper towel until no more ink appears to be lifting, then lightly buff the area and the image almost appears out of nowhere
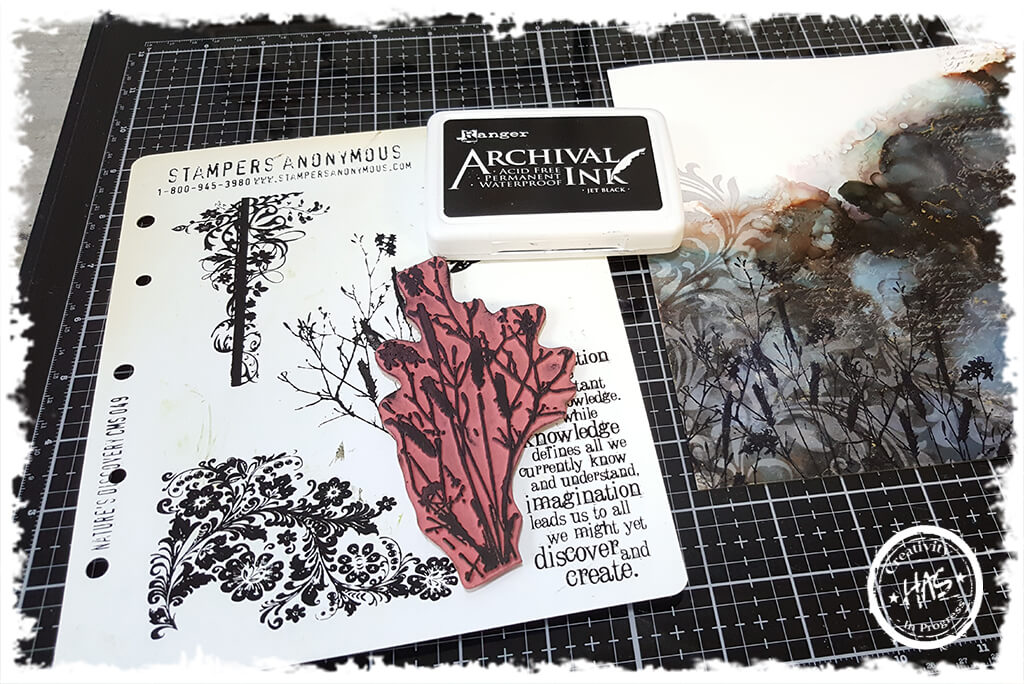
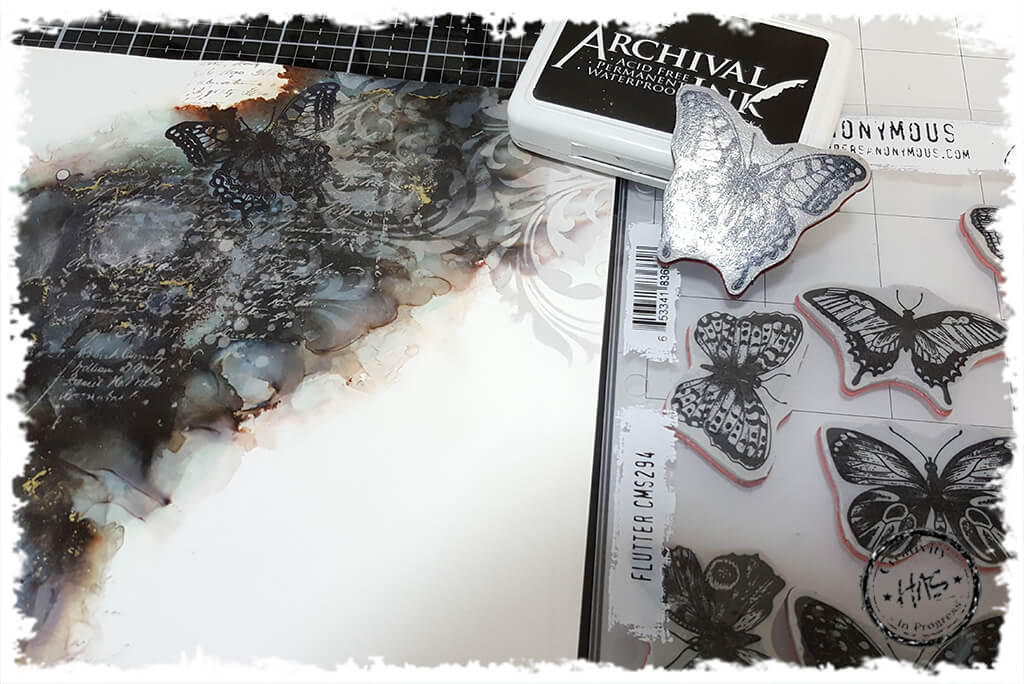
I stamped the image in Archival Jet Black
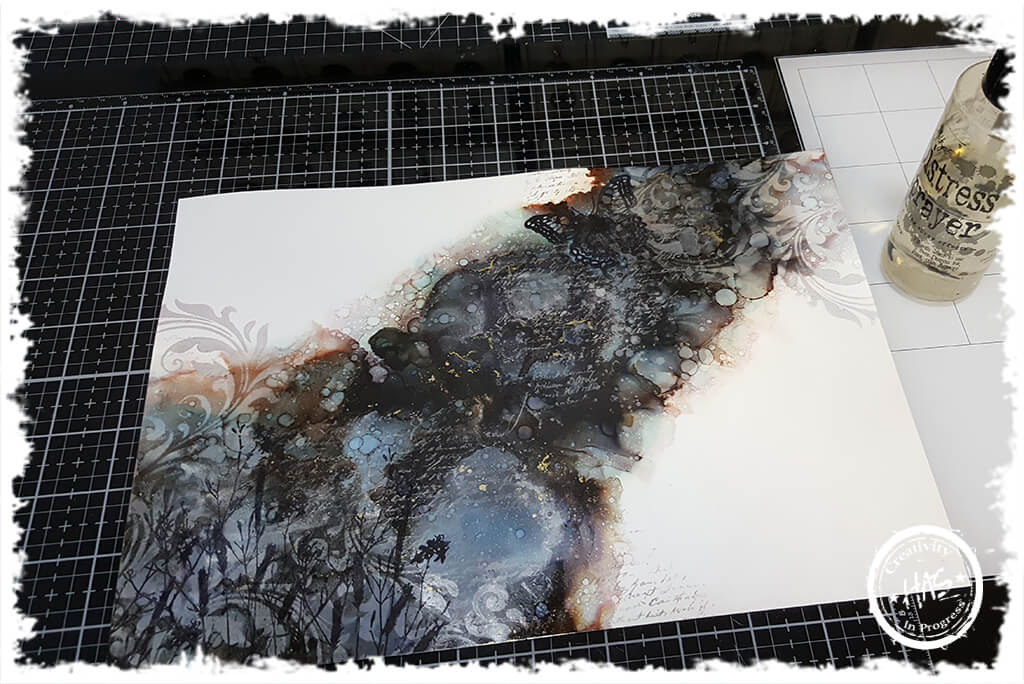
I sprayed the image randomly. A fine mist here and there and some bigger droplets as desired. The alcohol lightens the colour of the alcohol and causes little lighter bubbles which I adore

I applied the collage medium to the wooden box using my collage brush and then used a brayer to ensure there were no bubbles and set aside to dry for about 30 minutes and added some random Remnant Rubs that I had left over in my stash