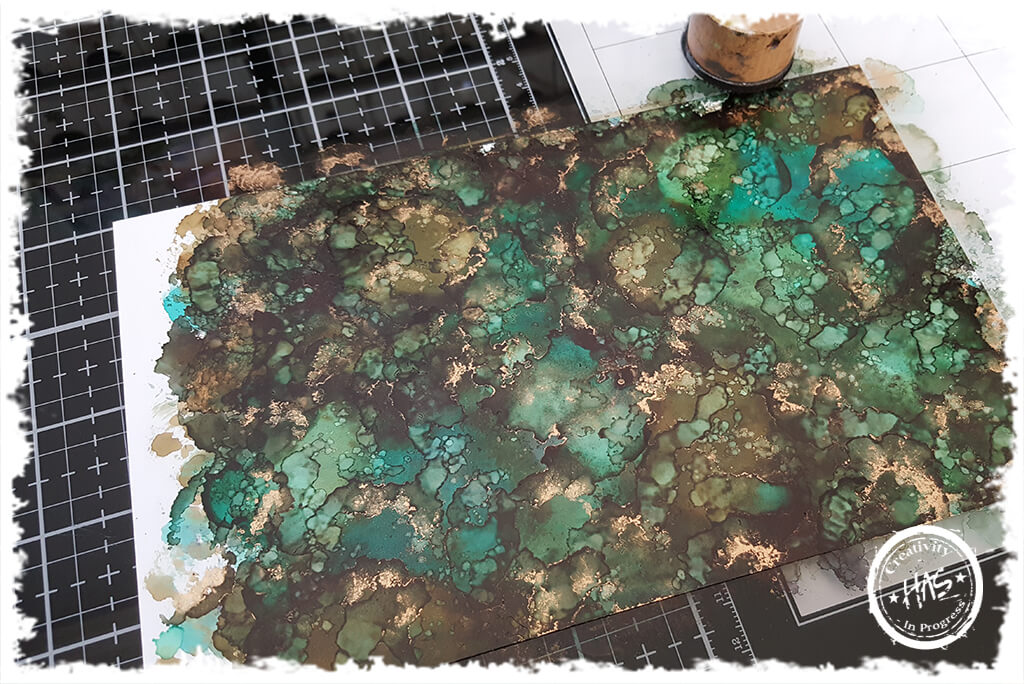
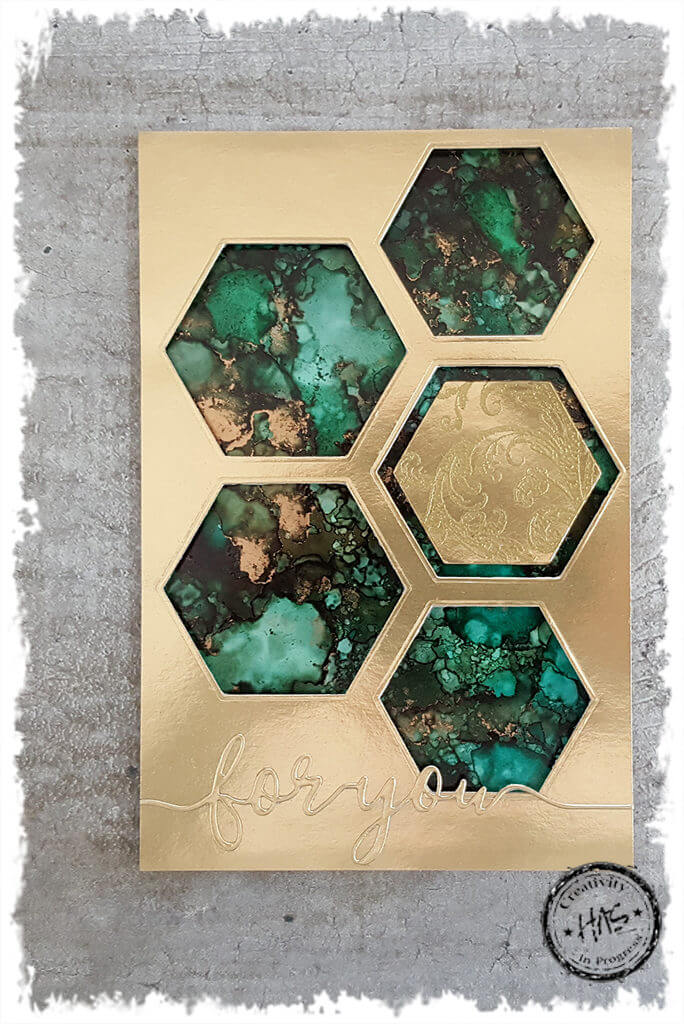
A sophisticated unisex card. This agate background called for something a little more classy. Here’s how I made this elegant topper…
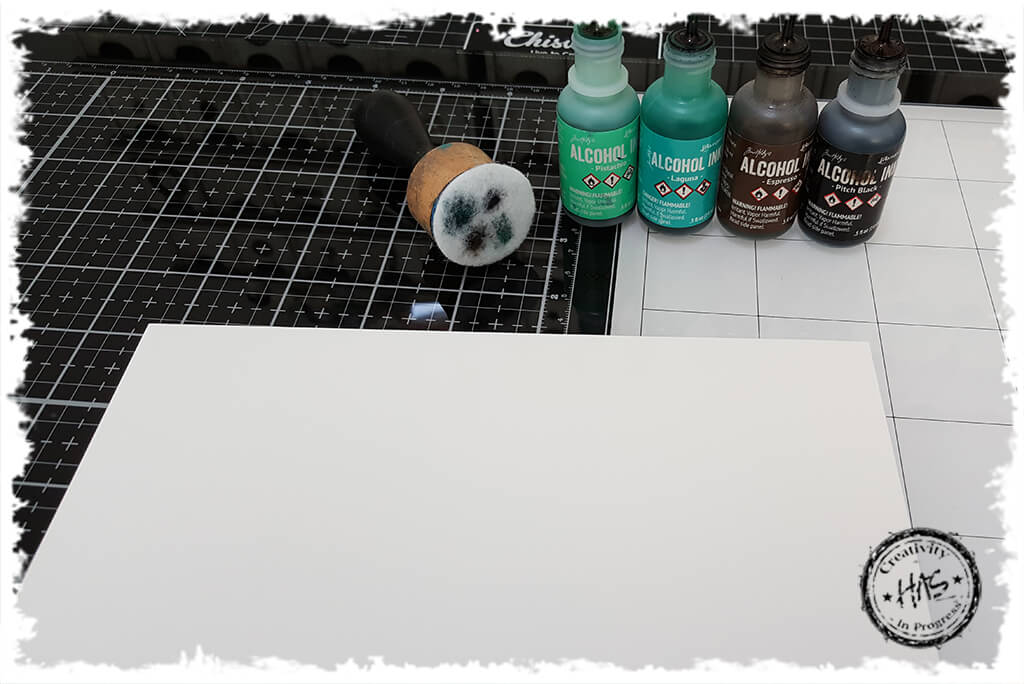
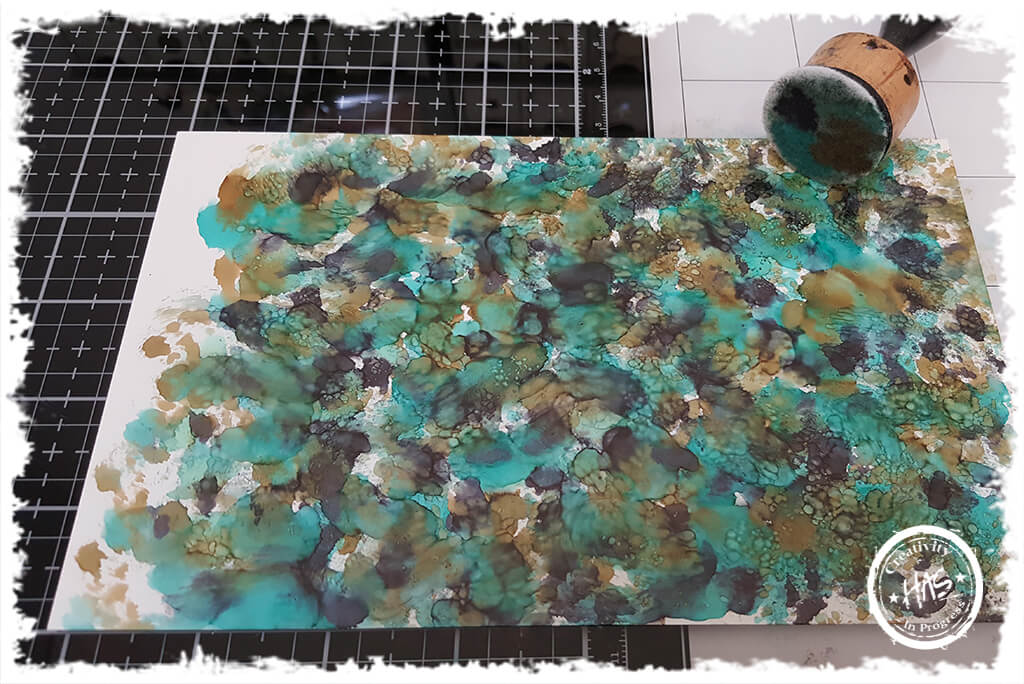
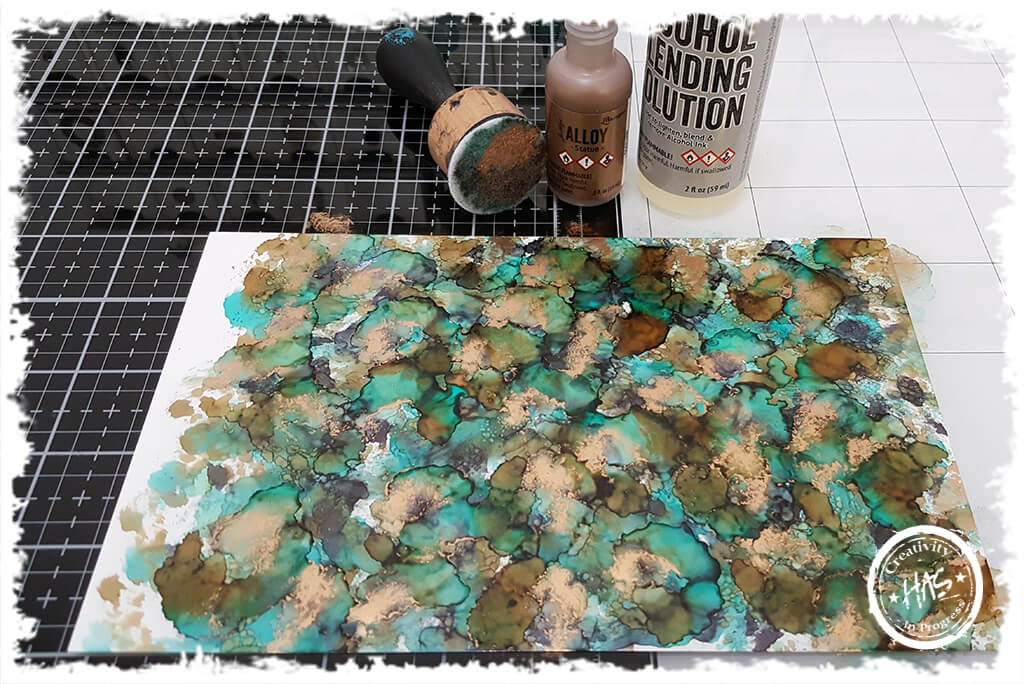
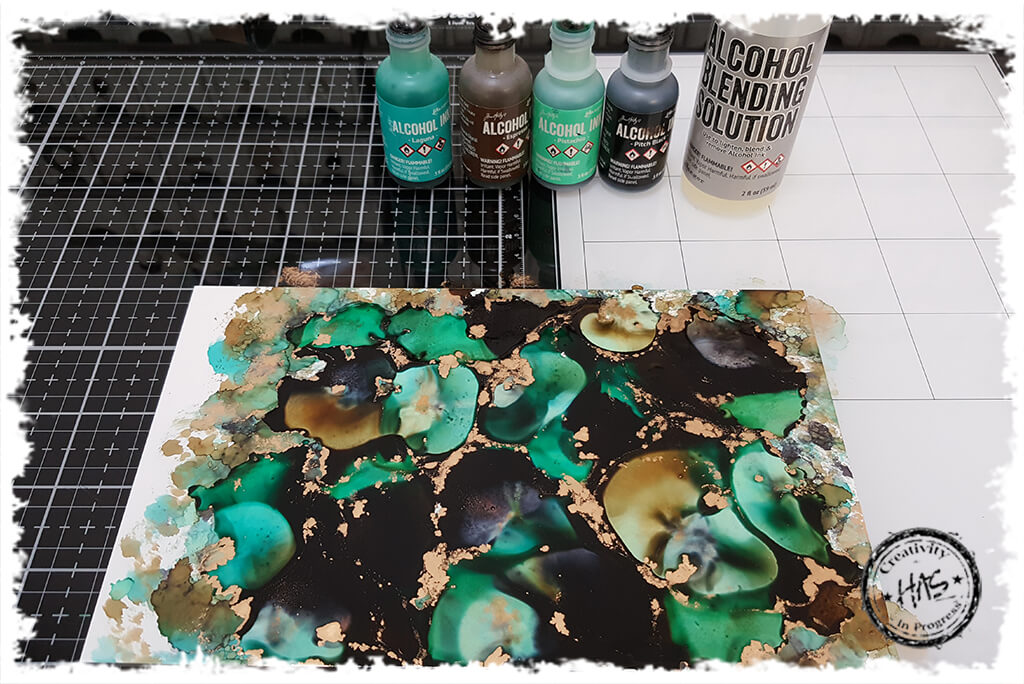
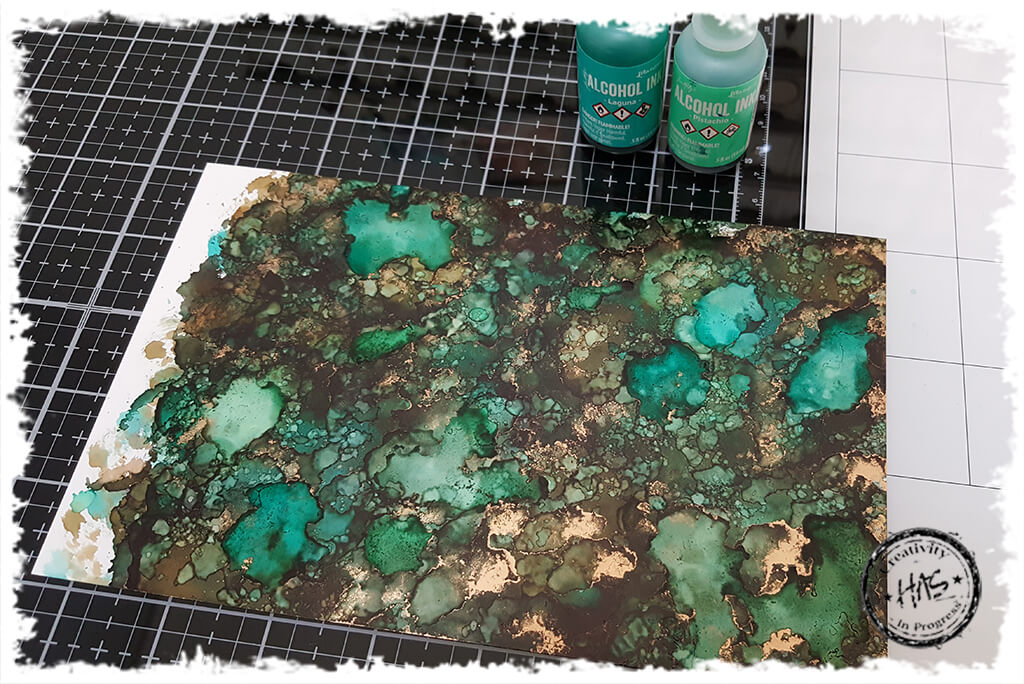
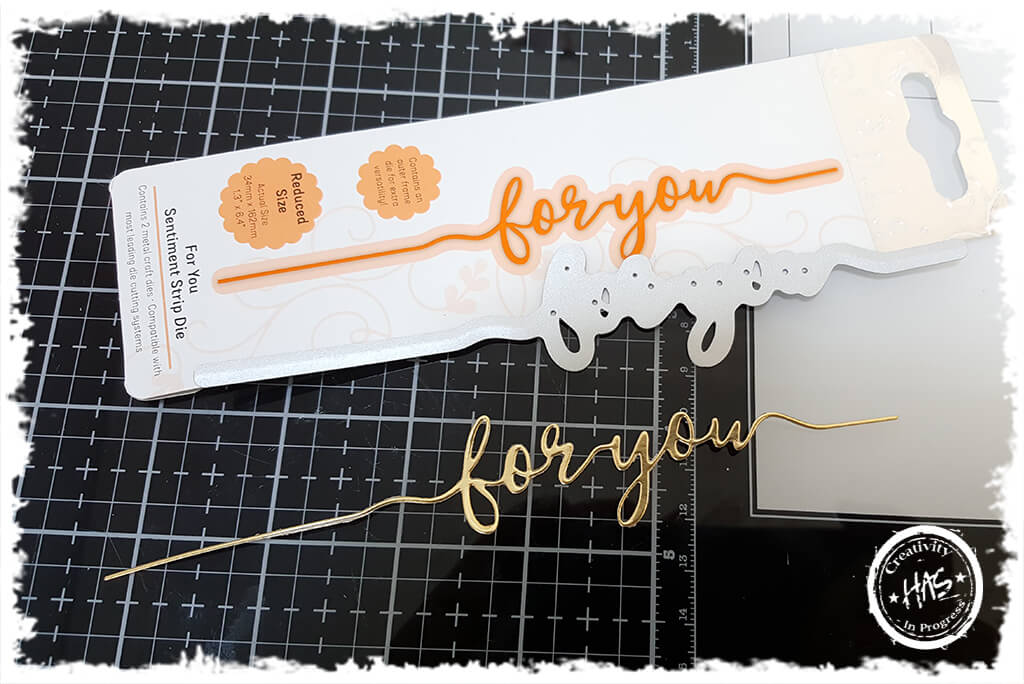
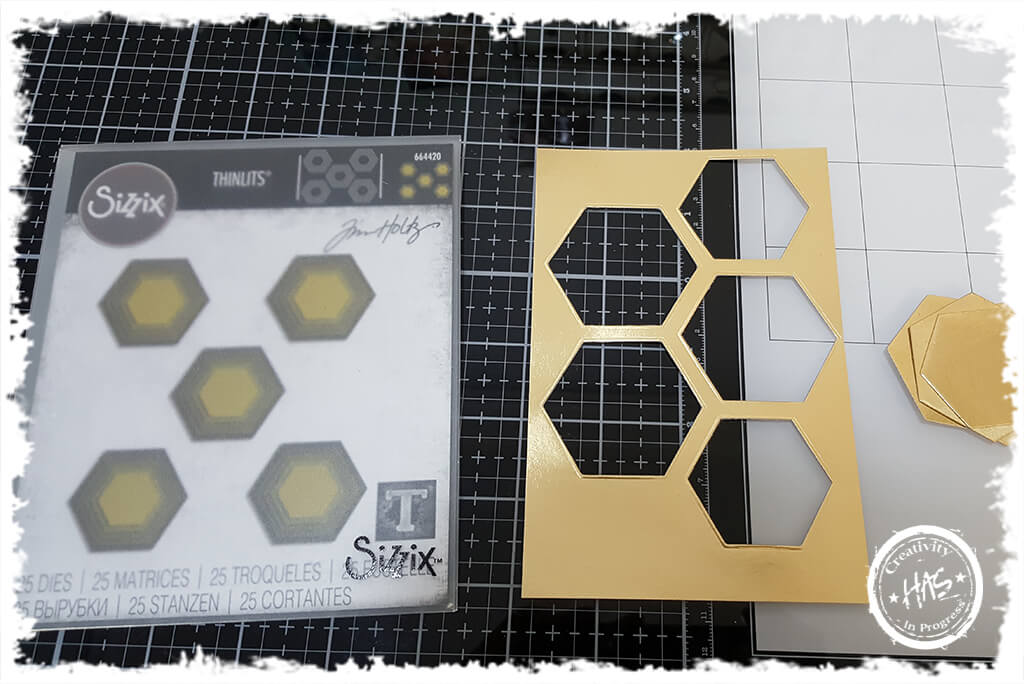
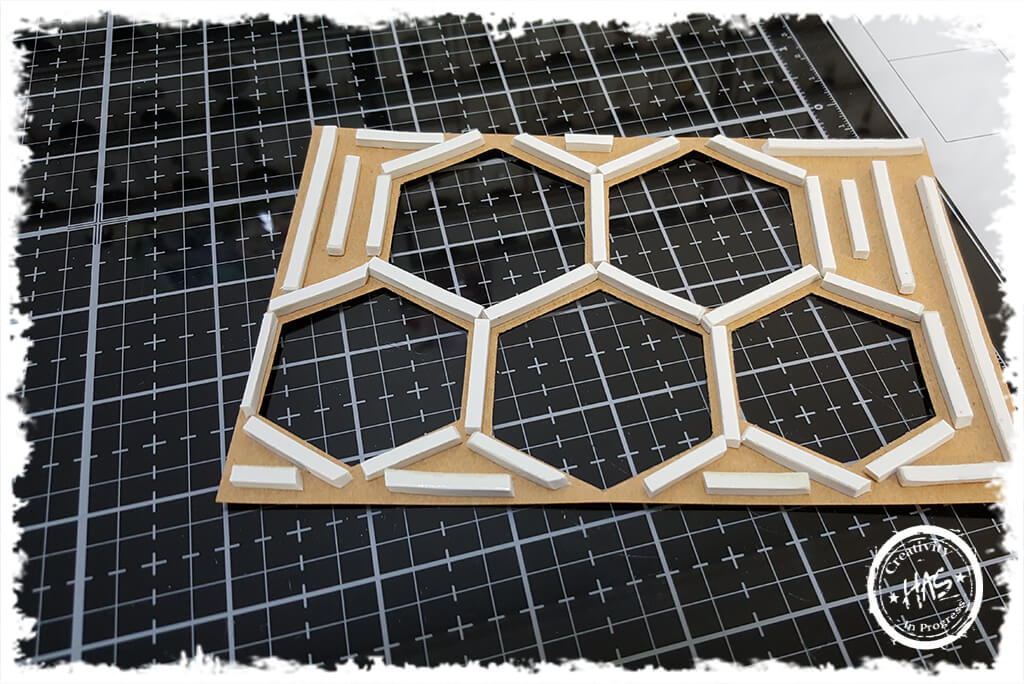
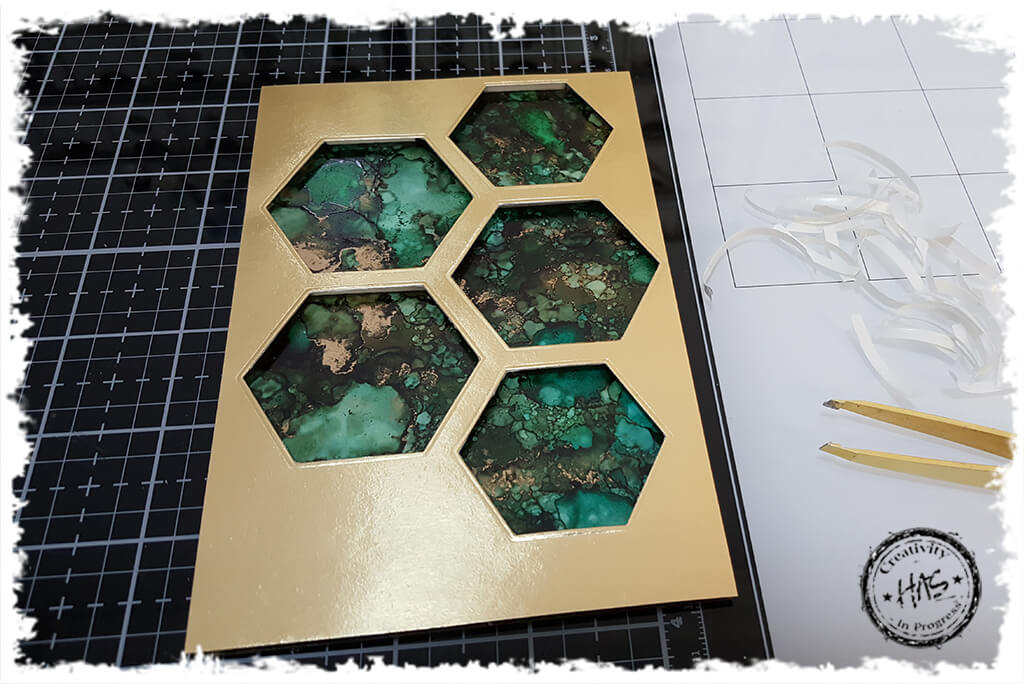
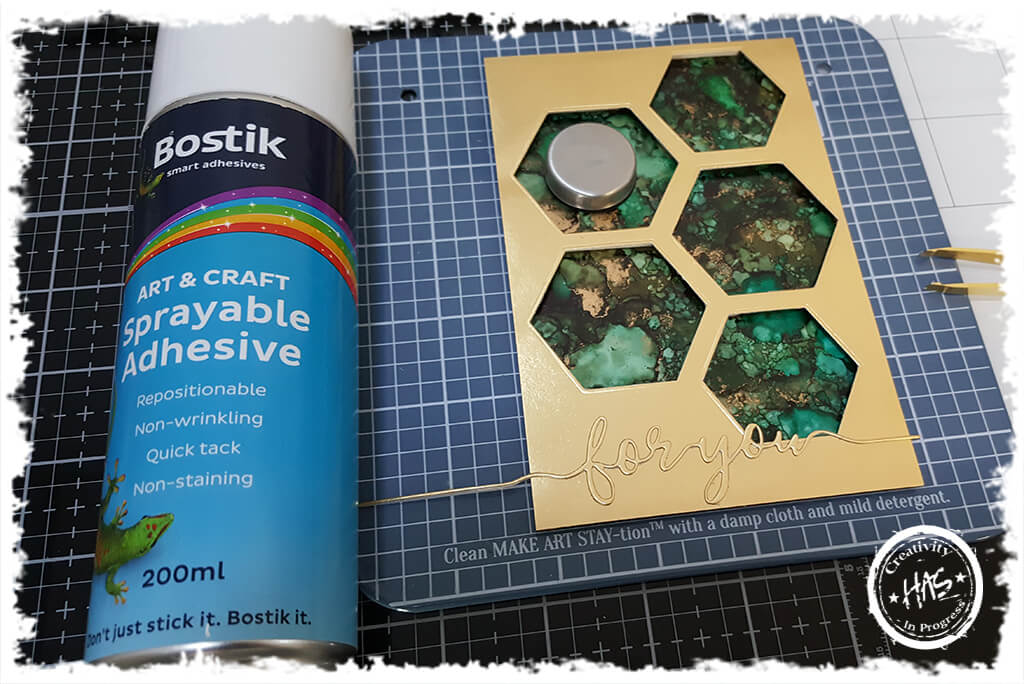
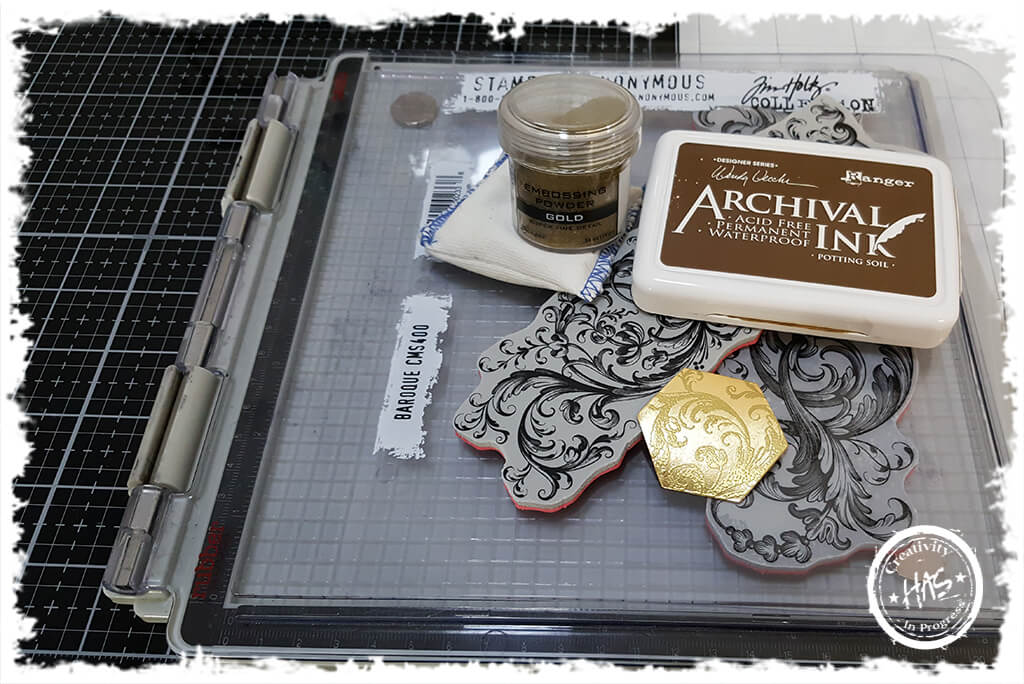
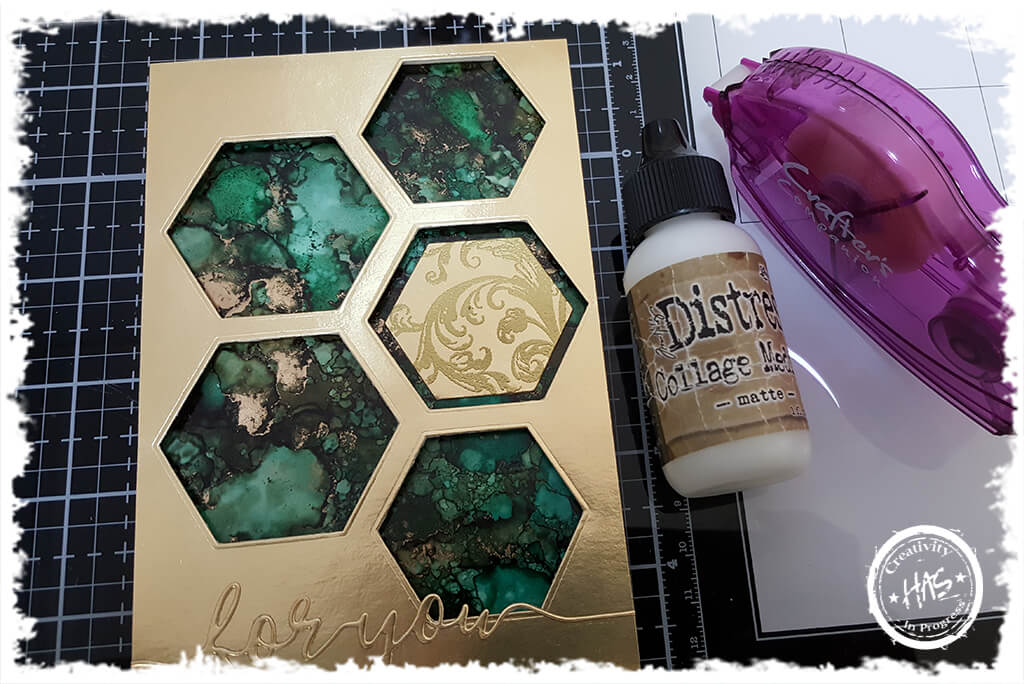
I applied some ink directly to my Alcohol Ink Tool. You really don’t need a lot of ink, so don’t be tempted to squeeze half the bottle onto the felt! My colours of choice were Pistachio, Laguna, Espresso and Pitch Black I needed a sturdy background for this card topper, so I used Heavystock YupoI simply dabbed the tool across the surface of the yupo. I try and change direction of the tool so as to vary the printsThen I added some Statue Alloy to the felt with a drop of Blending Solution. Remember that you need to use a little blending solution when with working with alloys as it bonds the alloy to the substrate. Without the blending solution, the alloy could ‘flume’ (rub off the surface)The beauty of alcohol inks is that if you don’t like it – you can simply change it! You almost never have a piece that you have to bin. I wasn’t in love with the base, so decided to add the alcohol inks with some blending solution and the statue alloy directly to the surfaceThen I used my Alcohol Ink Tool to dab the colours around – I far preferred my second attempt, but still felt like it was a little too darkSo I decided to add a little more Pistachio and Laguna to lighten it up. I also decided to keep some larger areas of these colours, as I liked they way the looked in the backgroundI really love these Tonic dies!!! I cut the sentiment from Gold Kraftcore cardstockTim’s stacked dies are great for projects like this! Each die set (circles / squares / hexagons / triangles) consists of 5 of each size shape. Which means a quick pass through your die cutting machine! I used the hexagons on a piece of gold kraftcore cardstock and kept the cut out hexagon shapes (what crafter ever throws any off cuts away?!)I applied some double sided foam tape to the back of the cardstockAnd adhered it to the top of my agate background. I really like that it is slightly raised – the dimension is awesome!I had forgotten to add double sided adhesive to the back of the cardstock before I die cut the sentiment, so I chose to adhere the sentiment to the card using a spray adhesive as I felt it was less messy. I used my Wendy Vecchi Mini Make Art Stay-tion to line up the sentimentSo I love this tip… When I want to emboss something onto glossy or metallic cardstock, I use an archival ink pad to stamp the image and work pretty quickly adding the embossing powder. The archival ink really ensures you get a beautifully crisp, clear image! I stamped part of a flourish onto one hexagon die cut and embossed it with Extra Fine Gold Embossing PowderI adhered the hexagon directly to the agate background flatA gorgeous elegant card topper to add to your stash! Perfect for a special guy or gal in your life! I hope you get your alcohol inks out and get creative!